Have you ever printed a photo and it came out blurry or pixelated? Perhaps it appeared fine on your screen, but the final result didn’t meet your expectations.
You’re not alone because this happens all the time. The problem usually comes from using the wrong photo dimensions.
It’s frustrating, especially if you’ve spent time editing or choosing the perfect shot. However, the good news is that fixing it is easier than you think.
In this guide, I’ll help you solve common 5×7 photo sizing problems. I’ve helped thousands of people get their photo sizes right, and now I’m here to help you too.
You’ll learn the exact pixel dimensions for a 5×7 photo and how those numbers change depending on the resolution you need.
This guide will provide you with the simple answers you need, whether you’re printing family photos or designing images for the web.
Understanding the 5×7 Photo Format
The 5×7 photo format is a popular choice because it suits a wide range of needs.
It measures 5 inches wide and 7 inches tall and features a portrait orientation, making it ideal for capturing photos of people, such as family portraits, school pictures, or professional headshots.
This size is often chosen for special moments such as weddings or graduations.
It looks balanced in a frame and doesn’t occupy too much space, making it perfect for both display and gift-giving. Additionally, 5×7 frames are readily available in most stores.
However, the physical size isn’t the only thing that matters. To achieve a clear and sharp image, you also need to know the correct pixel dimensions.
That’s what really makes the difference when printing or sharing your photos online.
5×7 Photo Dimensions in Different Units
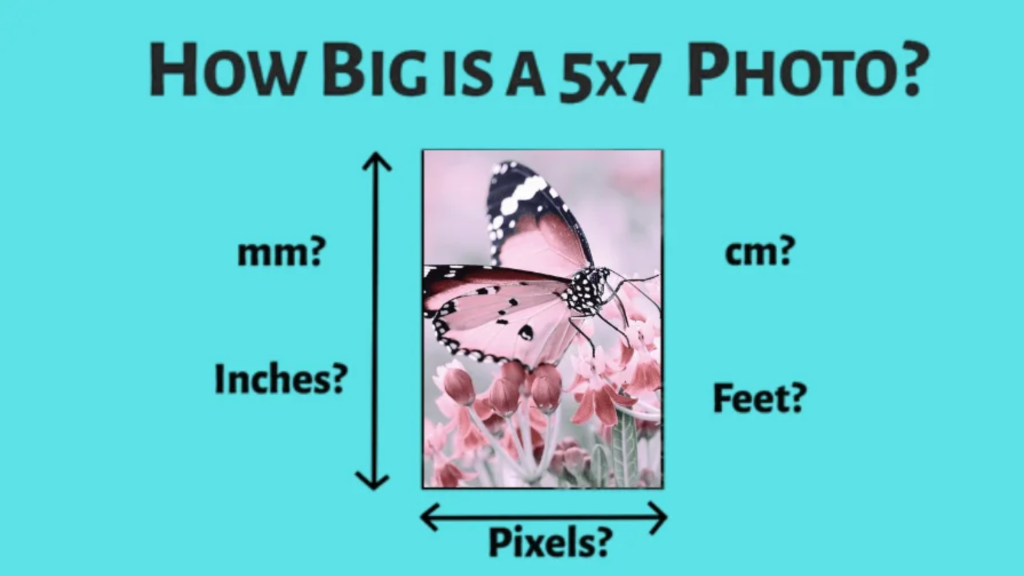
Let me break down 5×7 dimensions in various units. This will help you understand the full picture.
Physical dimensions:
Inches: 5″ × 7″
Centimeters: 12.7 cm × 17.8 cm
Millimeters: 127 mm × 178 mm
The physical size stays the same. However, pixel dimensions change depending on the resolution. This is where things get interesting.
Higher resolution means more pixels. More pixels mean sharper images, but files also become larger.
Think of pixels like tiny squares of color. More squares mean more detail, and fewer squares mean less detail.
5×7 Photo Dimensions in Pixels
To achieve the best results from your 5×7 photos, you need the right pixel dimensions, especially if you’re posting online or printing a frame-worthy image; resolution matters.
Using the wrong size can lead to blurry prints or slow-loading web images. Here’s a breakdown of the most common pixel sizes for a 5×7 photo at different resolutions:
At 72 DPI (Web Resolution)
- 360 × 504 pixels
- Best for websites and social media
- Small file size, loads quickly
At 150 DPI (Medium Quality)
- 750 × 1050 pixels
- Good for online portfolios
- Balance between image quality and file size
At 300 DPI (Print Quality)
- 1500 × 2100 pixels
- Best for high-quality prints
- Crisp detail and larger file size
At 600 DPI (High-End Printing)
- 3000 × 4200 pixels
- Used for professional photo printing
- Very large file size, excellent clarity
Printing a 5×7 Photo
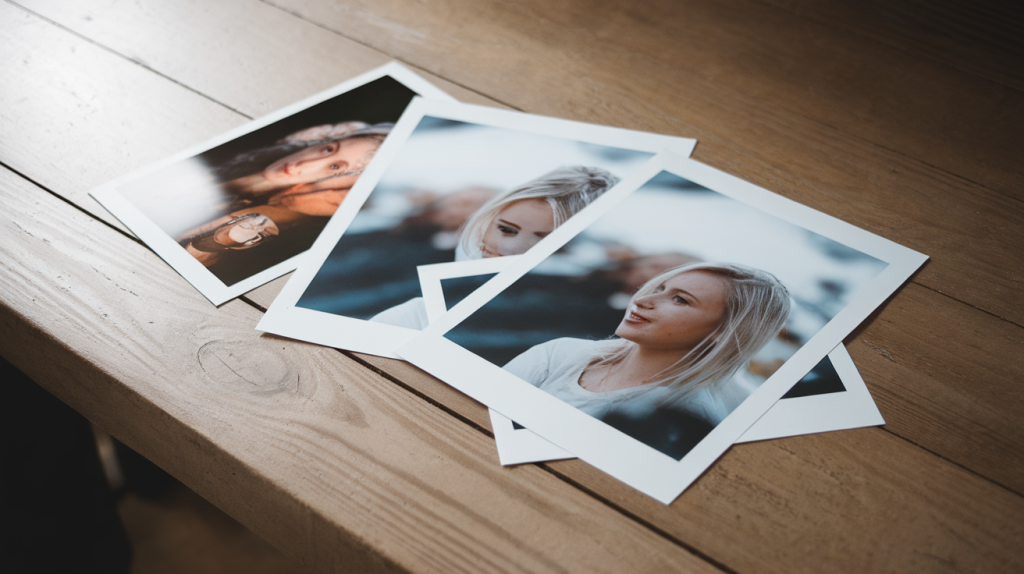
Printing photos requires more than just hitting the “print” button. If you don’t use the right pixel size, your photo could come out blurry, stretched, or full of jagged lines, and no one wants that.
For home printing, always aim for a resolution of 300 DPI. For a 5×7 photo, that means your image should be 1500 × 2100 pixels.
This gives you sharp, clear results. Most professional labs also ask for 300 DPI, although some will accept 150 DPI for casual or lower-quality prints.
Tip: Check with your printer or lab before printing to ensure compatibility. Not all printers have the same settings or quality needs.
People often make these common mistakes, using web resolution (72 DPI), stretching small images to fit larger sizes, or ignoring the aspect ratio.
A 5×7 photo has a 5:7 ratio. If your original image is shaped differently, you’ll need to crop it correctly; otherwise, the final print may not look right.
Editing a 5×7 Photo for Print or Web
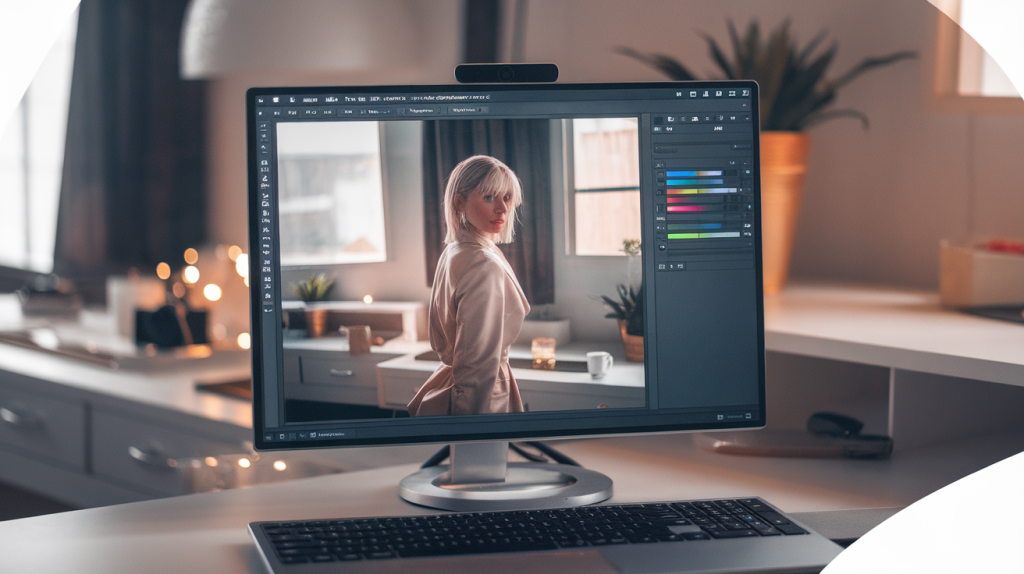
Editing a 5×7 photo requires different approaches for print and web, as their needs are distinct.
The following is a guide on how to edit a 5×7 photo for both print and web use.
For Web Use
When you’re editing images for websites or social media, start with a resolution of 72 DPI.
This keeps the file size small, which helps your page load faster, a quality that matters more online than perfect image detail.
Use the JPEG format for regular photos, as it strikes a balance between quality and size. For images with text or transparency, PNG is a better choice.
Always compress your images to reduce file size without losing too much quality.
The goal is to make your images look good while keeping your website fast and easy to use. Large, slow-loading images can deter visitors.
For Print Use
For printing, quality matters most. Always start with a resolution of 300 DPI or higher.
This produces sharp, detailed prints that appear clean and professional, even when viewed up close.
Use TIFF files whenever possible, as they retain quality. JPEGs are also acceptable, but avoid compressing them too much, as this can result in detail loss.
Ensure you use the Adobe RGB color profile for optimal color depth, particularly when working with a photo lab.
Always start with a high-resolution image; never try to stretch a small one, because it won’t gain any extra detail.
Common Mistakes to Avoid
The following are some of the most common photo editing mistakes to watch out for:
- Using 72 DPI for prints
- Ignoring aspect ratios
- Heavy compression
- Wrong color space
- Upsizing small images
- Not planning for print or web use
Conclusion
Getting your 5×7 photo dimensions right isn’t hard, but it does make a big difference. Using the correct size helps your photos look sharp, if they’re printed or shared online.
The two numbers to remember are 360 × 504 pixels for web and 1500 × 2100 pixels for print.
These sizes match the resolution requirements of each format, helping to avoid blurry or stretched images.
Always match your image resolution to how you plan to use it. Online photos can be smaller and lighter, but printed ones need more pixels to look clear and professional.
One helpful tip is to keep a quick cheat sheet with common photo sizes and pixel dimensions. That way, you don’t have to look it up every time.
Your photos capture important moments. They should always look their best.
What photo projects are you working on? Share your wins and challenges in the comments. I’d love to hear how it’s going!
Frequently Asked Questions
What Is the Best DPI for 5×7 Prints?
The best DPI for a 5×7 print is 300. It provides clear, sharp detail without creating overly large files, making it ideal for most home and professional prints.
Can I Print a 72 DPI Image at 5×7 Size?
You can, but the result won’t look great. A 72 DPI image printed at 5×7 will likely appear blurry and pixelated. Stick with 300 DPI for best results.
How Many Megapixels Do I Need for 5×7 Prints?
To print a 5×7 photo at 300 DPI, you need at least 3.15 megapixels. This ensures good clarity and sharpness in the final printed image.
What Happens if My Photo Isn’t Exactly a 5×7 Ratio?
If your image isn’t in a 5:7 ratio, you’ll need to crop it or deal with white borders. Most photo editing tools let you crop easily to fit the frame.
What’s the Difference Between DPI and PPI?
DPI measures printer dots per inch. PPI refers to the number of screen pixels per inch. While they’re often used interchangeably in photo editing, they refer to different things.
Leave a Reply