When I first picked up a camera, I didn’t give much thought to how my camera decided the right exposure.
I just pressed the shutter and hoped for the best.
But once I started learning about metering, my shots got noticeably better, with less guesswork and more control.
If you’ve ever struggled with overly bright skies or dark faces in your photos, understanding metering can be a game-changer.
Let’s break it down in simple terms so you can start using it to your advantage, whether you’re shooting portraits, landscapes, or candid moments.
What Is Metering, and Why Does It Matter?
Metering is how your camera reads light in a scene and decides what the correct exposure should be.
It tells the camera how bright or dark your image should be based on what it “sees” through the lens.
But here’s the thing: your camera doesn’t see the world the way your eyes do. It tries to average everything out to a neutral gray tone (around 18% gray).
That’s why sometimes your snow photos look gray or your sunsets turn out dull. Your camera’s metering system is doing its job; it just needs a little help from you.
Once I realized this, I stopped blaming my camera and started learning how to guide it better.
That’s where metering modes come in.
The Main Types of Metering Modes Explained
Most cameras offer at least three basic metering modes. Let’s go over each one and what they’re good for.
Evaluative (Matrix) Metering
This is the default mode on most DSLRs and mirrorless cameras.
The camera analyzes the whole frame and considers factors like brightness, color, and focus points to figure out the best exposure.
When to use it: I use this mode most of the time, especially when the light is even or when I trust my camera to get close enough.
Great for general photography, including family outings, travel shots, and street scenes.
Strength: Smart and balanced. The camera handles complex scenes well.
Watch out for: Backlit subjects. If your subject is in front of a window or bright sky, evaluative metering might expose for the background instead of the face.
Center-Weighted Metering
In this mode, the camera meters the entire scene but gives more weight to the center area.
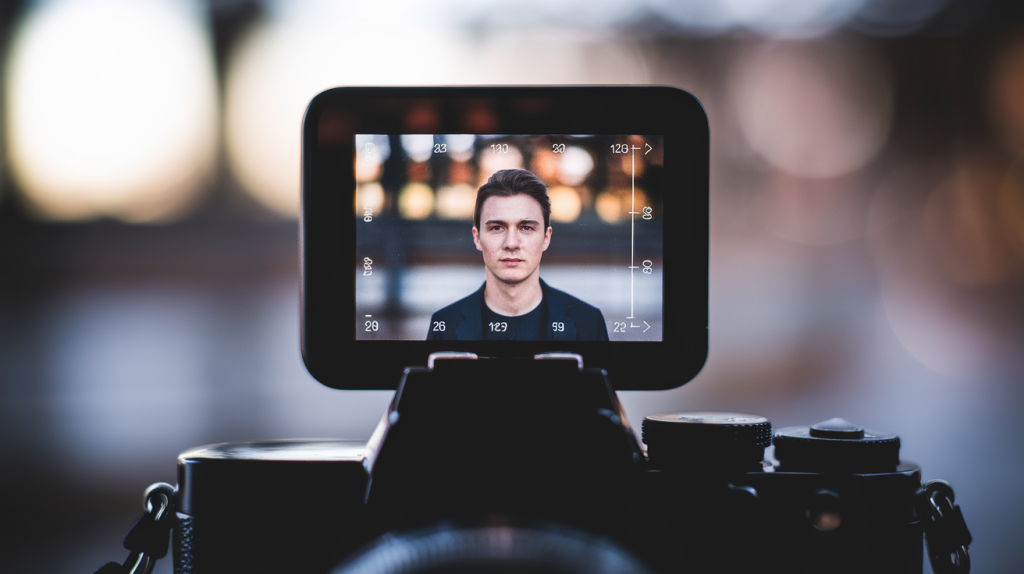
When to use it: I reach for this when shooting portraits or anytime my subject is in the middle of the frame. It’s a good in-between mode, not too broad, not too narrow.
Strength: Gives priority to what’s in the center while still considering the surrounding area.
Watch out for: Off-center subjects. You’ll need to recompose or lock exposure to avoid under- or over-exposing them.
Spot Metering
This mode only meters a very small area, usually around 1–5% of the frame.
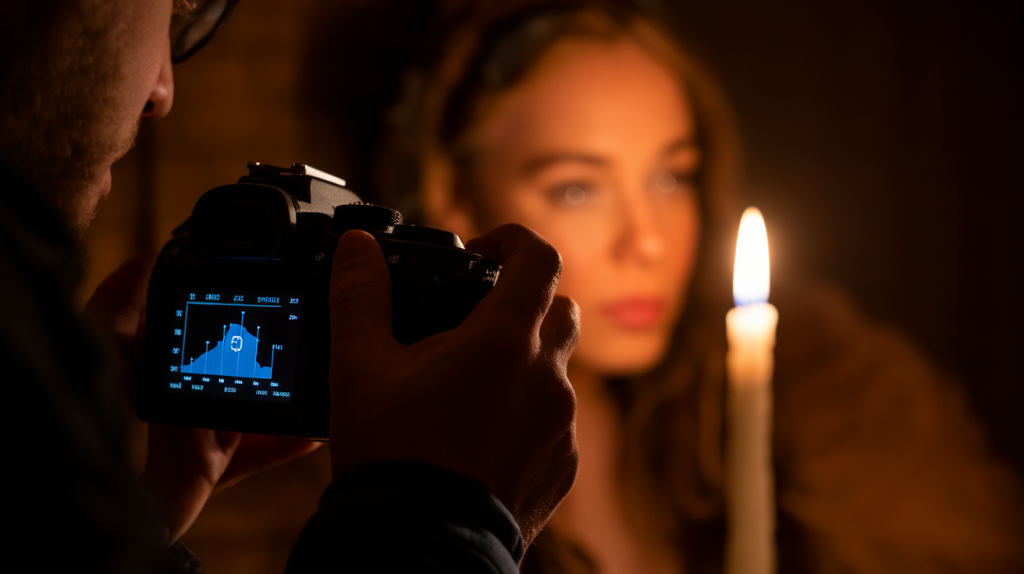
When to use it: Super useful in tricky lighting. I use spot metering when shooting someone’s face in harsh sunlight or when I want precise control, like capturing a moon shot or a candle-lit scene.
Strength: Precision. You tell the camera exactly where to read the light.
Watch out for: Inconsistency. Move your focus point slightly, and you may get a completely different exposure. You have to be intentional with where you meter.
Choosing the Right Metering Mode for Different Situations
No one mode is perfect for every scenario.
In my experience, choosing the best metering mode comes down to three main things: what you’re photographing, how the light behaves, and how much control you want over the exposure.
Here’s a simple breakdown of which modes work best in different scenarios:
- Evenly Lit Subjects (such as portraits or casual scenes): Use evaluative or center-weighted metering. These modes handle well-balanced lighting nicely and work great when your subject is mostly centered.
- Backlit Subjects or Strong Highlights: Spot metering is your friend here. Aim it right at your subject’s face to make sure it doesn’t get lost in shadow while the background stays bright.
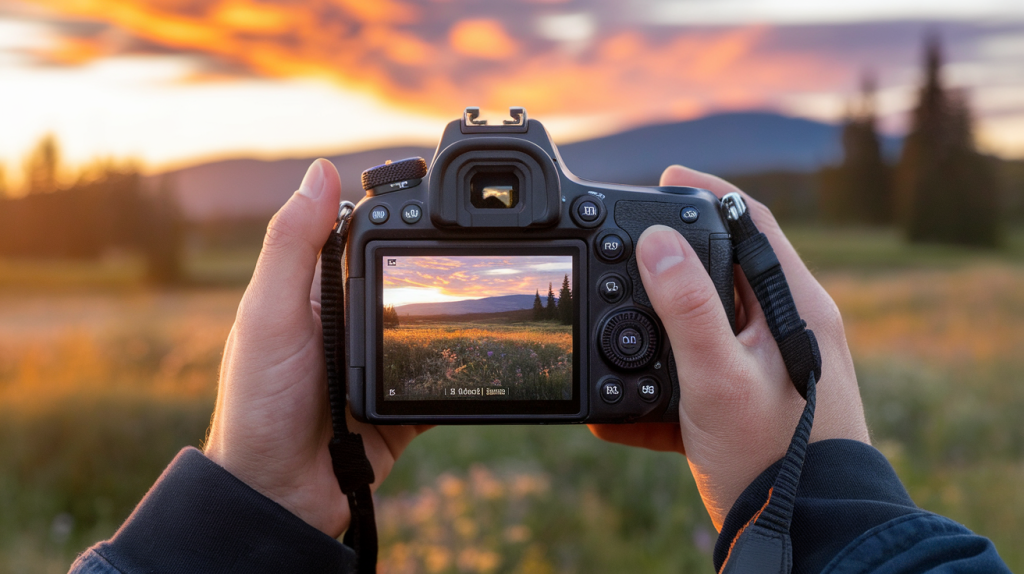
- Landscapes and Wide Shots with Even Light: Stick with evaluative metering. It reads the whole frame and helps create a well-balanced exposure across both the sky and land.
- High-Contrast or Dark Scenes: Use spot metering to target the most important part of the frame, like a glowing candle, a performer in a spotlight, or a bright sign in the dark. This lets you expose precisely where it matters.
- Close-Up or Macro Photography: Spot metering also shines here. When you’re zoomed in on something tiny—like a flower petal, jewelry detail, or insect—it ensures you get accurate exposure on the specific area you want sharp and clear.
Understanding the Limits of Metering Modes
Even with all this control, no metering mode is foolproof. Your camera doesn’t understand intent. It doesn’t know whether you want to expose for the bright sky or the dark tree. That’s your job.
Here are a few limitations to keep in mind:
- Reflected light vs. incident light: Cameras measure light reflected off your subject, not the light falling onto it. That means white walls can trick your camera into underexposing, and black clothes can cause overexposure.
- Metering doesn’t account for motion: If your subject moves quickly from shadow to light, your camera’s exposure can shift unpredictably unless you lock it down manually.
- Changing angles changes exposure: Even a small shift in framing can throw off metering, especially in spot mode.
- Backlit scenes can fool evaluative metering: You might need to dial in exposure compensation or switch to manual mode.
Tips to Get the Most Out of Your Metering Modes
Here are a few tips I’ve learned through trial and error:
- Use exposure lock (AE-L): If you find the right exposure, press the AE-L button to lock it before recomposing your shot.
- Bracket your shots: When in doubt, take multiple exposures at slightly different settings (+/- 1 stop). This gives you options later.
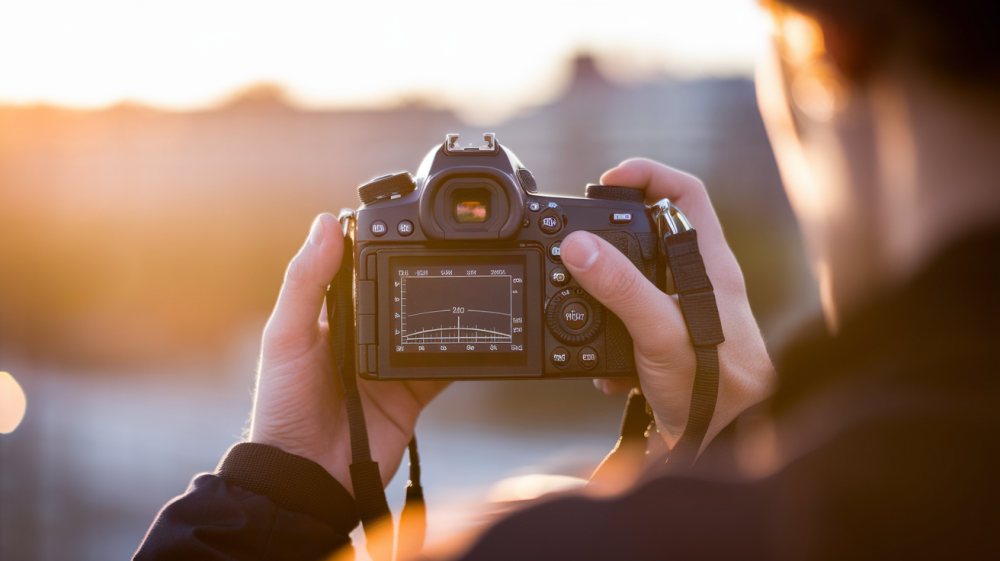
- Use your histogram: Don’t just trust the LCD preview. The histogram tells you if you’re losing detail in shadows or highlights.
- Learn to use exposure compensation (+/-): This tool is a lifesaver when your metering gets it wrong. A quick +0.3 or -0.7 adjustment can save a shot.
- Review and learn: After each shoot, review where metering worked and where it didn’t. It’s the fastest way to build intuition.
Final Thoughts
Metering isn’t about being perfect; it’s about being intentional.
The more you understand how your camera reads light, the more confident you’ll feel in tricky conditions. You’ll know when to trust your gear and when to step in with your own judgment.
I still use auto modes from time to time, but now I do it with an understanding of what my camera’s thinking, and how to correct it if needed.
Metering gave me that control, and it can do the same for you. Next time you’re out shooting, take a moment to switch metering modes.
Try spot metering on your friend’s face or use center-weighted for a mid-day portrait.
Compare results. You’ll be surprised how much more power you have when you understand what your camera’s doing behind the scenes.

Leave a Reply