Most photographers struggle with technical terms; Raw files seem complex and intimidating at first. Many wonder if they’re worth the extra work compared to simple JPEGs.
Raw files can transform your photography results. They provide better quality images with greater editing control.
This format captures all the data from your camera’s sensor, letting you make adjustments that wouldn’t be possible with other formats.
This blog explains what Raw files are in simple terms. You’ll learn why photographers choose this format, how it differs from JPEG, and what benefits it offers for your photos.
We’ll also cover the basic workflow of using Raw files so you can decide if this approach fits your photography needs.
Understanding Raw: The Basics
What Raw Really Means for Your Photos
Raw is a file format that captures all image data recorded by your camera’s sensor when you take a photo. Unlike JPEG files, which compress and process this data, Raw files keep everything intact.
Think of it as the digital version of a film negative. These files contain the full range of color, light, and detail information, giving you much more control when editing. Raw files are bigger but hold more data for you to work with later.
The “Uncooked” Truth Behind the Name
It’s called “Raw” because that’s exactly what it is – Raw, unfinished data. The name fits perfectly since the file contains Raw sensor information that hasn’t been changed or adjusted by the camera.
When you shoot in Raw, your camera simply collects all available light data without making decisions about contrast, sharpness, or white balance.
This gives you the chance to make these choices yourself during editing, rather than letting the camera make them automatically.
Why Professionals Choose Raw Format
Ever wonder why seasoned photographers swear by Raw? It’s not just a preference, it’s a game-changer.
From unrivaled editing flexibility to preserving every shadow and highlight, Raw gives pros the creative control JPEG simply can’t match.
Better Active range for Challenging Light
Raw files contain much more information in the brightest and darkest parts of your photos. This means you can pull back details from shadows that look completely black or highlights that seem blown out.
When shooting high-contrast scenes like sunsets or indoor venues with bright windows, this extra data becomes incredibly valuable. You can create balanced exposures that would be impossible with JPEG.
Superior Color Depth and Accuracy
Raw files store color information with greater precision than JPEGs. While JPEGs use 8 bits per color channel (allowing for 16.8 million colors), Raw files typically use 12-14 bits (giving billions of possible colors).
This translates to smoother gradients in skies and more subtle variations in skin tones. You’ll also find it easier to correct problematic color casts without degrading image quality.
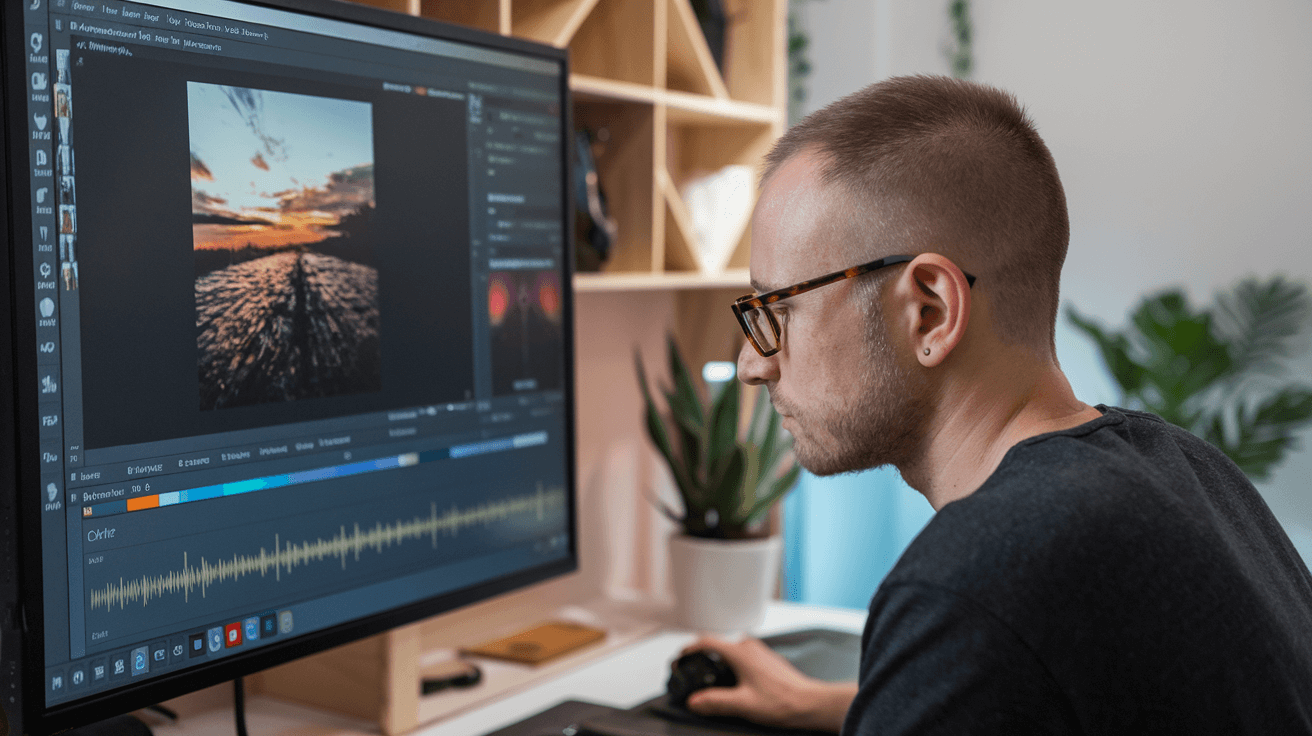
Non-Destructive Editing Freedom
When you edit a Raw file, you’re never changing the original data. Every adjustment you make is simply stored as a set of instructions. This means you can experiment freely without worrying about damaging your image. You can return to your Raw file years later and completely re-edit it with newer, better software. This future-proofing aspect makes Raw files valuable long-term assets.
Better White Balance Control
With JPEGs, incorrect white balance can be difficult to fix without damaging colors. Raw files let you change white balance completely with no quality loss. This is like being able to switch lighting conditions after taking the photo.
Night photos with orange streetlights can be corrected to look natural, and mixed lighting situations become much easier to manage.
When Should You Use Raw in Photography?
-
Use Raw when you want the highest image quality and maximum flexibility for editing, as it preserves all the data captured by your camera’s sensor.
-
Choose Raw if you need to recover details from underexposed or overexposed shots, since it allows for dramatic adjustments without losing quality.
-
Opt for Raw in challenging lighting conditions or fast-paced events where you might not get perfect exposure or white balance in-camera.
-
Shoot Raw when you plan to do significant post-processing, such as adjusting sharpness, noise reduction, or color grading.
-
Select Raw for professional work or when delivering images for print, as clients expect the best possible quality.
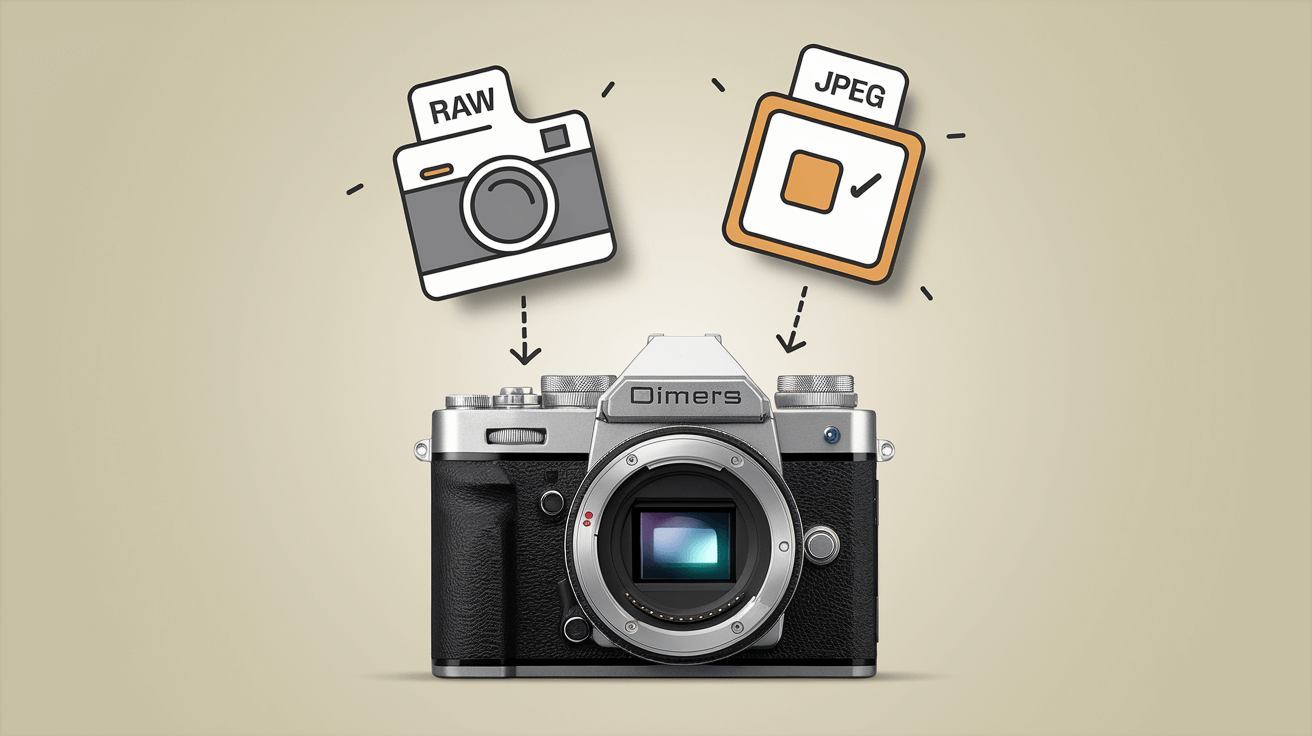
Raw vs. JPEG: Which Format Is Right for You?
| Feature | Raw | Jpeg |
|---|---|---|
| Image Quality | Highest Possible Quality with Full Detail and active Range | Compressed Quality with Some Data Loss |
| File Size | Large (due to Uncompressed Data) | Small (high Compression) |
| Editing Flexibility | Extremely High; Ideal for Adjustments in Exposure, Color, and Contrast | Limited; Too Much Editing Can Degrade the Image |
| Post-Processing | Required: Needs Software Like Lightroom, Photoshop | Minimal; Images Are Ready to Use Straight out Of the Camera |
| Storage Requirements | High; Needs More Memory Cards and Hard Drive Space | Low; More Photos Can Fit on The Same Card |
| Camera Performance | Slightly Slower Continuous Shooting Speeds Due to File Size | Faster Shooting and Buffer Clearing |
| Convenience | Less Convenient for Quick Sharing without Editing | Very Convenient for Immediate Use and Sharing |
| Best For | Professional Work, Important Shoots, Creative Projects Needing Heavy Edits | Everyday Photography, Casual Snapshots, Quick Turnarounds |
Essential Tips for Working with Raw Files
- Always shoot in Raw+JPEG if you’re new to Raw. This gives you a backup while you learn the Raw workflow.
- Check your camera settings before important shoots. Some cameras reset to JPEG when the battery is removed.
- Invest in larger, faster memory cards. Raw files take up 3-5 times more space than JPEGs.
- Back up your Raw files in at least two separate locations. These are your digital negatives and can’t be replaced.
- Learn keyboard shortcuts in your editing software. This speeds up your workflow tremendously.
- Keep your camera’s firmware updated. This often improves Raw file quality and compatibility.
- Use lens profiles in your editing software to automatically fix distortion and vignetting.
- Export copies in JPEG format for sharing and distribution. Most websites and social media platforms can’t display Raw files.
Common Myths About Raw Photography
“Raw files always look better than JPEGs”
Raw files look flat initially. They need editing to shine. The quality comes from your processing skills, not the format itself.
“You need expensive software to work with Raw files”
Many free options exist today. RawTherapee, Darktable, and basic software included with your camera can process Raw files effectively.
“Raw files take too long to process”
Modern computers handle Raw files quickly. Batch processing makes the workflow efficient. The quality improvement justifies the small extra time.
“Raw is only for professional photographers”
Anyone wanting better photos benefits from Raw. It forgives exposure mistakes and offers editing flexibility for all skill levels.
“You need a high-end camera to shoot in Raw”
Most cameras from the last decade, including many smartphones, support Raw. The format works with nearly all modern photography equipment.
The Bottom Line
Raw photography opens up a world of possibilities for your images. This format gives you control over how your final photos look rather than letting your camera make those decisions.
The key takeaway? Raw files store more information, letting you fix exposure problems, adjust colors accurately, and create photos that match your vision.
While Raw does require a bit more work than shooting JPEGs, the results make this extra step worthwhile. Start by experimenting with a few important photos rather than converting your entire workflow at once.
Ready to try Raw photography? Check out our guide on the best Raw editing software for beginners. And if you’ve already been shooting in Raw, share your tips and experiences in the comments below; we’d love to hear what’s working for you!

Leave a Reply