The concept of framing using depth of field, in its essence, is quite simple: we channel the viewer’s attention towards our subject by framing the shot in such a manner that there are out-of-focus objects that are blocking the background and other elements.
How this works is that the viewer’s focus falls directly on the subject because the framing techniques narrow the vision onto the subject. It wouldn’t be wrong to say that it feels like leading the eyes to the subject.
In this article, we’ll focus on the use of framing mixed with depth of field to create visually compelling results and also some examples of framing in photography. Our main focus, in this regard, would be on foreground framing, background framing, and framing with bokeh.
So pick up your camera bags, grab some batteries and lenses, and let’s narrate stories through pictures!
Depth of Field, The Basics!
In simple terms, the part of your photograph that looks crisp and detailed with an ample amount of focus directed towards it refers to the depth of field.
To add further technicality to this for a better explanation, we can say that it’s the distance between the objects/subject/elements in the picture; the very basic example would be a portrait shot of a human being, wherein the human is the subject in focus and all the details of the body, face, hair, clothes, etc are crisp. In contrast, the elements that make up the image’s background are blurred, and you can almost not make out what’s in the background except for a general idea judging by the overall color scheme in the background.
In this same example, if it’s a portrait taken of a man standing in a forest, you’d be able to tell that there are trees in the background, but how many or which tree it is, you might struggle to comprehend cause it’s blurred as the lens’s focal length ends at the point where the man is standing.
This is a very neat and handy trick when it comes to framing a shot; you can blur both the background and the foreground according to your needs for framing the shot. A simple twist of the lens, and you’d know exactly what we’re talking about.
We have a few examples to explain this better. Have a look:
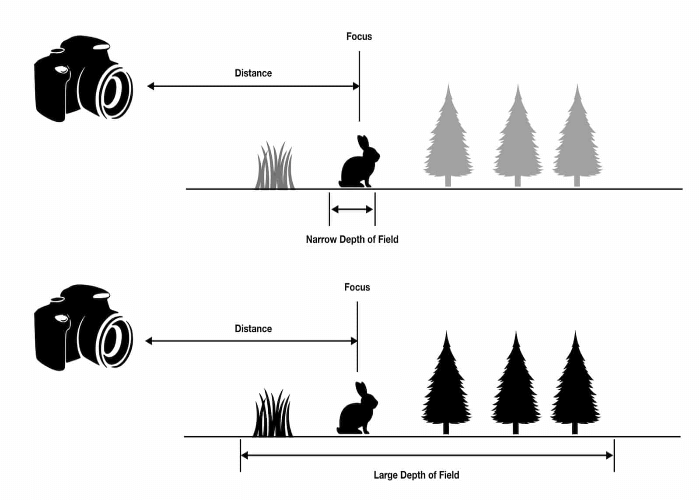
1. Foreground Framing or Shallow Depth of Field
This is simple, using the blurred elements that make up the picture’s foreground to achieve a crisp and sharp background subject as the main focus of the picture. Simple enough?
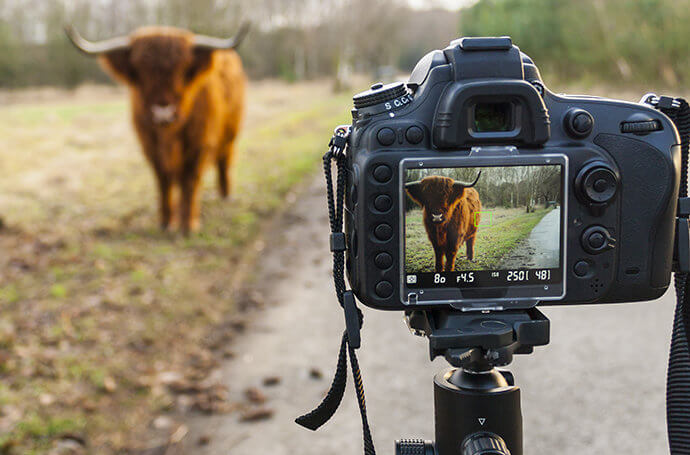
Let’s move on to the purpose it serves in photography and framing of a shot; for this, imagine a picture of a deer grazing some distance from you; you adjust the aperture to make the lens focus in sync with the deer (the subject). You’ll see that the grass near you is blurred, where the deer and the elements behind are in focus and look crisp and sharp.
2. Background Framing or Large Depth of Field
Reverse the concept of foreground framing, and you end up with background framing; in this technique, you essentially keep the focus on a subject that is relatively nearer to the camera, and the background elements are blurred. This type of framing is largely used in portrait shots or when you wish to highlight a subject that is in relative proximity to the photographer.
Remember the early days of the dual camera setup on smartphones? Yes, something like that, that was essentially two cameras focusing on two different subjects, so one camera would be focusing on the subject. The other would be focusing on the background. With intelligent image processing, the subject would be minuses from the picture in which the background was in focus and vice versa. This would result in a sandwich shot of two pictures where the background is blurred, and the subject looks sharp and crisp, with the details of the subject’s outline being easily traceable and recognized.
3. Bokeh Shots
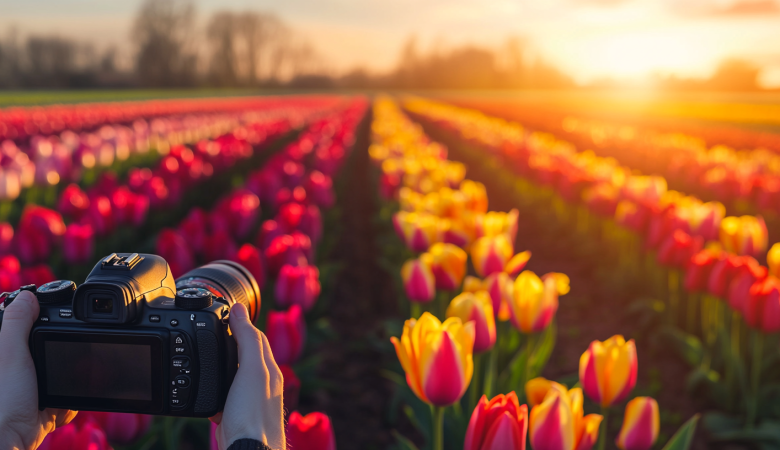
Wide apertures help you in this technique to give a soft-blur effect to one of the elements of the picture; this is generally accomplished using a fast lens and a shallow depth of field.
It looks very pleasing to the eyes, and this is because the result is generally a background that is various colors on a color palette. It is a beautiful technique to add distinction and idea of depth to a picture.
Conclusion
So there you go, depth of field, framing with the help of depth of field and its examples, know you know it all. We’ve said this before, and we’re saying it again: photography is just art being really good friends with Physics to create visuals that make the human mind ponder the possibilities and combination of various lights and objects. Hence, creativity is of the essence.
So go out and be creative, and let your lens capture the world through your perspective; this compels viewers to look for the story or narrative you’re trying to establish. There are multiple ways to place your subject in a frame and divert attention to it; with the use of depth of field, we do the same thing, but here, our ally is the difference in distance and the camera’s ability to focus.
Happy clicking!




Leave a Reply