Want your photos to look more natural and full of life?
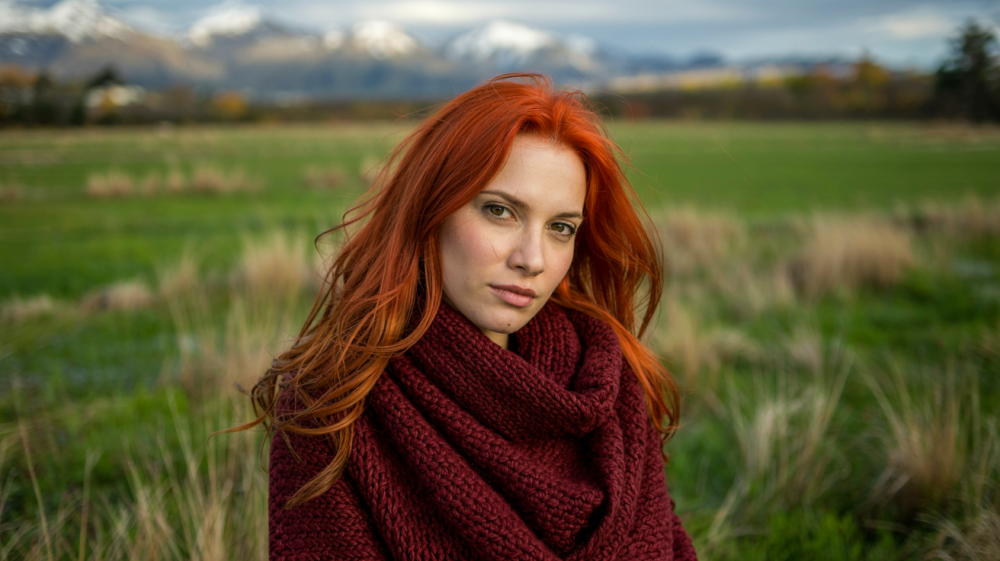
Taking outdoor portraits is a great way to make your photos feel real and warm. Natural sunlight, fresh air, and beautiful backgrounds can turn a simple shot into something special.
But learning how to take good photos outside can feel tricky at first.
This blog is here to help you learn the basics of outdoor portrait photography. You’ll get tips on using light, choosing the right time of day, working with the weather, and helping your subject feel at ease.
By the end, you’ll feel ready to take better photos outside. So, are you ready to see what your camera can really do in the open air?
Getting Started with Outdoor Portrait Photography
Taking photos outside can be fun and exciting. Nature gives you plenty of light and interesting places to shoot.
You don’t need a big studio—just a camera, a good spot, and someone to take a photo of. If you’re just starting, outdoor portraits are a great way to learn and grow.
This section will guide you through the basics and help you feel more confident with each photo you take.
Lighting for Outdoor Portraits
Good light makes a big difference in your photos. Natural light changes all day, and knowing how to use it can help you get better results.
The best times to shoot are early in the morning or late in the day—this is called the golden hour. The light is soft and warm, and it won’t make harsh shadows on your subject’s face.
Cloudy days are also great because the clouds spread the light evenly. Try to avoid shooting at noon, when the sun is strong and bright. Practice in different lights to see what works best.
Choosing the Right Location
The background in your photo matters just as much as the person you’re taking a photo of. Look for places with simple, clean views that don’t distract from your subject.
Parks with trees, open fields, beaches, and even quiet city streets can work well. Watch for strong shadows, messy signs, or anything that takes focus away from the person.
Walk around and look at how the light hits different places. Try to use spots where your subject can stand out but still feel part of the scene.
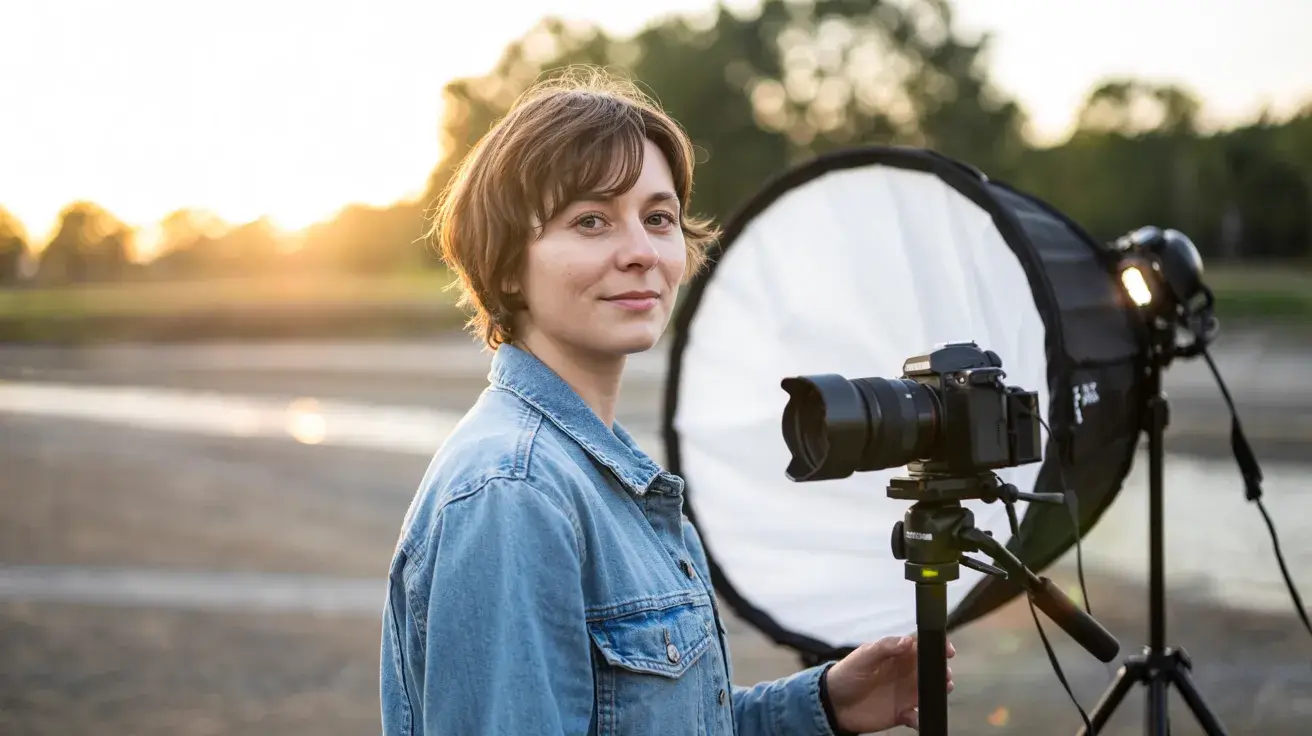
Essential Gear for Outdoor Portraits
You don’t need a lot of gear to start, but a few tools can make your photos better. A good camera and a lens that can blur the background (like a 50mm lens) are helpful.
A reflector can bounce sunlight onto your subject’s face and make it look softer. A small flash can help when the light is too low.
Beginners should start with a basic camera and one good lens. If you’re more experienced, try using different lenses for different looks. Keep your gear light so it’s easy to move and shoot outside.
Camera Settings and Techniques for Outdoor Portraits
Using the right camera settings is like giving your photos a boost. You don’t have to use fancy tools or be a pro to take good outdoor portraits.
It just takes a little learning and practice. Start with a few simple changes and you’ll notice a big difference. Good settings help you get clear faces, soft backgrounds, and bright colors—even if you’re just using natural light.
Here are a few tips to remember:
- Use portrait mode if you’re a beginner.
- Learn how to control light with your camera settings.
- Try taking photos at different times of day to see how light changes.
- Practice on friends or family to get better at making small changes.
Aperture, Shutter Speed, and ISO (with more helpful points)
These three settings help shape your photo. They’re simple once you get the hang of them.
- Aperture controls how blurry the background is. A wide aperture (f/2.8 to f/4) helps make the person pop. It also lets in more light.
- Shutter Speed controls how fast the photo is taken. A fast speed (like 1/250 or more) helps stop motion. This is helpful if your subject is moving or if there’s wind.
- ISO controls how bright the photo is. Keep it low (100–200) in bright light to avoid grainy photos. Raise it a little if it’s cloudy or late in the day.
Extra tips:
- Use aperture priority mode to practice. It’s easier than full manual.
- Try manual mode once you’re more confident.
- Keep an eye on the light meter in your camera—it helps you know if your photo will be too dark or too bright.
Using Flash and Reflectors in Natural Light
Even when you’re outside, light doesn’t always hit the right way. That’s where flash and reflectors come in. You can use both to fix shadows and bring out more detail in your photos.
- Use flash gently: A small pop of flash can help fill in dark areas, like under the eyes or chin. Keep it soft so it doesn’t look harsh or fake.
- Use reflectors: These tools bounce light onto your subject’s face. Silver makes the light bright. White is softer and more natural. Gold adds warmth (good for evening photos).
Extra tips:
- Stand with the sun behind your subject. Then use a reflector or flash to light up their face from the front.
- Avoid using flash straight on. Try angling it or using it with a diffuser.
- You can use a white poster board as a reflector if you don’t have one.
Try using both flash and reflector during the same shoot. Take a few test photos to see what works best in your setting.
Creative Outdoor Portrait Ideas to Try Today
If you’re feeling stuck or just looking for something new to shoot, these outdoor portrait ideas can help you get inspired.
They’re easy to try, work well in many locations, and let you practice using natural light in fun ways. Pick one and see what kind of photos you can create.
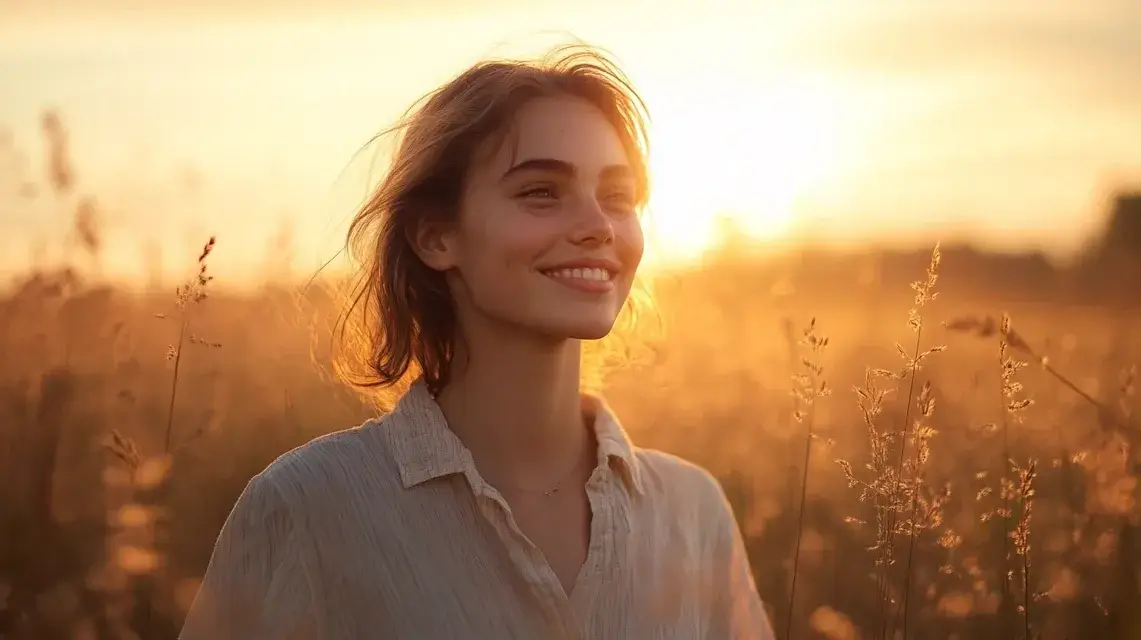
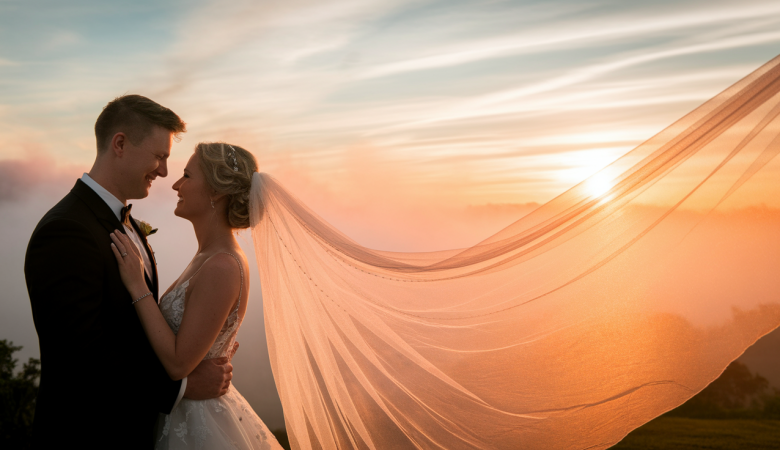
1. Golden Hour Glow
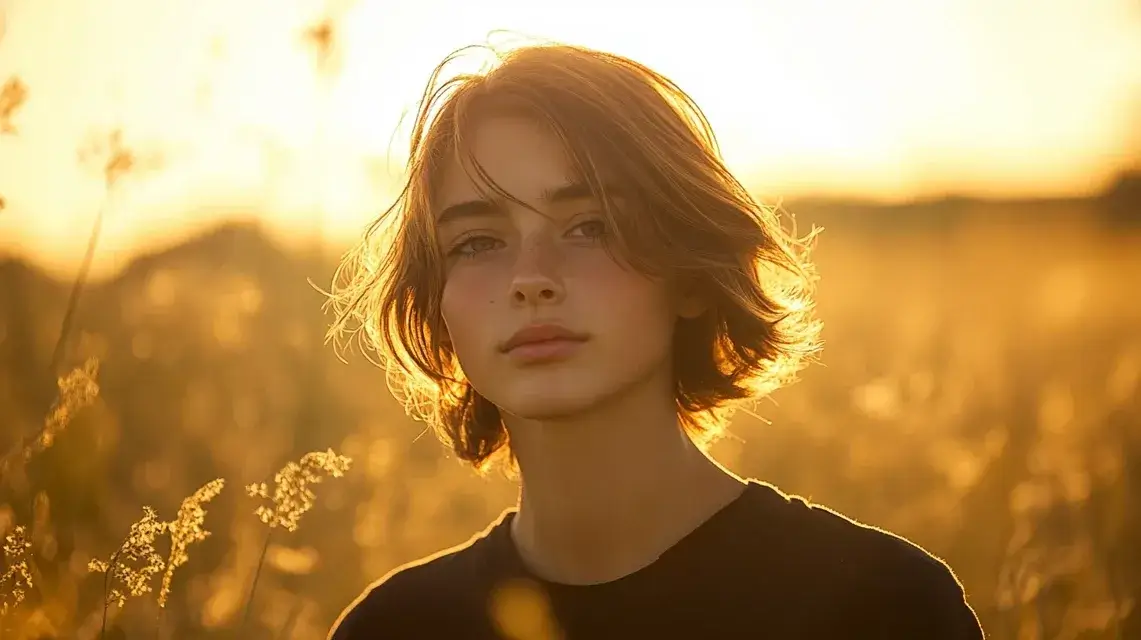
Have your subject stand or sit with the sun behind them. The warm light softens skin and adds a glowing edge to their hair.
Try using a reflector in front to light up their face slightly. Use a low aperture to blur the background beautifully.
2. Shaded Park Portraits
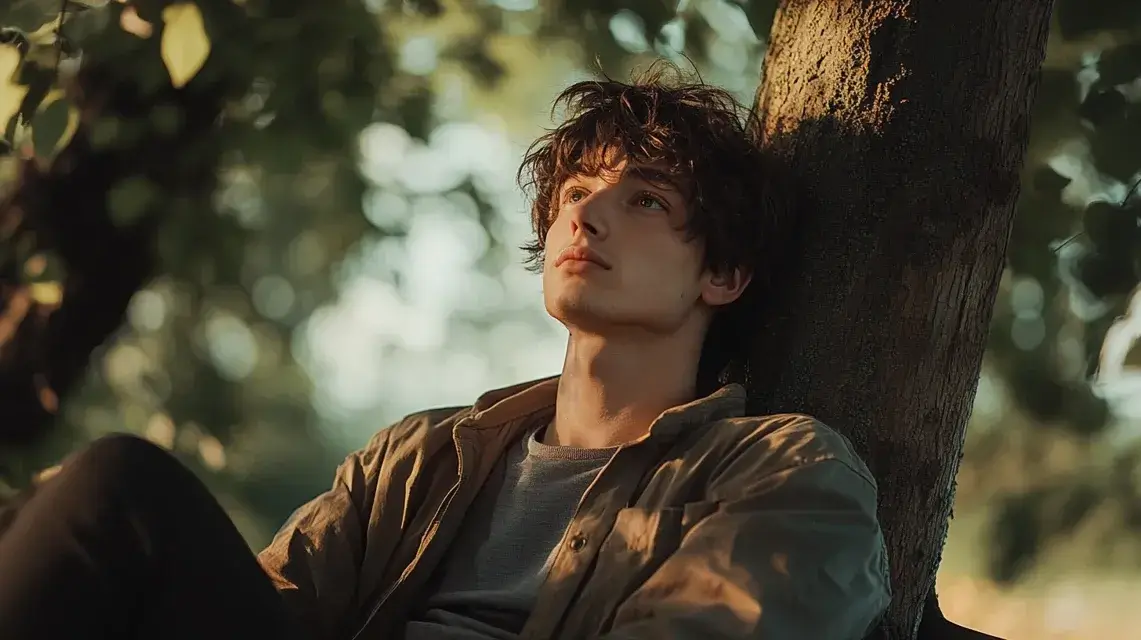
Parks offer simple backgrounds and soft, even light under trees. This setting keeps your subject comfortable and avoids harsh sunlight.
Try framing them with branches or benches. Sit them on a path or wooden bench for a peaceful, natural look.
3. Urban Street Style
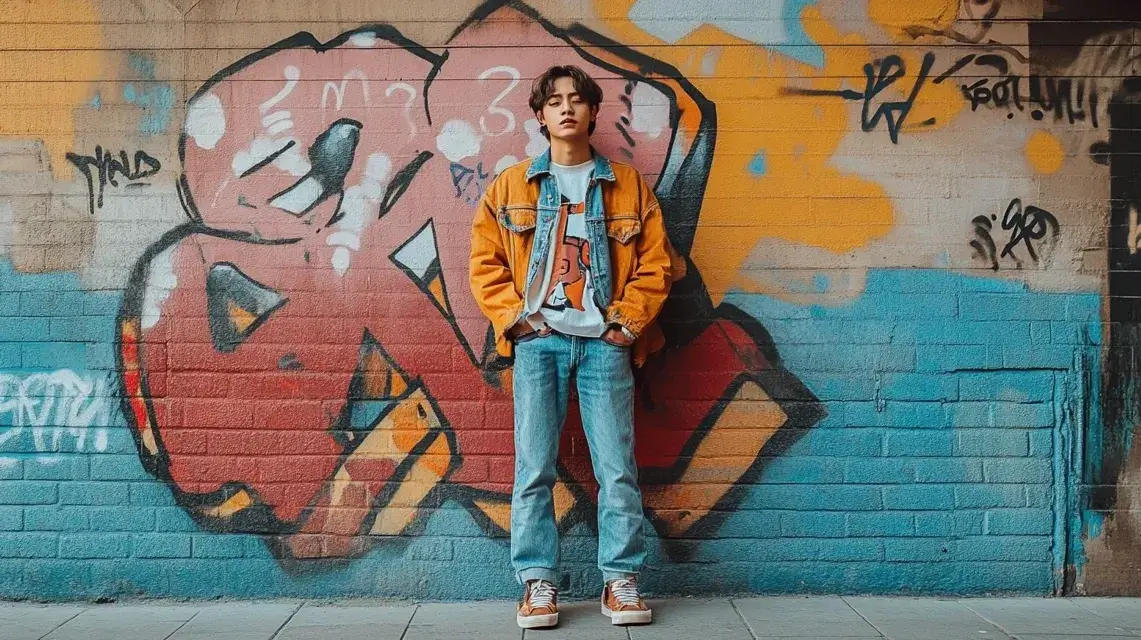
Use textured walls, alleys, or steps to add bold background elements. Let your subject lean against a wall or sit on a stair for a natural pose. Keep lines in the background straight for a clean, strong look. Great for modern vibes.
4. Field or Open Grassland Shots
Open spaces create a soft, airy feeling in photos. Use tall grass, flowers, or hills to add depth. Ask your subject to walk slowly or twirl for movement. These scenes work great with backlight or side light during early morning or evening.
5. Rainy Day with an Umbrella
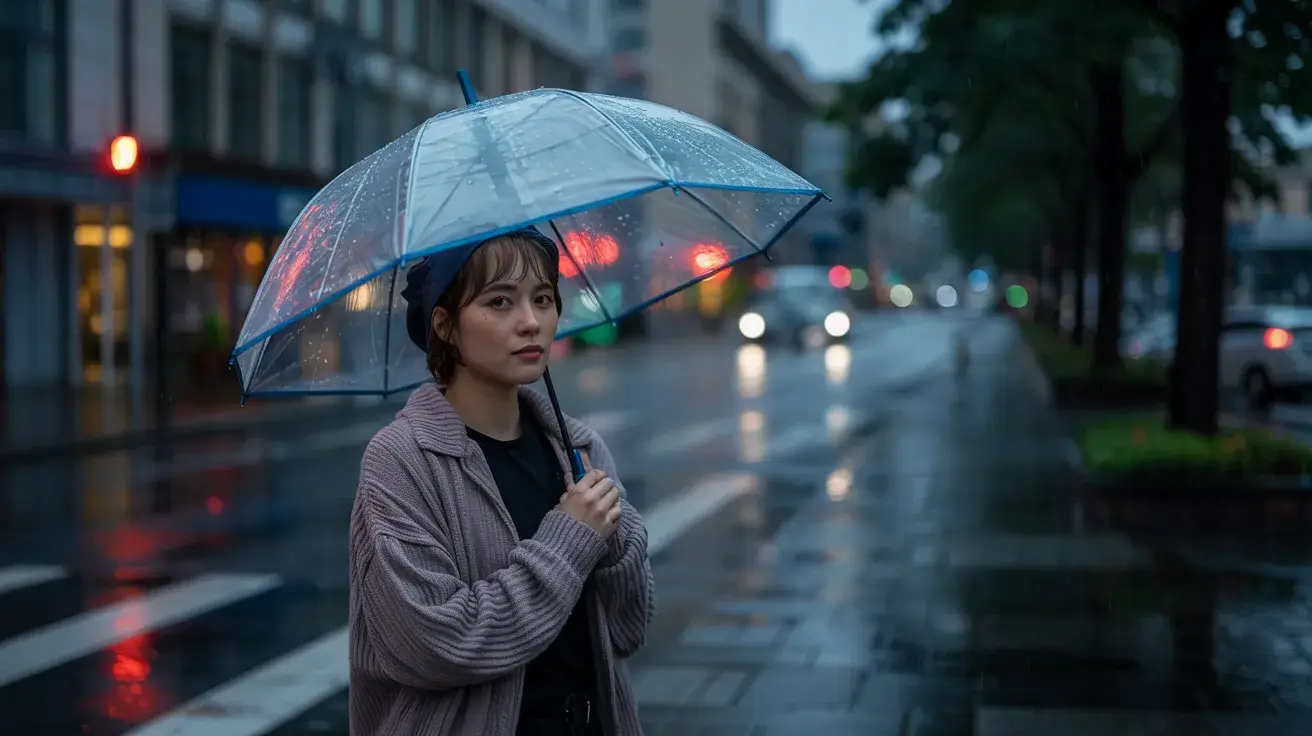
Rain adds mood, reflections, and soft light. Have your subject hold an umbrella and smile or look thoughtful. Use puddles or wet streets for added detail. Keep your gear covered. Rainy photos feel honest, quiet, and cozy when done right.
Dealing with Outdoor Photography Challenges
Taking photos outdoors sounds easy—just grab your camera and go, right? But once you start, you’ll notice that outdoor portrait photography comes with a few tricky parts.
The weather changes, the light shifts, and sometimes your background isn’t as calm as you hoped.
That’s okay. Every photographer faces these things.
The good news is that you can learn how to work around them and still get great photos. Let’s look at some of the most common problems and how to handle them.
Managing Harsh Sunlight and Shadows
Bright sun is one of the biggest problems when shooting outside. It can make your subject squint, create dark lines across their face, and cause shiny spots that don’t look great in photos. Direct sunlight at noon is often too strong and sharp.
One smart way to fix this is to move your subject into the shade—under a tree, a porch, or even the side of a building. The light there is softer and smoother. If you can’t find shade, try turning your subject so the sun is behind them. This avoids squinting and helps you get softer light on their face.
You can also use a reflector to bounce light back onto their face and remove dark shadows. Shooting during golden hour—just after sunrise or just before sunset—gives you softer, warmer light that makes everything look better.
If you’re stuck with strong sunlight, using a lens hood or even holding a piece of white cloth above your subject can help block the worst of the glare.
Adapting to Weather Conditions
Outdoor weather doesn’t always stick to the plan. Wind can blow hair in every direction or knock over your gear.
On windy days, try using clips, hats, or styling the hair in a way that won’t fly around. Use a fast shutter speed to freeze any movement. Rain is another challenge, but it doesn’t mean you have to stop. A clear umbrella can keep your subject dry and still look nice in photos.
You can also take cover under porches, trees, or tents. Keep a towel and a plastic bag in your camera bag to cover your gear quickly. Cold days drain camera batteries faster, so bring extras and keep them warm in your pockets.
On hot days, make sure your subject has water and take breaks often. Bright heat can also make people sweat or feel tired, so try to shoot early in the morning or later in the afternoon.
Other Outdoor Photography Problems and Fixes
Besides weather and light, there are other small things that can ruin a good photo. Bugs are one. If you’re shooting near water or woods, bring bug spray so your subject doesn’t get bitten or distracted.
In parks or city areas, you might deal with people walking by, loud noises, or kids running around. These things can make your subject feel nervous or uncomfortable. Try finding a quiet spot, or wait until the area clears out.
Also, don’t forget about the background. A messy background with trash cans, signs, or cars can take attention away from your subject. Always take a few seconds to look behind your subject and change angles if needed.
Conclusion
Outdoor portrait photography doesn’t have to feel confusing. You’ve now learned the basics—how to use natural light, pick the right gear, adjust camera settings, and edit your photos.
The best way to get better is to go outside and try it for yourself. Take your camera, play with different settings, and don’t be afraid to make mistakes. Each photo teaches you something new.
Remember, simple changes in light or background can make a big difference. Ready to take your next outdoor portrait? Check out our other blogs for more easy tips and ideas to keep learning and growing!

Leave a Reply