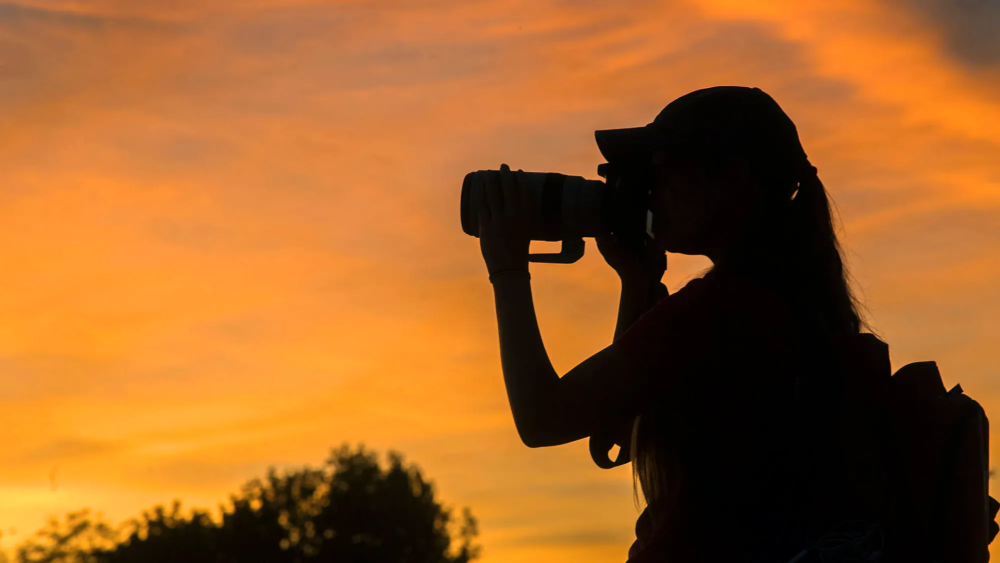
Have you ever taken a photo that just didn’t turn out right? You see a perfect moment, snap the shot, and end up with something that looks nothing like what you saw. Don’t worry—we’ve all been there.
Good photos don’t happen by chance. They follow basic rules that help turn ordinary scenes into eye-catching images. However, learning these key principles can make a huge difference in your photos.
This guide covers essential principles of design in photography that will help you take better pictures right away. These tips are effective whether you use a professional camera or just your phone.
The best part? You don’t need years of practice or special gear to see results. Small changes in how you set up and take your shots can lead to big improvements in your photos.
Ready to learn how to take photos you’ll want to share? Let’s get started.
Key Principles of Design Photography
Photography follows certain design rules that help create better images. These principles guide how elements work together in your photos.
When you understand these basics, you can make more planned choices about your shots instead of just hoping for good results.
1. Rule of Thirds
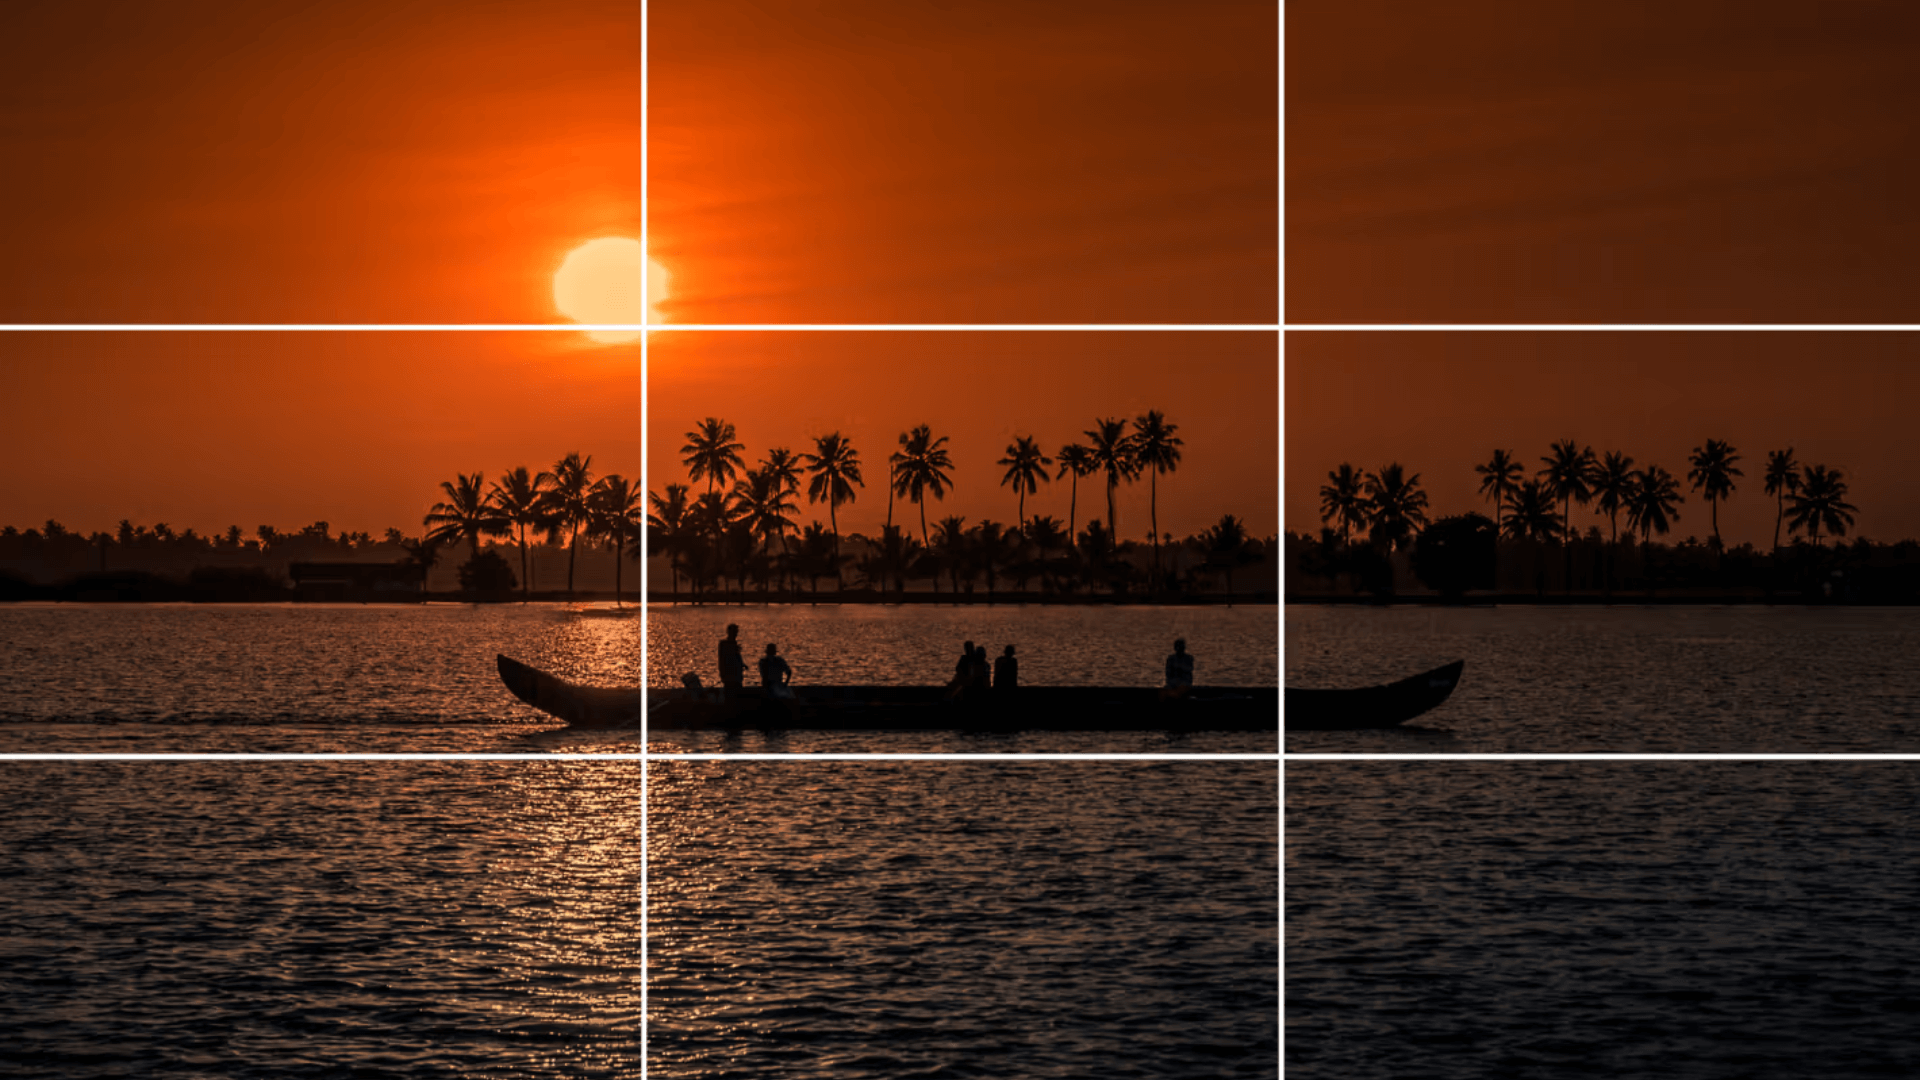
This principle divides your image into nine equal parts using two horizontal and two vertical lines. Placing key subjects at the points where these lines meet creates more balanced and interesting photos.
Your eyes naturally go to these spots when looking at images. Most cameras and phones have grid options to help you use this rule.
Try moving your subject away from the center of the frame for more appealing shots. This small change can make your everyday photos look much more professional.
2. Leading Lines
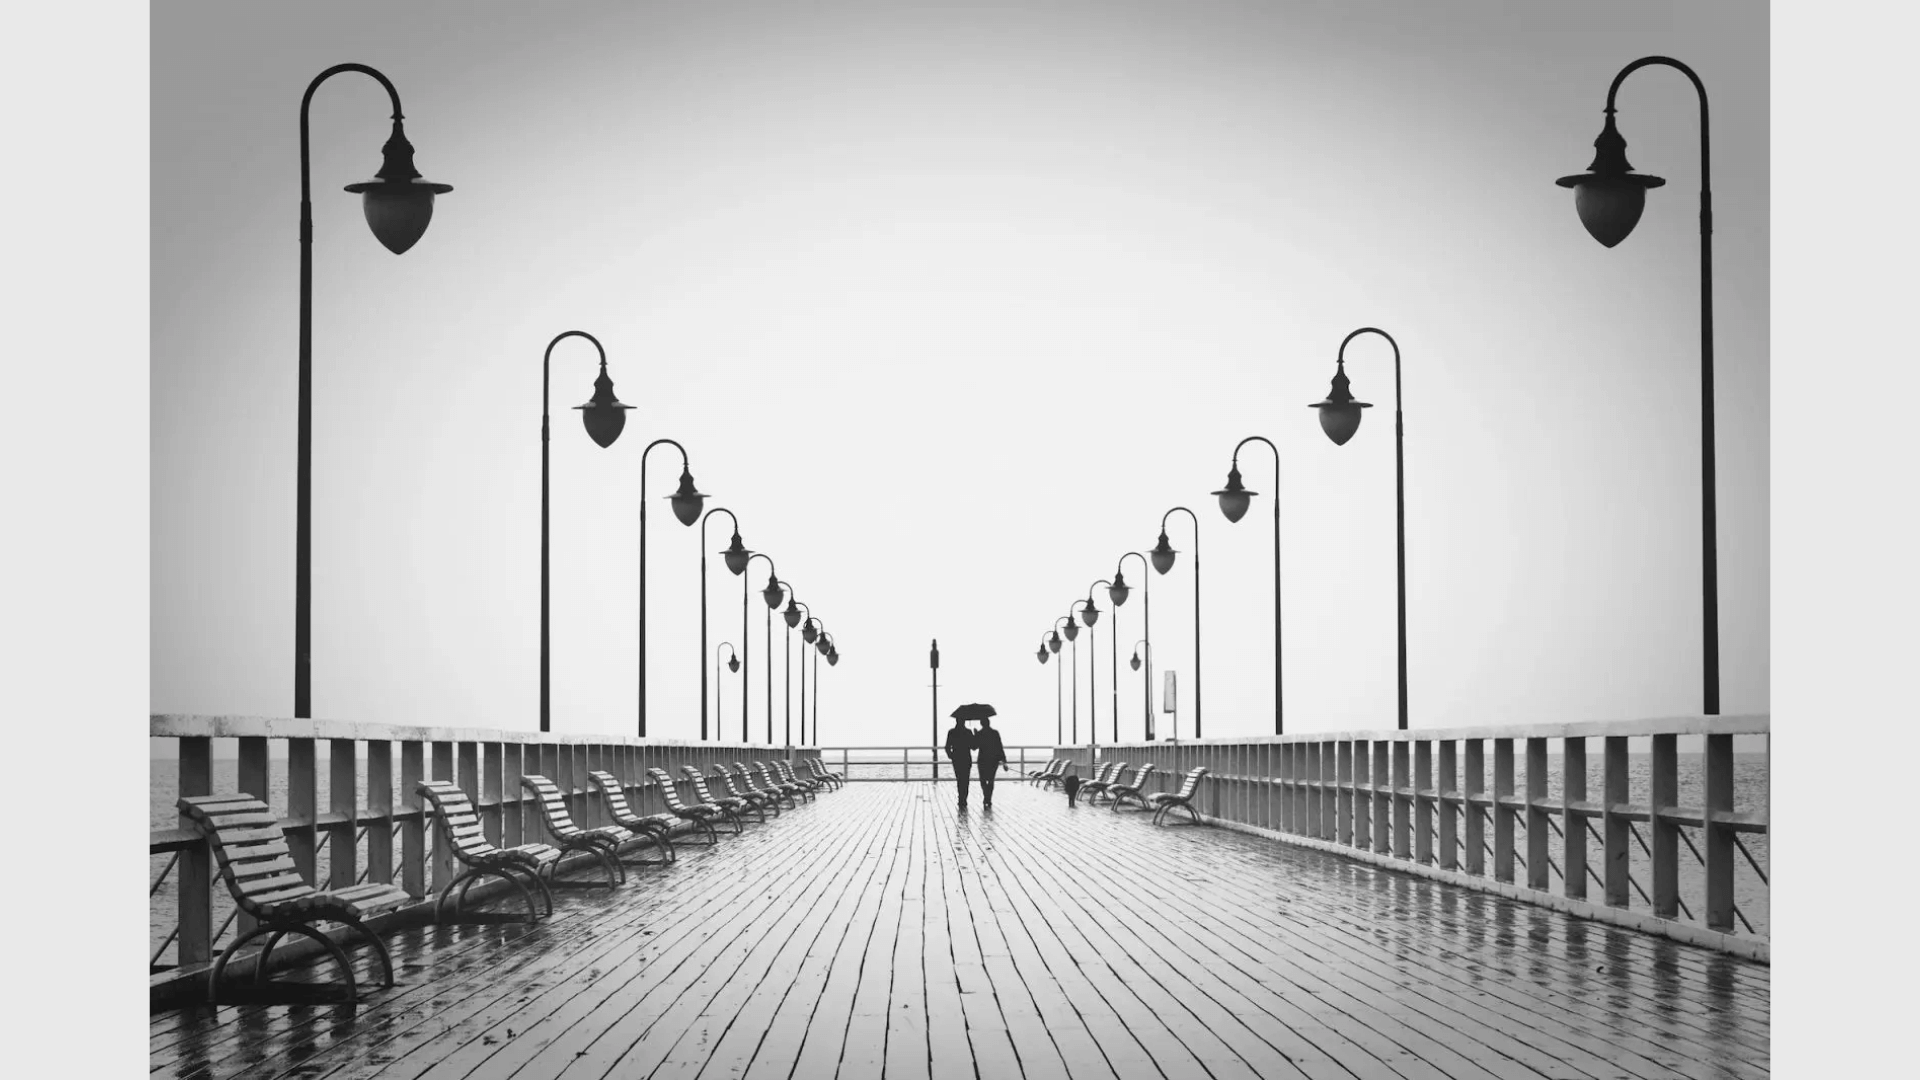
Lines in photos draw the viewer’s eye to the main subject. Roads, fences, rivers, or even shadows can act as paths that guide attention through the image.
When you find these lines in a scene, use them to point toward what you want people to notice first. Good leading lines create a sense of depth and make flat photos feel more three-dimensional. Look for natural lines in your setting.
These can be straight, curved, or zigzag – each creates a different feeling in your final image.
3. Balance
Photos need a sense of weight distribution. You can create formal balance with symmetry or informal balance by placing objects of different visual weight around the frame.
A small bright object can balance a larger dark one. Good balance helps photos feel stable and complete.
Unbalanced photos can make viewers feel uneasy, which might be useful for creating tension in artistic shots. Think about how objects in your frame offset each other when you compose your shot.
4. Contrast

Contrast occurs when different elements sit next to each other – light vs. dark, rough vs. smooth, big vs. small. Strong contrast makes photos pop and grabs attention.
Look for natural contrasts or create them by changing your position or lighting. High-contrast photos often appear bold and striking, while low-contrast photos create a softer, more subtle feel.
Playing with contrast can completely change the mood and impact of your photos.
5. Framing
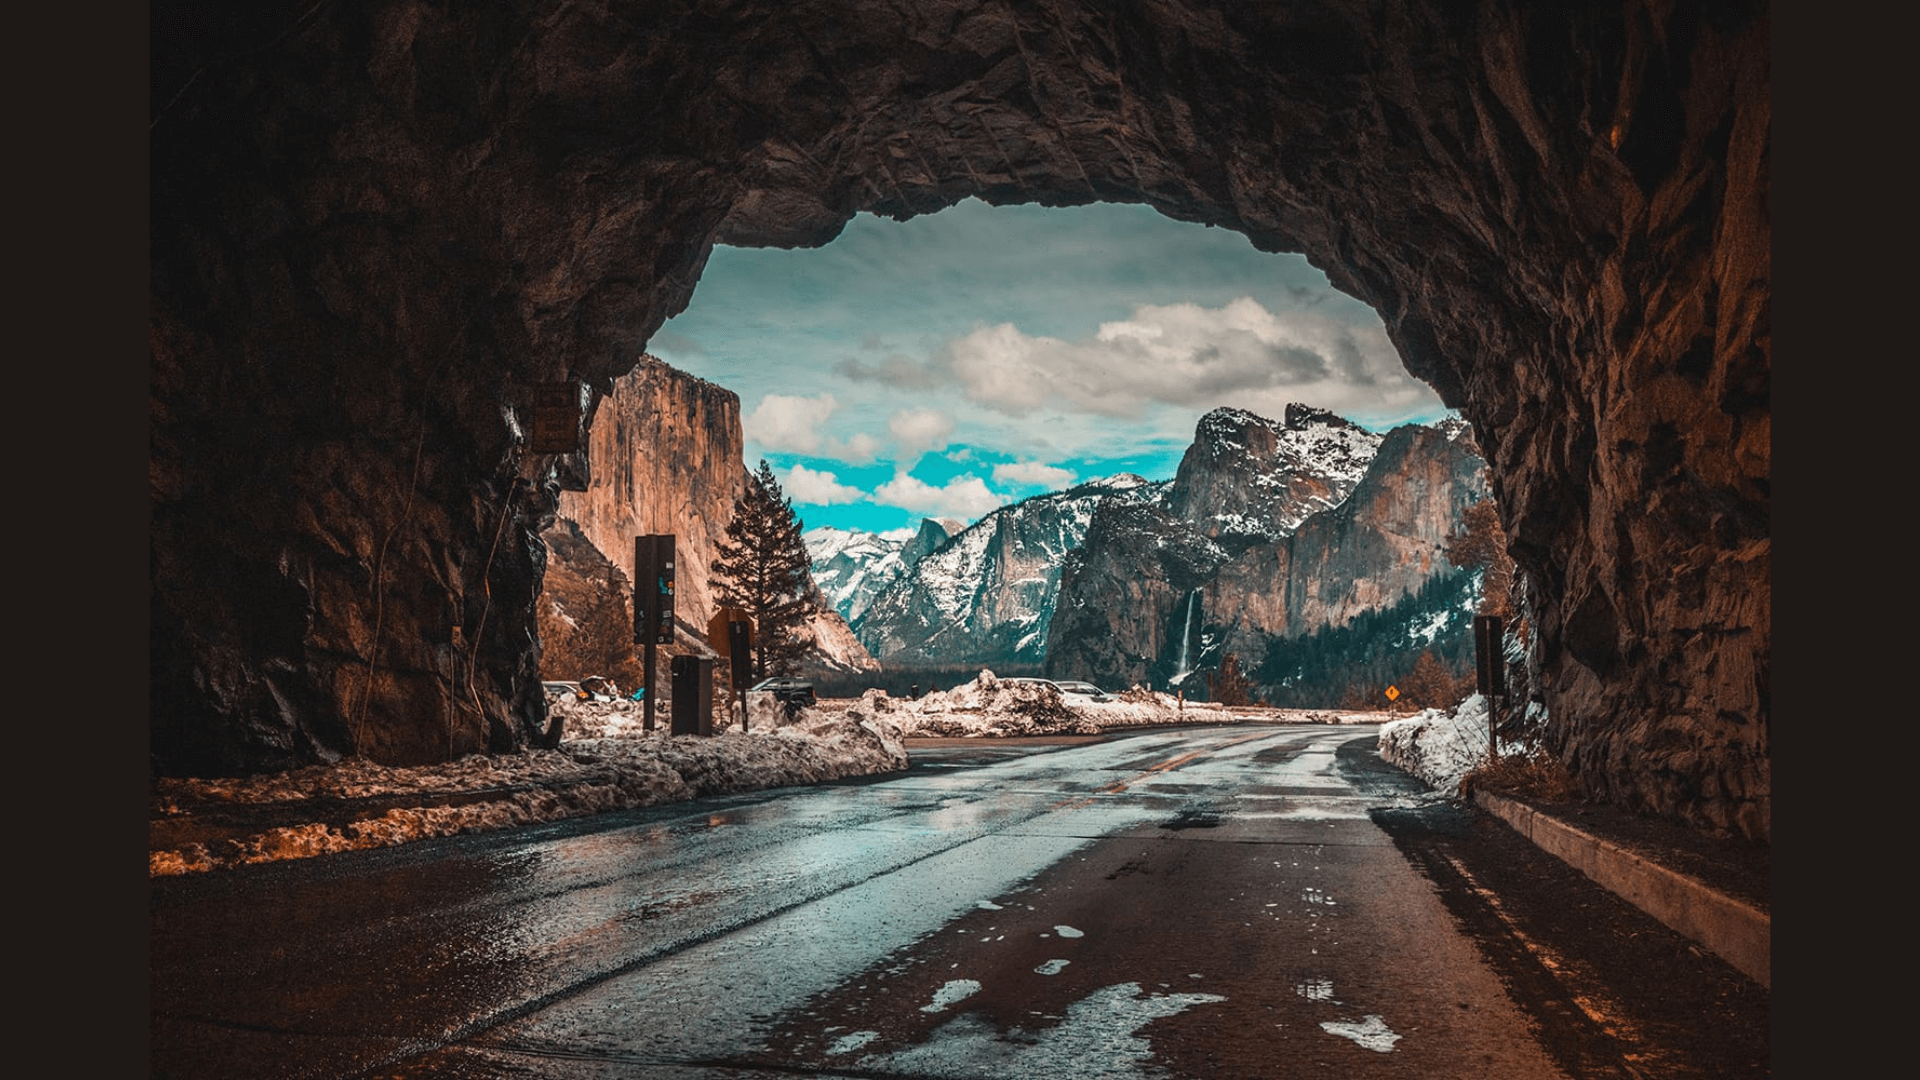
Using elements in the scene to create a frame around your subject adds depth and draws focus. Doorways, windows, tree branches, or arches can form natural frames.
This technique creates layers in your image and helps direct the viewer’s eye to the main subject. Frames can also add context and tell more of a story about where the photo was taken.
Look for objects that surround your subject in interesting ways.
6. Simplicity
Less is often more in photography. Clean backgrounds and fewer elements help your subject stand out. Remove items that don’t add to your story or message.
Look for clean backgrounds and move around to find angles that reduce clutter. Simple photos allow viewers to focus on what matters without getting lost in too many details.
Before taking a shot, ask yourself if each element needs to be there.
7. Depth of Field

This refers to how much of your image is in sharp focus. A shallow depth of field blurs the background while keeping the subject sharp.
A deep depth of field keeps most things in focus. Use this to control which parts of your photo get attention. Portrait photos often work well with shallow depth, while landscapes usually need deep depth.
You can control this by changing your aperture settings.
8. Patterns and Repetition
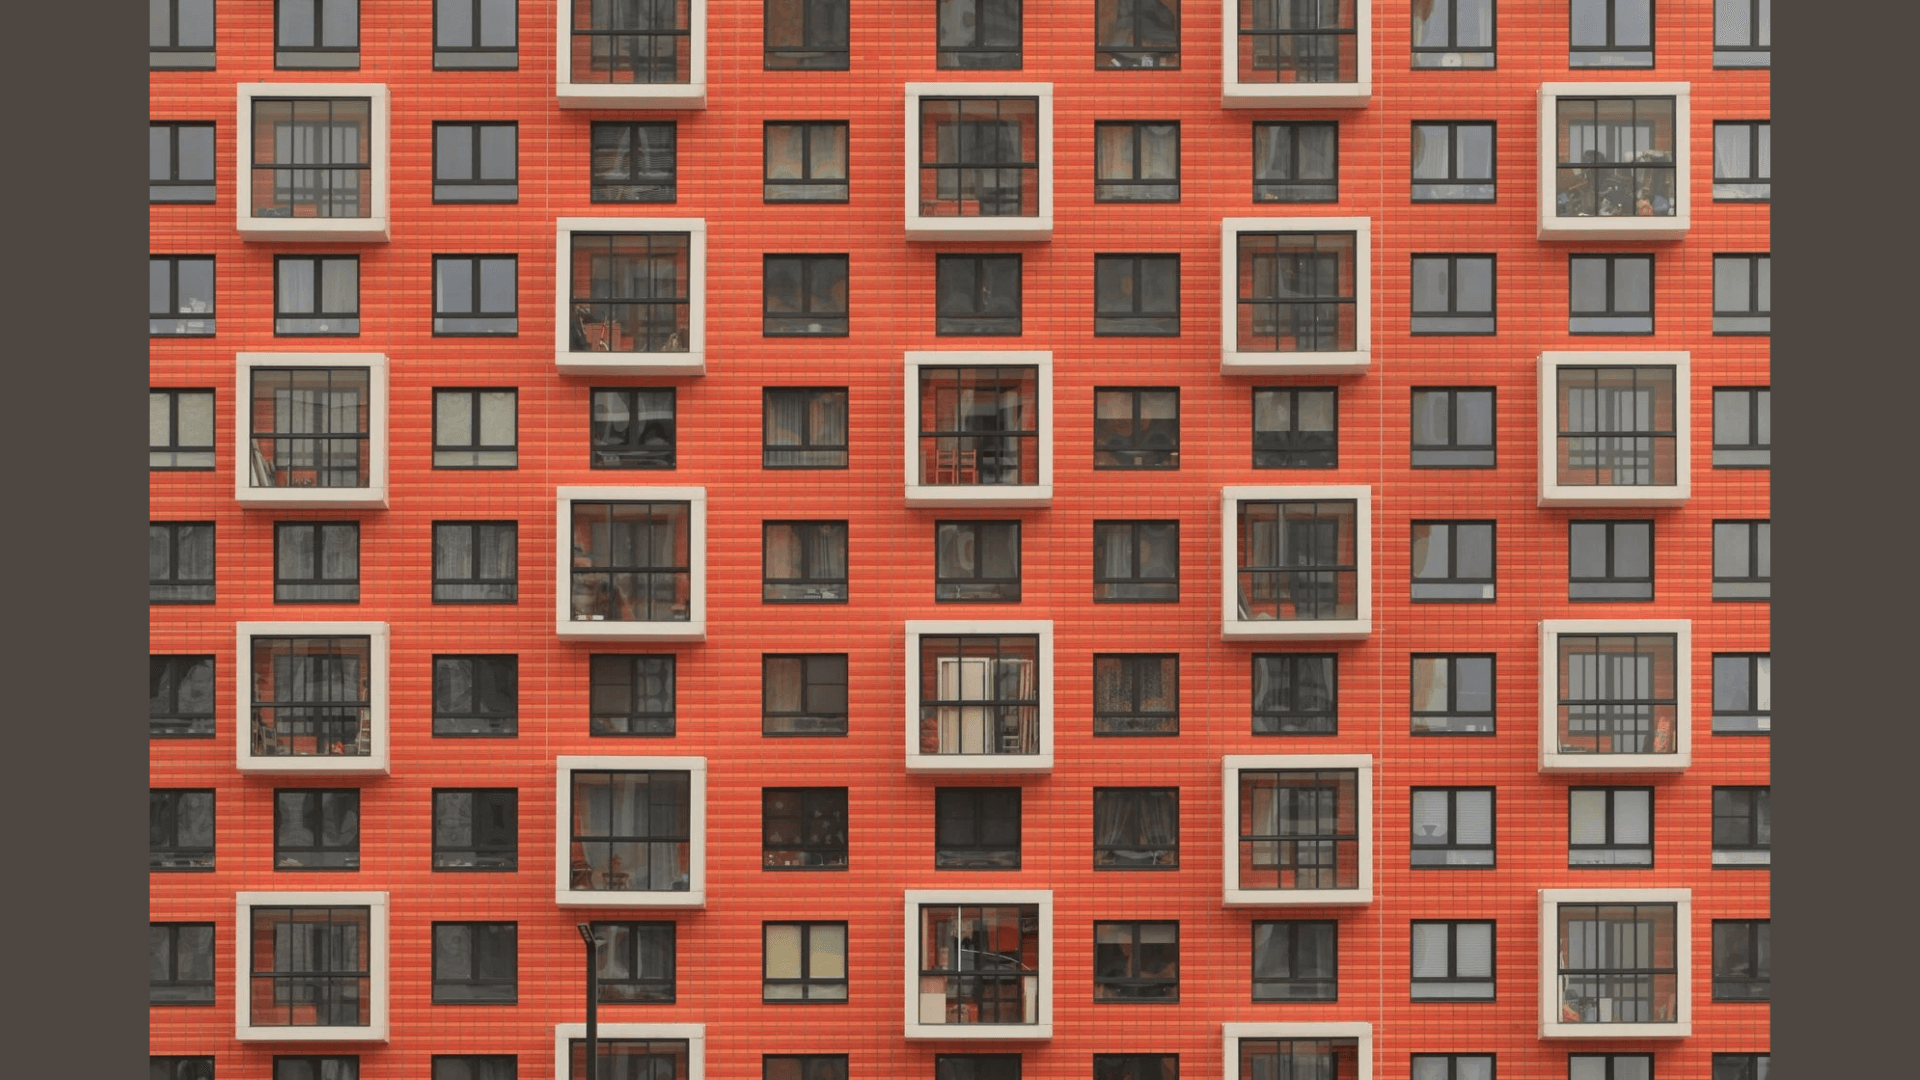
Repeated elements create visual rhythm and catch the eye. Look for natural patterns in architecture, nature, or arranged objects.
You can show the pattern itself as your subject or break the pattern for added impact. Our brains enjoy finding order in images, which makes patterns very pleasing to look at.
Breaking a pattern with one different element can create a strong focal point.
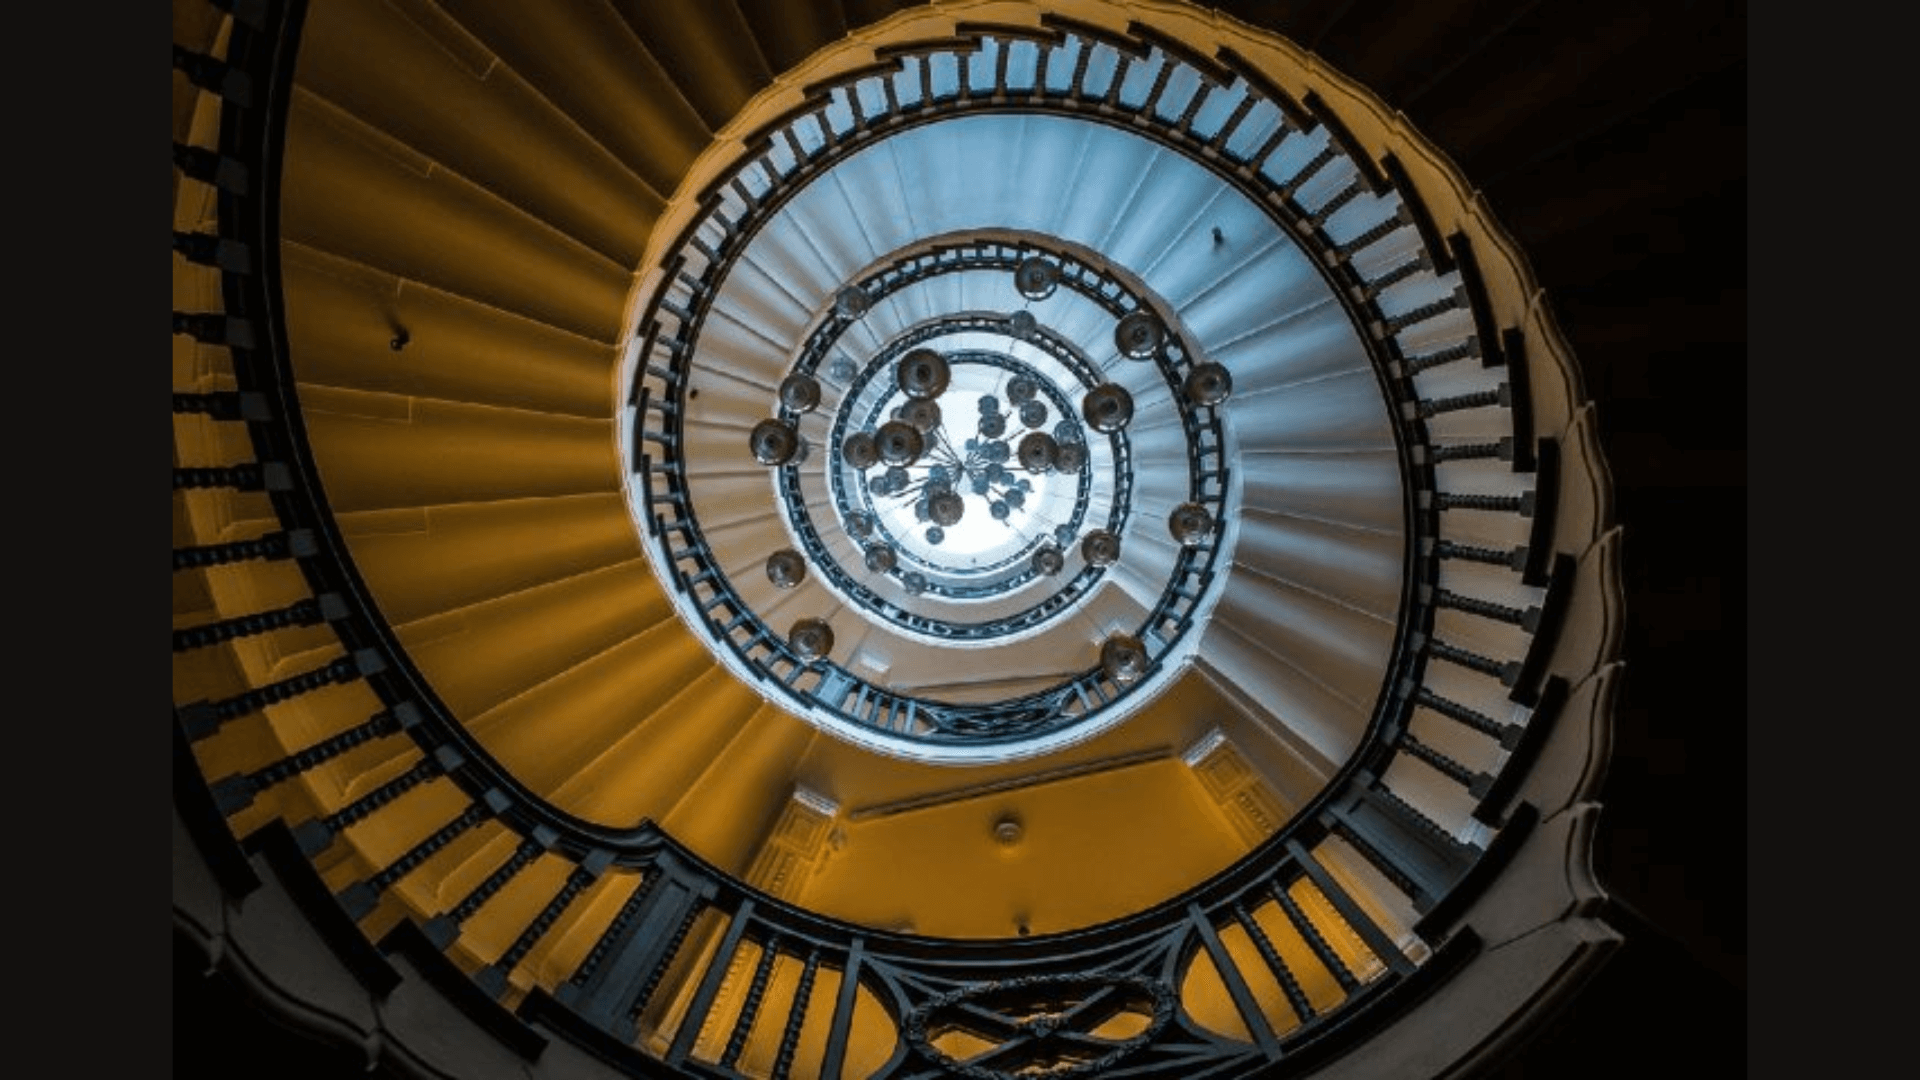
9. Golden Ratio
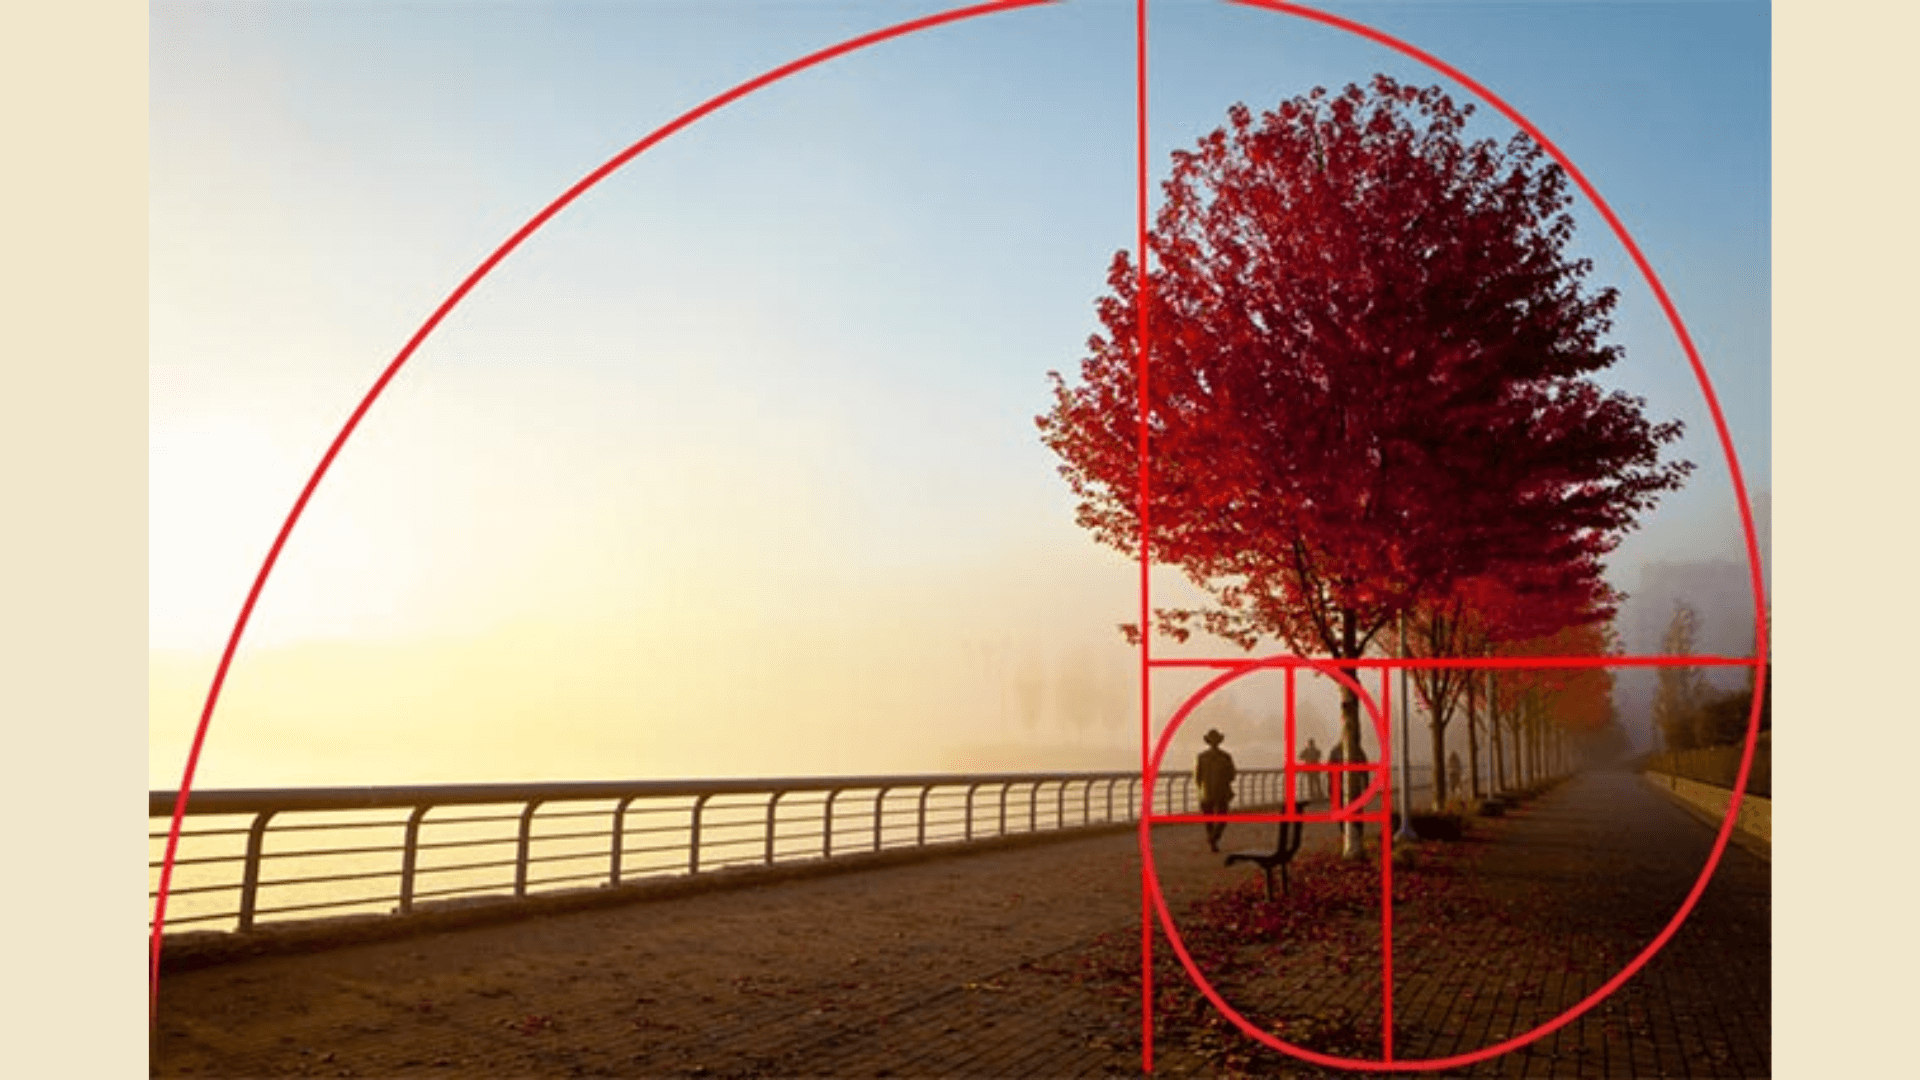
Similar to the rule of thirds but based on a 1:1.618 ratio, this creates a spiral pattern found throughout nature. Placing subjects along this spiral often creates naturally pleasing compositions.
Many famous artworks and buildings use this ratio. It creates a flow that feels natural to the human eye. While more complex than the rule of thirds, this ratio can help create extremely well-balanced photos.
10. Color Theory

Colors create mood and affect how viewers feel about your photo. Complementary colors (opposite on the color wheel) create energy. Similar colors create harmony.
Warm colors, such as red and yellow, evoke an active feeling, while cool colors, like blue and green, evoke a calm feeling. The colors in your photos can tell stories and set moods without a single word being said.
11. Symmetry
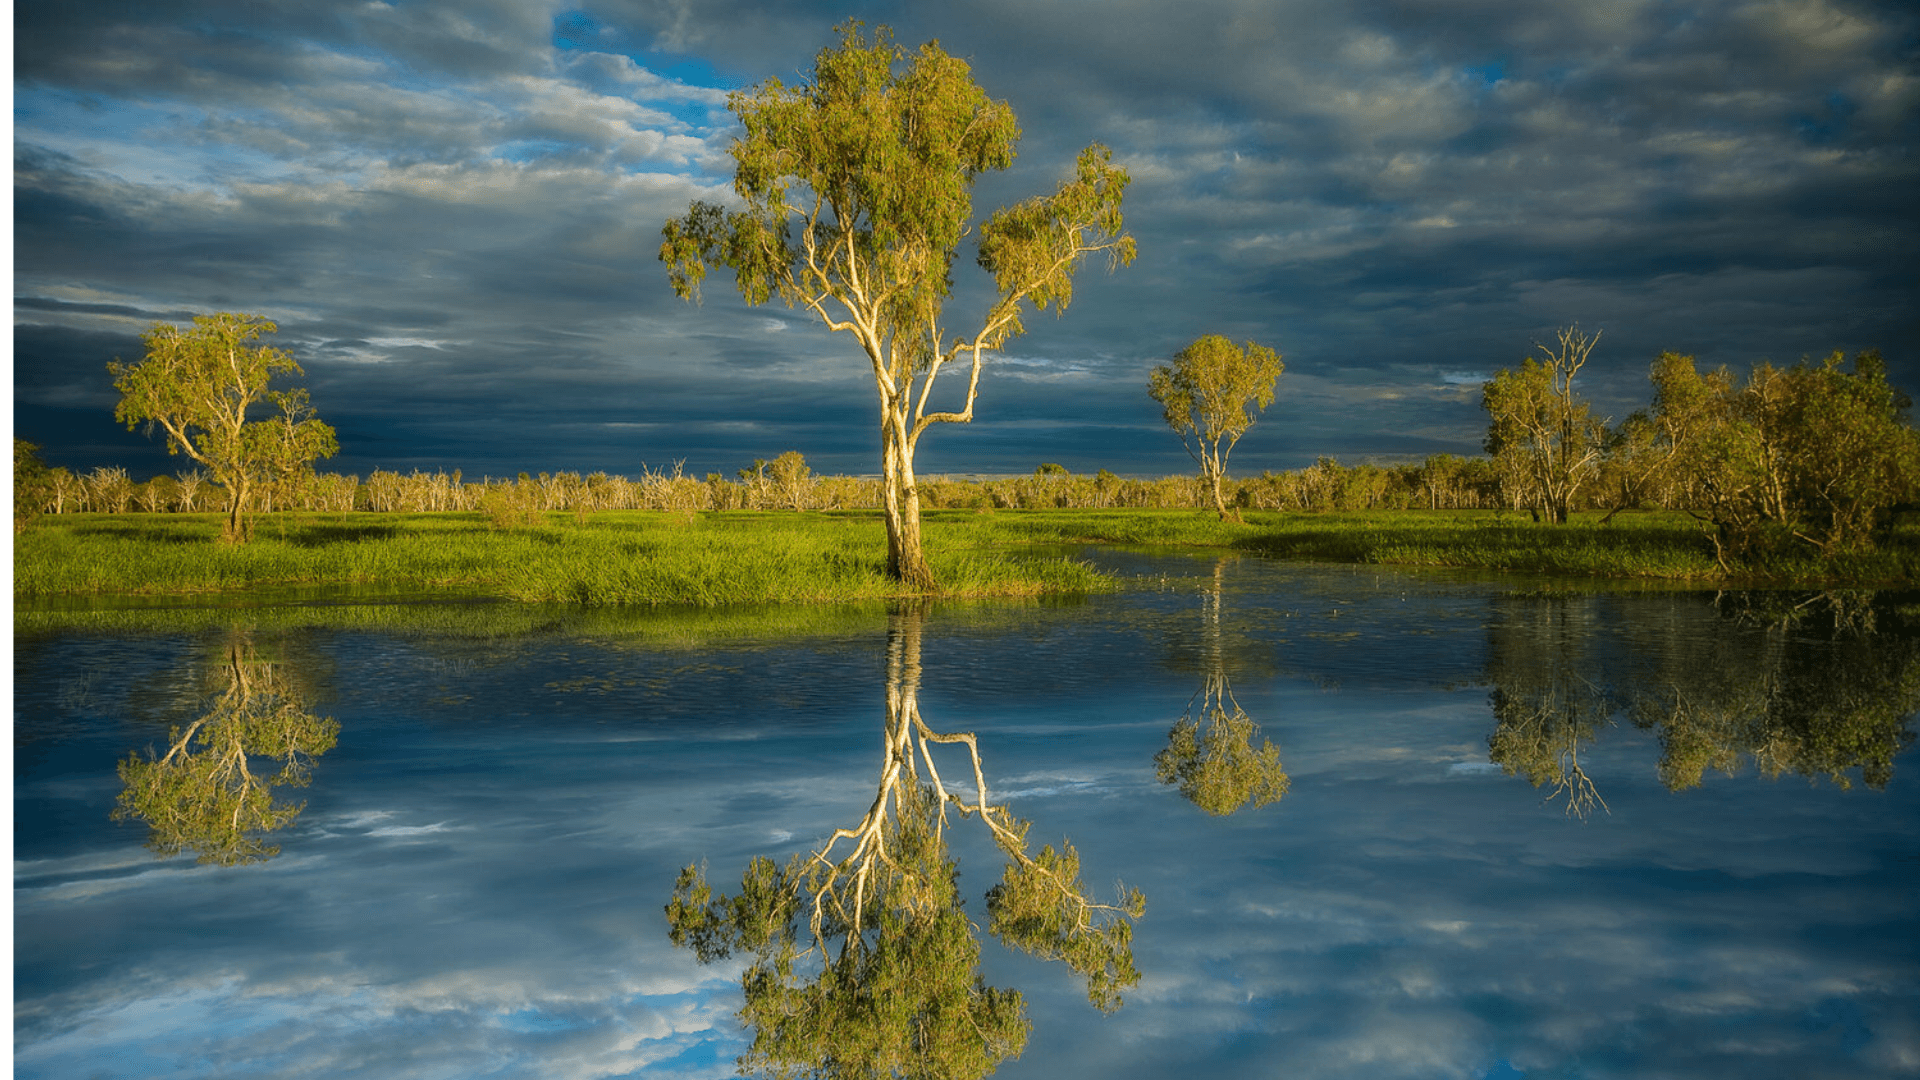
Perfect or near-perfect mirror images create a sense of order and calm. Look for symmetry in buildings, reflections in water, or faces.
You can create symmetry by centering your subject and ensuring both sides match. Symmetrical photos feel peaceful and organized.
Breaking small parts of the symmetry can add interest to an otherwise perfectly balanced image.
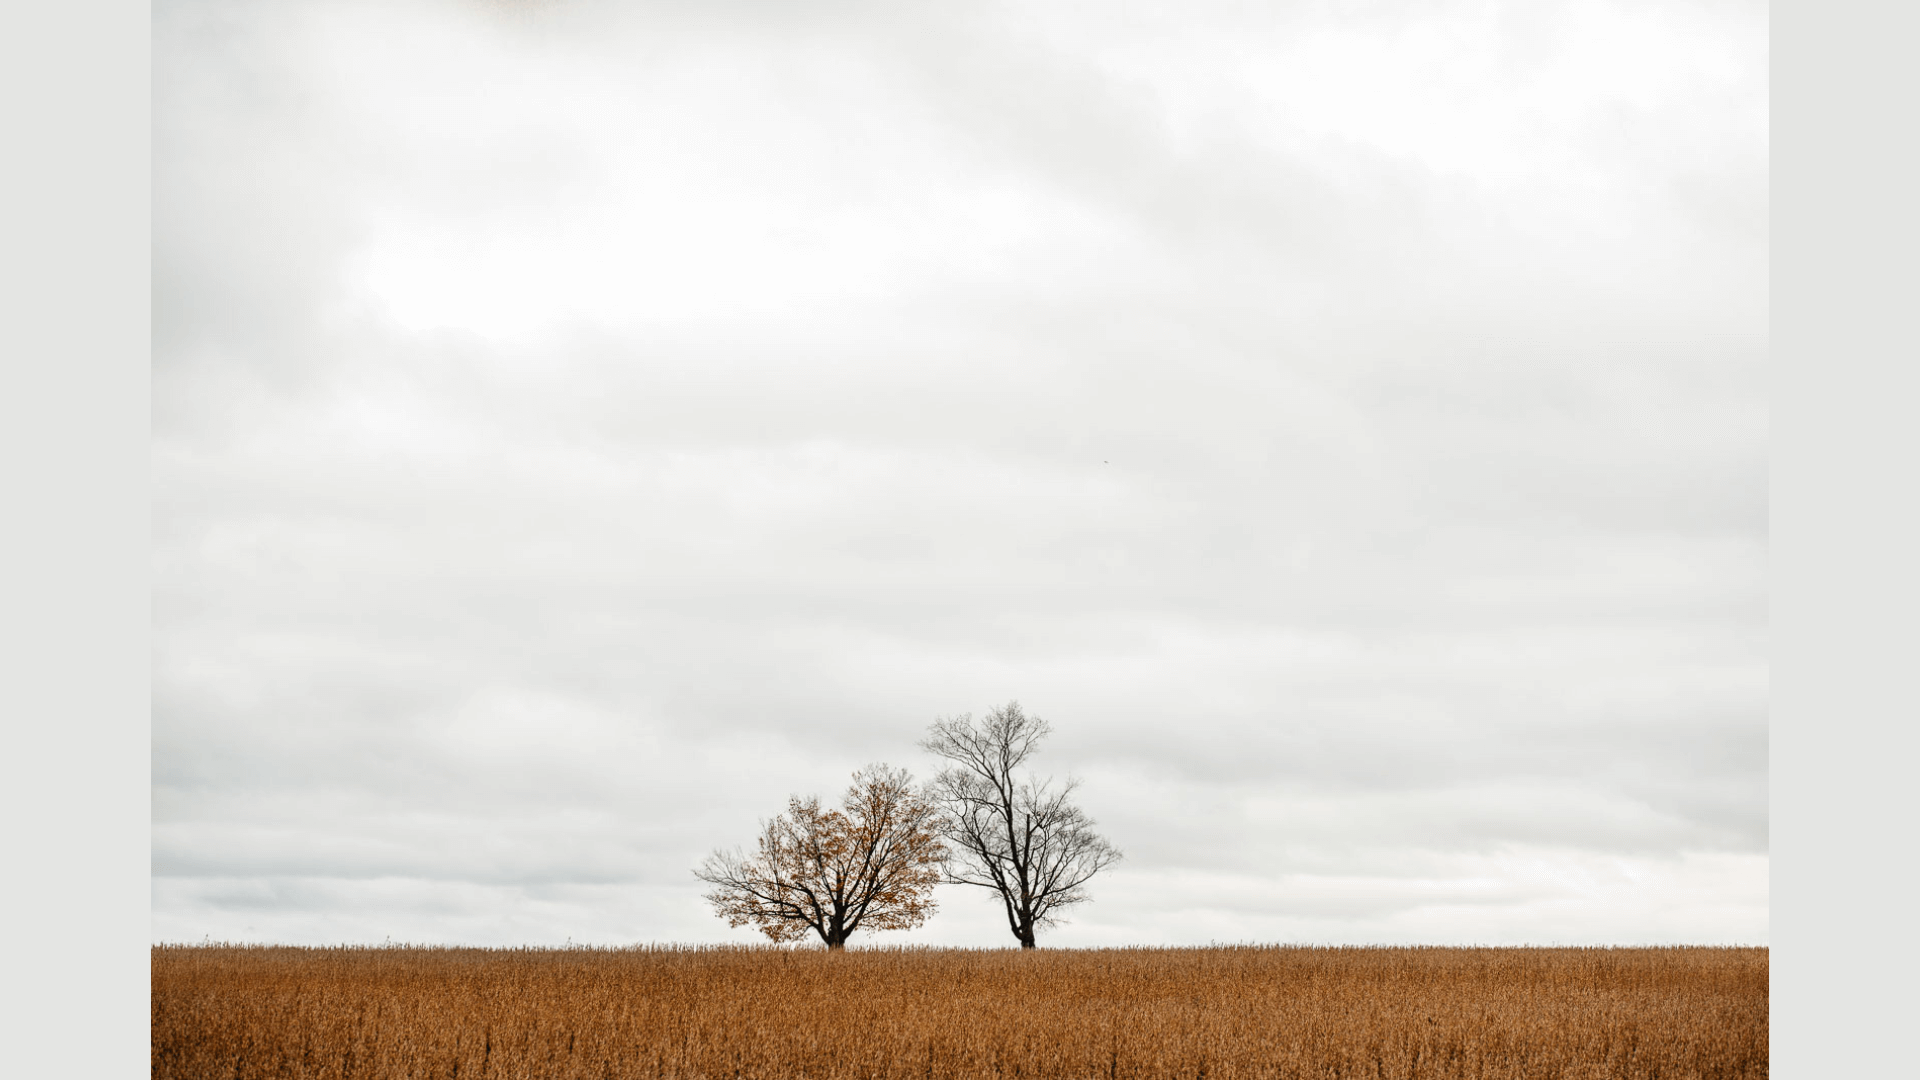
12. Negative Space

The empty areas around your subject matter are just as much as the subject itself. Proper use of empty space creates breathing room and can make your subject appear more important.
Too little space feels crowded, too much can make the subject feel lost. Finding the right balance helps create photos with a strong impact.
13. Texture

The feel of surfaces adds depth and reality to photos. Rough stone, smooth water, soft fabric – all create different feelings. Sidelight often brings out the texture best.
Getting close to textured subjects can create abstract and interesting images. Good texture makes viewers almost feel they could touch what’s in the photo.
14. Viewpoint
The angle you shoot from changes how viewers relate to your subject. Eye level feels natural; looking down can make subjects seem small, looking up makes them seem powerful.
Unusual angles can make ordinary subjects look fresh and interesting. Try taking photos from low to the ground, high above, or from the side.
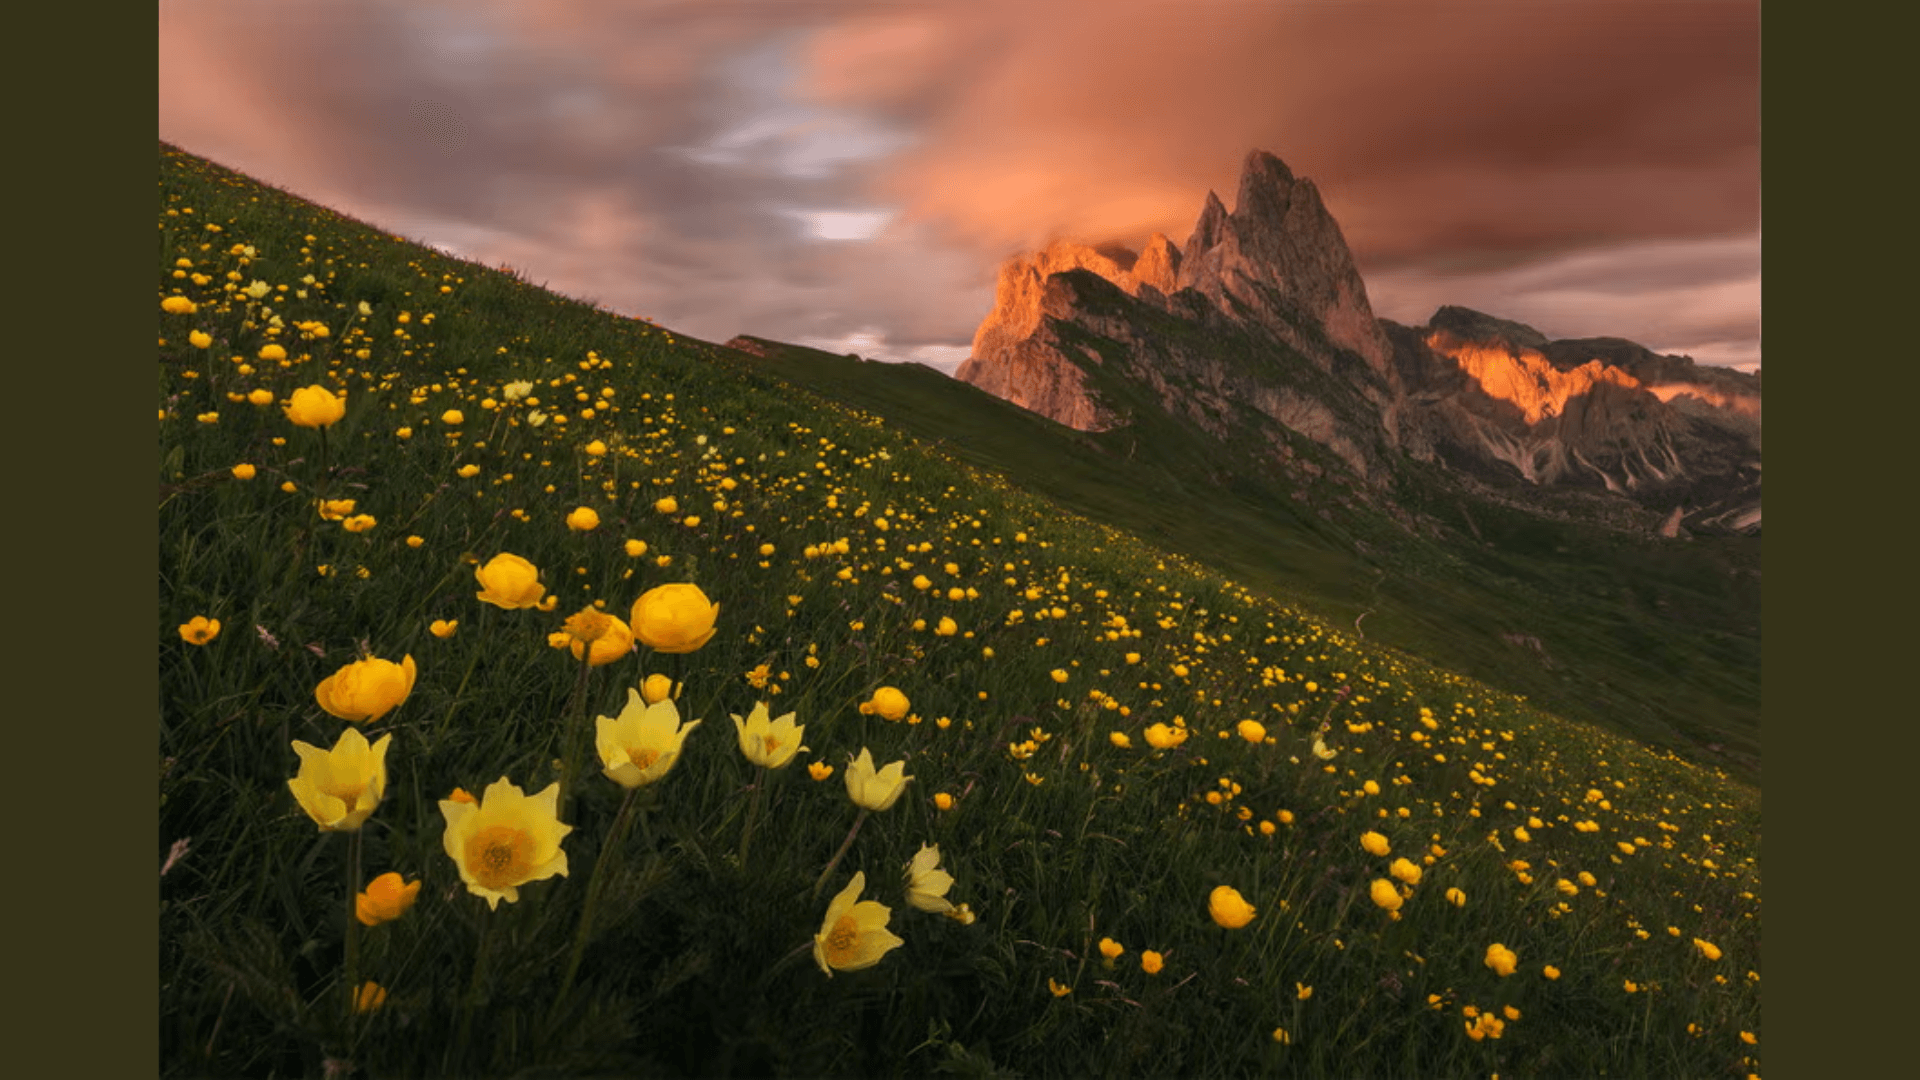
15. Scale

Showing size relationships helps viewers understand what they’re seeing. Including something of known size (such as a person) next to your subject helps illustrate its actual size.
Without these clues, viewers might not grasp the true size of what you’ve photographed. Scale can create drama when showing extremely large or tiny subjects.
Techniques for Experimenting with the Principles
Once you know the basic principles, it’s time to play with them. These techniques will help you test and apply what you’ve learned. Try one new method each time you take photos.
With practice, these approaches will become second nature, and your photos will keep getting better.
- Change Your Position: Move around your subject instead of shooting from where you first stand. Try getting low to the ground or finding a higher spot. Different angles can completely change how your photo looks.
- Shoot in Different Light: Take the same photo in morning, midday, and evening light. Notice how shadows, colors, and mood change. Light quality affects every aspect of your photos and can transform ordinary scenes.
- Use the Grid Feature: Turn on the grid lines in your camera or phone. Place key elements at the intersection points. This makes using the rule of thirds much easier and helps train your eye.
- Try Different Focal Lengths: If you have a zoom lens, take the same shot at different zoom levels. Wide angles show more context, while telephoto compresses the scene. Each creates a different feeling in the final image.
- Practice Selective Focus: Choose one specific part of your scene to keep sharp while letting the rest blur. This draws attention exactly where you want it and creates a sense of depth.
- Create Mini-Projects: Pick one principle and spend a day taking photos that showcase just that idea. Maybe focus on finding leading lines or creating balance in every shot you take.
- Edit with Purpose: When editing, make changes that strengthen the principles in your photo. Crop to improve balance, adjust contrast, or enhance colors that create mood. Good editing reinforces what your photo is trying to say.
- Study Others’ Work: Look at photos you like and identify which principles they use well. Try to recreate similar effects in your own images. Learning from others helps develop your unique style.
Final Thoughts
What makes a good photo? It’s not just about expensive gear or perfect lighting. The principles and techniques we’ve covered here form the building blocks of strong images.
Remember, great photography starts with knowing these basics. When you apply the rule of thirds, look for leading lines, or play with contrast, your photos become more than just snapshots – they tell stories.
Try one new technique each week. Take the same shot from different angles. Watch how light changes throughout the day. The more you practice, the more natural these skills become.
Want to keep learning? Share your photos with other photographers and ask for feedback.
The best way to improve is to keep shooting and trying new things.


Leave a Reply