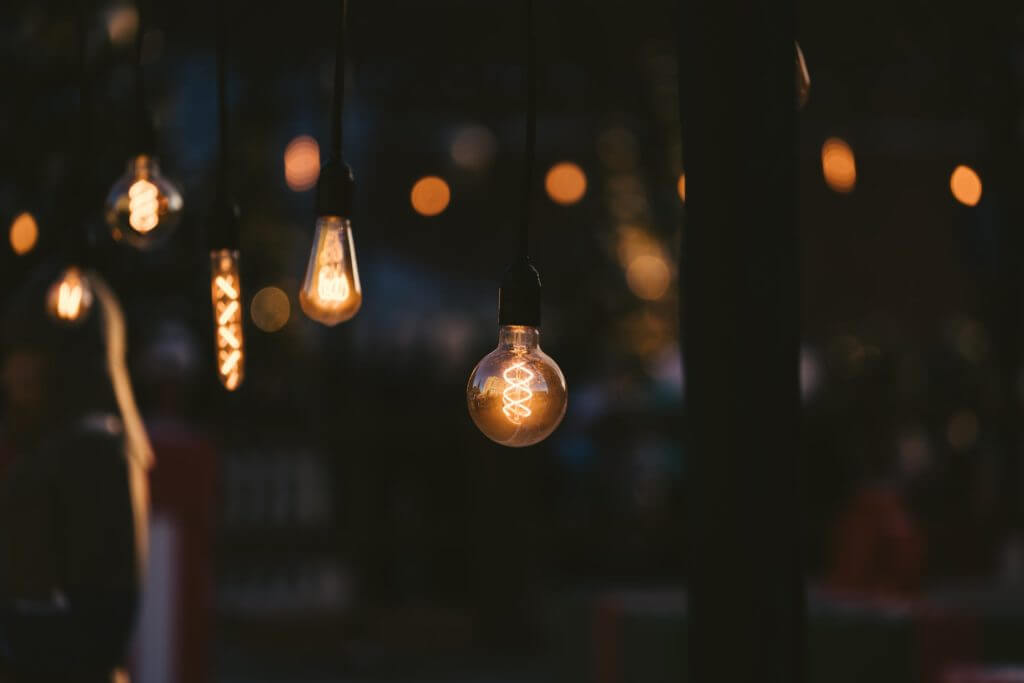
Tungsten lighting is a favorite of photographers. The reasons are many. This artificial halogen light throws a warm yellow-orange tone on the scene, giving it a highly cinematic and soothing vibe.
It clearly transforms a plain, bright picture into something that is highly pleasing to the eyes. Tungsten lighting is also very easy to use, is economical, and delivers hours of steady lighting while consuming less power. If you have used tungsten lighting before or are itching to try your hands at it, you might want to know some tricks to use it to its full potential.
Here, we share some with you so you can get the best out of your photos with this amazing light.
Ways to Manipulate Tungsten Light for Creative Effects
Have a look at the 8 ways you can use tungsten light photography to your advantage for creating stunning photo effects.
1. Dim Light for Candle-Like Effect
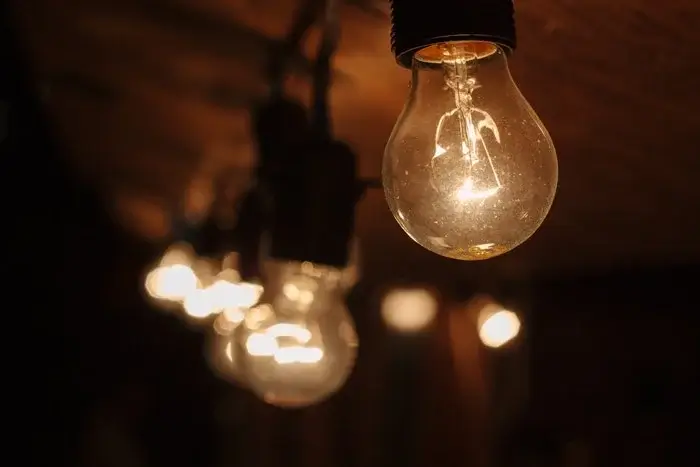
The way candles fill a space with dark light can be created with tungsten lights. Tungsten lights have a warm but bright orange-yellow hue. You can adjust the intensity of the light to create the desired effects. For a candle-like effect for serious or intense scene captures, dim the tungsten light. The effect is simply marvelous, with enough amount of warm light and shadows dominating your subject.
Most tungsten lights come with dimmable light options, but in case you have a tungsten light that can’t be adjusted, you can still decrease the light with these following tricks.
Switch off all other lights except tungsten lights. For perfect results, try reducing the aperture so that the amount of light filtering in through the lenses is limited and you have the desired dark silhouetted look.
Another way is to use something to filter the extra light passing to your subject. You can shoot your subject through something that helps you create a dimmer light effect. Plain fabric, curtains, glass doors, paper, etc., are some of the things you can use to reduce the bright intensity of tungsten light and create that candle-like effect seamlessly.
2. Backlight for Dreamy Effect
Using tungsten light as a backlight is one of the most versatile ways to use it to create distinct photo effects. Tungsten light alone is enough to create this dreamy effect for your photos. All you need to do is place the light behind the subject. From here, you can keep changing the position of the light till you achieve your desired dreamy look.
There are three ways to create a dreamy backlight look. You can either cover the tungsten light entirely for a dimmed effect or keep it half-covered for a flared-up look. But if you are aiming for a halo-like touch behind the subject, then cover the tungsten light completely. It’s highly creative and can blow your mind with an unimagined surreal effect.
3. Adjust the White Balance for a Neutral Effect
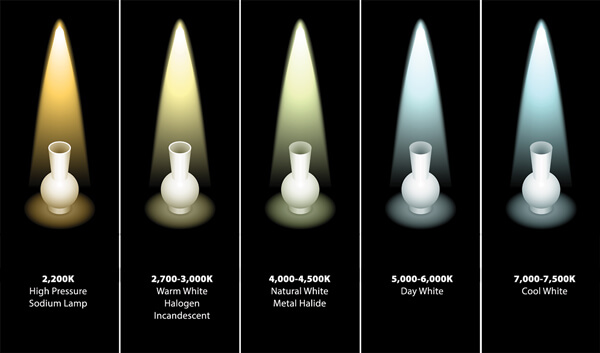
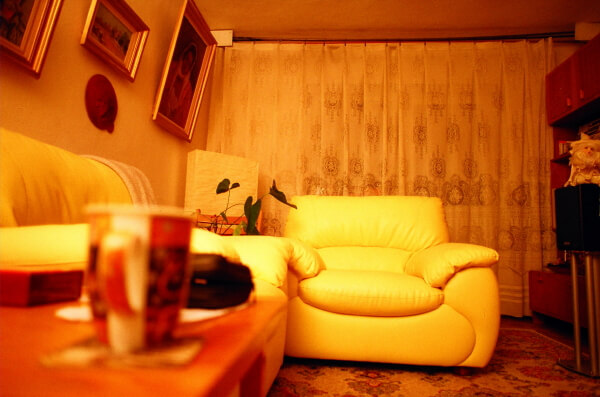
One drawback of tungsten lights is they make the colors look a bit unreal. Tungsten lights only produce warm reds, oranges, and yellows with their high color temperatures of around 3200K. This is an artificial color creation and therefore may not look convincing in many photos. This is the main reason why many photographers opt for LED or fluorescent lights to get photos nearer to the real look. But there is a way to get your tungsten light to create a rich, warm hue without looking too artificial.
The answer lies in white balance. This camera setting is what makes the colors appear authentic in your photos. The whites and blacks are rendered as close to the real thing as they can be through a correctly adjusted white balance. Make the color temperature cooler than warmer, and see the tungsten light do the magic of creating a neutral yet artistic effect for your photos. This also enables you to edit the photos easily by adding the desired color effect later on.
4. Combine with Evening Light for a Dramatic Effect
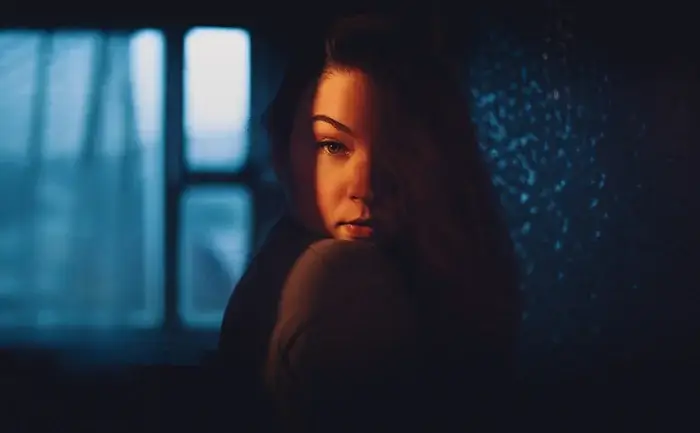
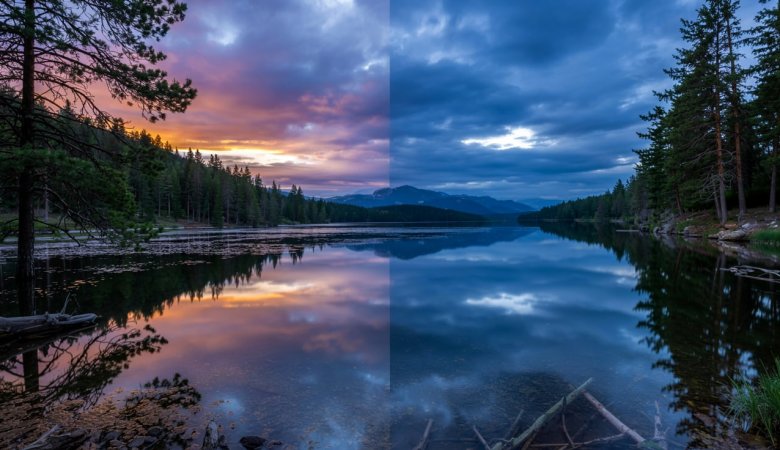
When the tungsten light’s warm color and the evening’s cool color combine, a magical scene unfolds in front of your camera. This combination is a great way to create that rich, dramatic effect.
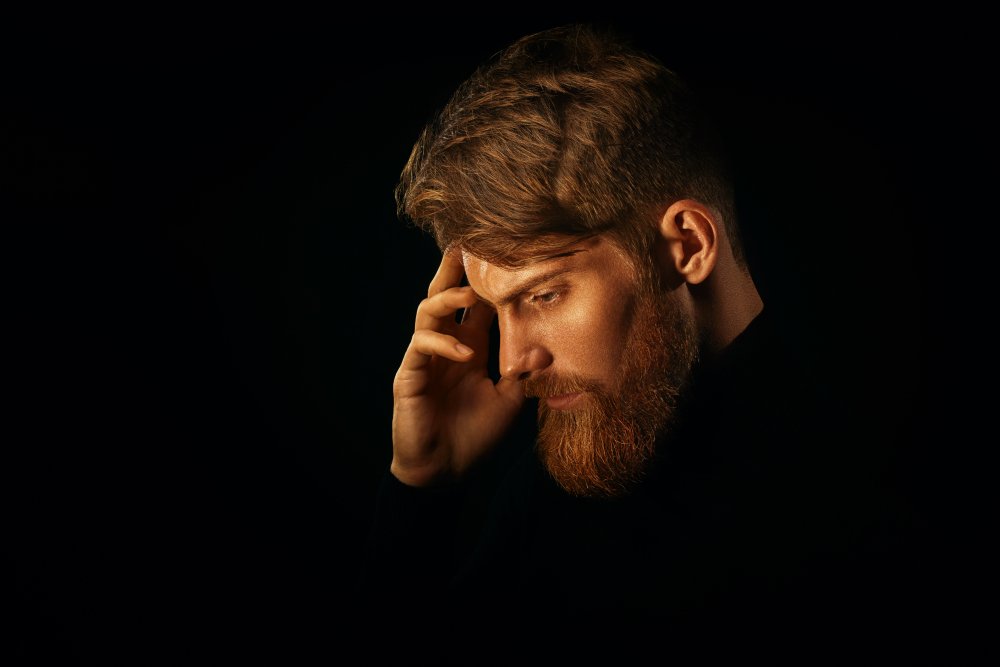
For this effect, shoot in the blue hour of the evening. This is the time when the color outside is not too bright nor too dark; it’s primarily blue or cool. It creates a mysterious feel with the warm orange or yellow glint of tungsten light. The contrast is just perfect for a shadowy and slightly illuminated photo. This type of effect is great for scenes depicting sadness or lost-in-deep-thought portraits.
5. Combine with Daylight for a Natural Effect
The complete opposite of the above effect is the natural effect. You shoot in the day instead of the evening and make it subtler in look and feel. Combining tungsten light with bright daylight is an excellent way to give your photos an incredibly natural touch without taking away the artistic feel. That is because light from the sun will give the photo a natural look, and the warm glow of tungsten light will give it a creative touch.
The best way to use tungsten light for a natural effect is to shoot as close to the window as possible. Or shoot during the time of the day when it is too bright, so no matter where you are in the room, your subject gets bathed in enough natural light. To emphasize the natural day feel, you can use extra lighting like ceiling light, lamp, or other warm lighting in addition to tungsten light.
6. Few Tungsten Lights for a Stunning Portrait Effect
Tungsten lights can make portrait photos shine like no other. With the warm glow of tungsten lights, your portraits will appear finely gorgeous. And this can be achieved with just a few tungsten lights.
You can place two tungsten lights on either side of the model and one behind. You can reduce this amount of tungsten lights by adding a mirror. A mirror will reflect the tungsten light on the model’s face, doubling the warm glow and giving you a perfectly lit face minus under-eye shadows.
7. One Tungsten Light for a Thrilling Effect
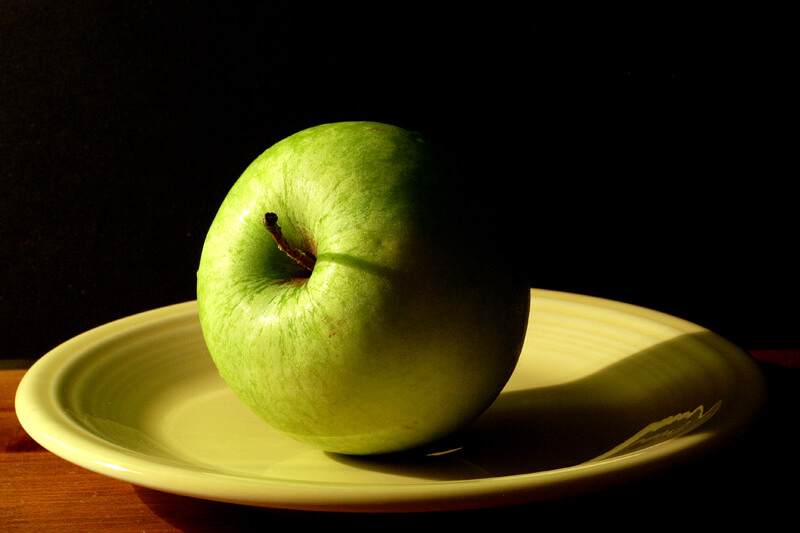
A dark room lit with a single tungsten light. That’s the kind of effect you need for thrilling and suspenseful photos. To achieve this effect in the best way possible, use a single tungsten light on one side of the subject. This creates a dark, warm glow with long shadows.
This effect works great for portraits, inanimate objects, and pet photos. You will want to shoot at night or draw thick curtains on the windows to make the room dark for the single tungsten light to create the effect perfectly.
8. Bright Tungsten Light for the Bokeh Effect
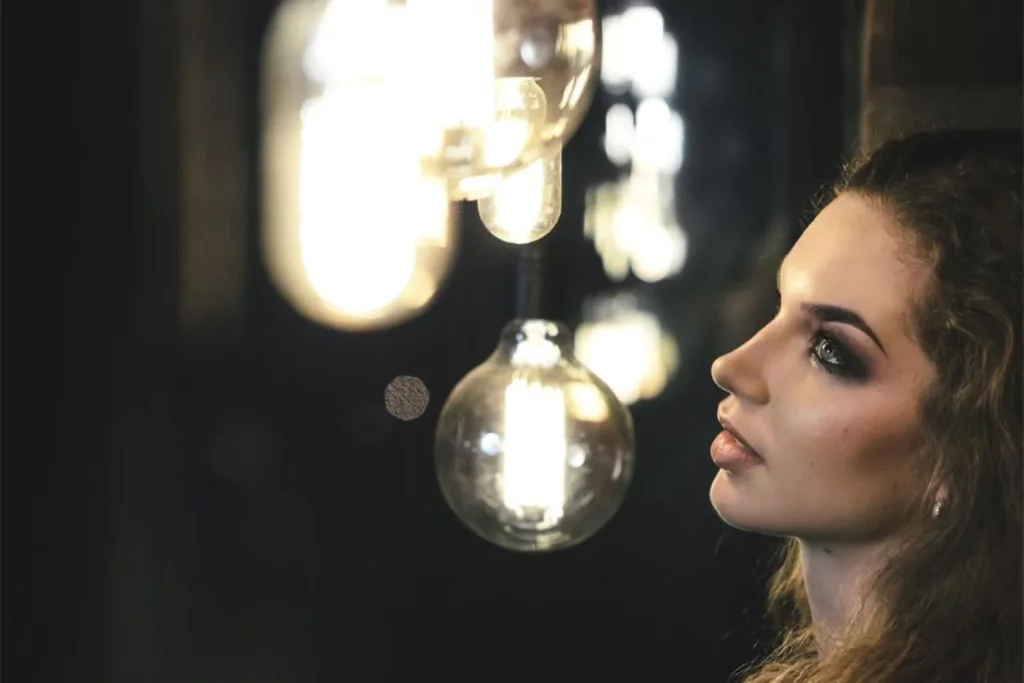
The bokeh effect is simply stunning and lends a unique feel to a photo. It brings the subject into high focus and softly blurs the background. For this, you will need a tungsten light, which is set at maximum brightness. To enhance the brightness, choose a large aperture size for your camera so that more amount of light can pass through the lens. Place your subject in front of the gorgeous backdrop of bubbles, waterfalls, glitters, etc. Now, focus the camera on your subject and click.
In a Nutshell
Tungsten lights are so much fun to play with. They lend your photos the creative touch you have envisioned without making them appear fake. These tricks or manipulative ways let you use tungsten lights to their full potential, thus enhancing your creativity and meeting your visions.
Whether it is dreamy silhouettes, suspenseful shadows, or sparkling highlights, there are endless possibilities of what this single lighting can help you achieve.
And not to forget how placing the light in different angles and positions can make a simple shot look like a masterpiece. We hope these tips prove helpful in creating desirable effects with tungsten lights.
Happy photographing!


Leave a Reply