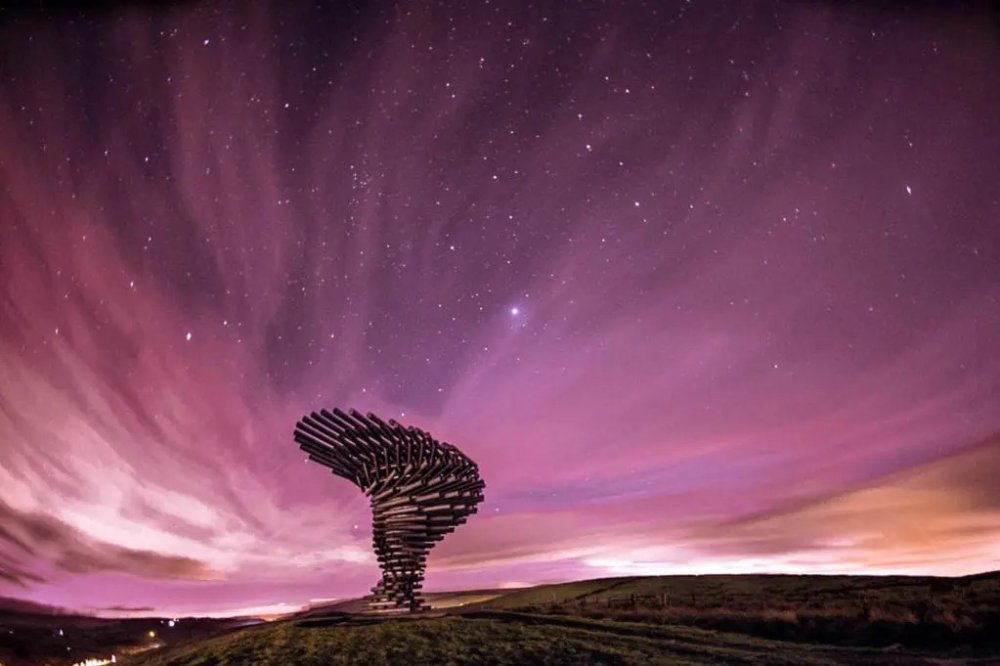
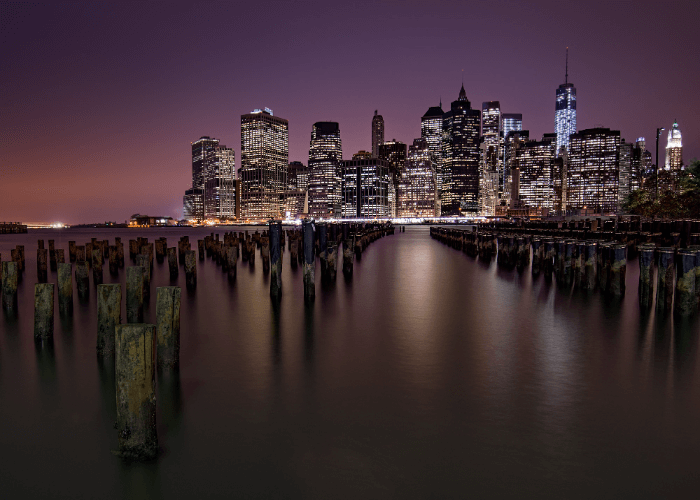
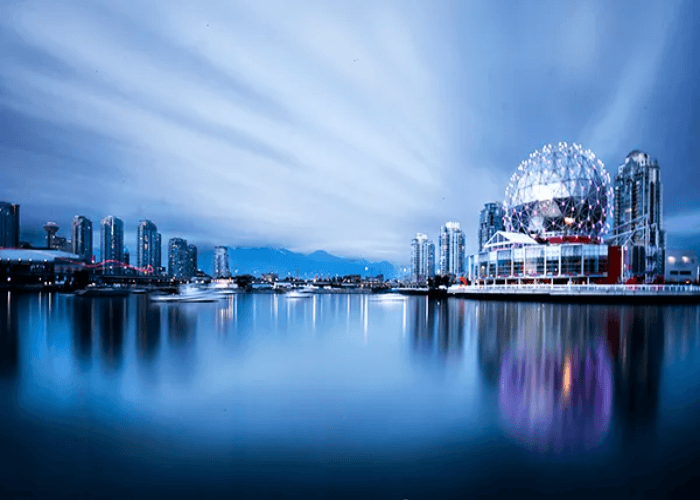
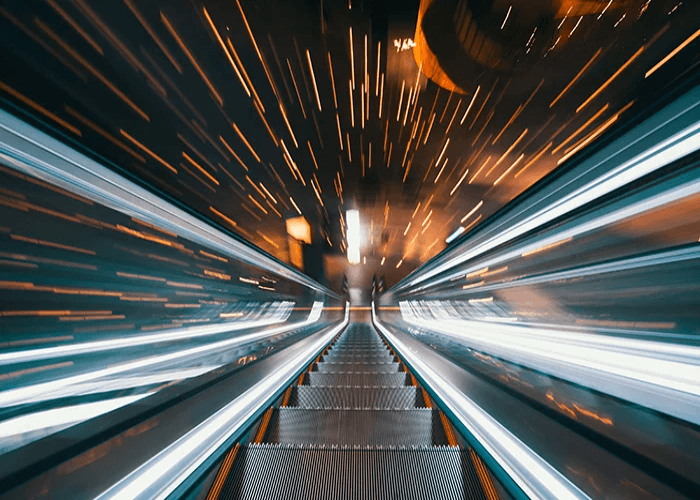
The intriguing technique of long-exposure photography can turn commonplace surroundings into compelling works of art. The result is beautiful visual effects like silky waterfalls, star trails, and light trails from moving cars. It requires utilizing a slow shutter speed to record motion and light over a prolonged period.
If you are new to long-exposure photography, don’t worry; This thorough tutorial will lead you through the fundamentals and assist you as you set out on a quest to produce mesmerizing photography ideas for beginners that stand out from the crowd.
Check Your Materials
Make sure you have the required gear before beginning long exposure photography;
1. Camera
Any manual setting digital camera from the present period will do. Due to its manual control possibilities, a DSLR or mirrorless camera is preferred.
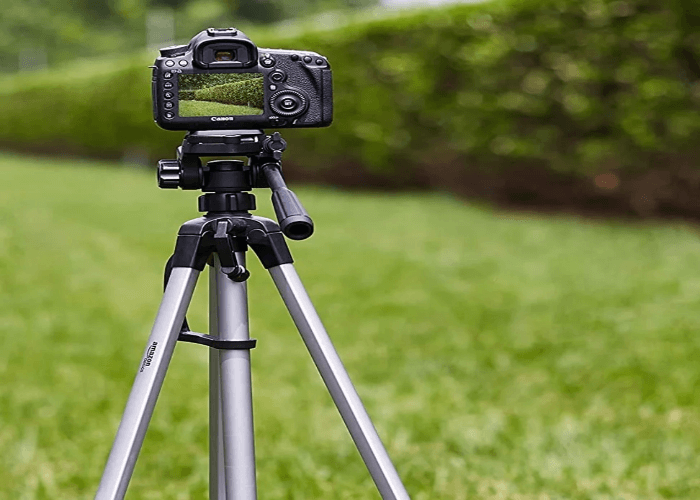
2. Tripod
To keep your camera firm during long exposure photographs, a reliable tripod is needed. By doing this, camera shaking is avoided, which might degrade the clarity of your pictures.
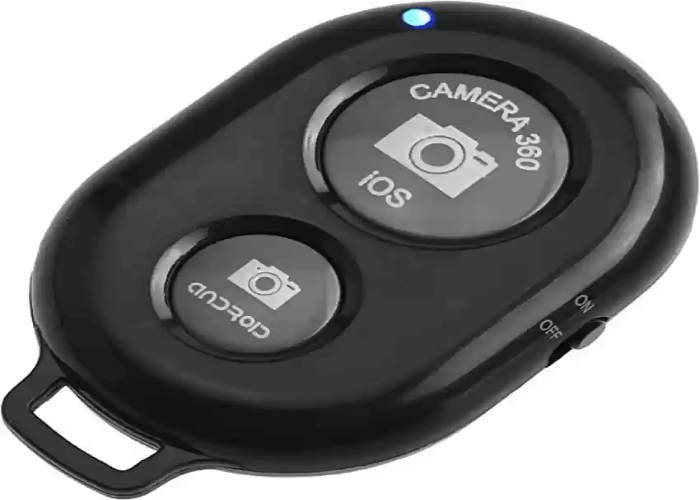
3. Remote Shutter
By using a remote or cable release, you may reduce camera wobble, which can occur when you click the shutter button on your camera.
Understand Shutter Speed
The foundation of long-exposure photography is shutter speed. The length of time the camera sensor is exposed to light is decided by it. You will normally utilize certain speeds of a few seconds to minutes or even hours for long-exposure photographs. Try out various shutter speeds to get varied results, such as catching light streaks or blurring motion.
Set Up the Camera
As you move ahead to start capturing, you should know how to set up your camera by:
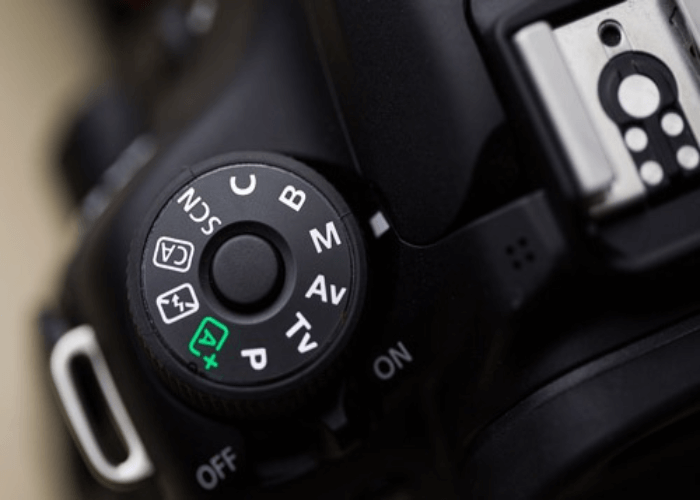
1. Change to Manual Mode
On your camera dial, select manual mode to give yourself complete control over the settings.
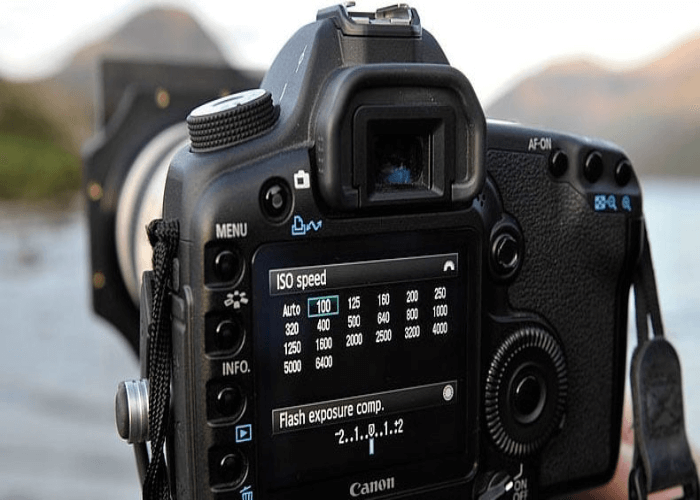
2. Lower ISO
Lower the ISO setting to decrease noise in your photographs, for example, ISO 100.
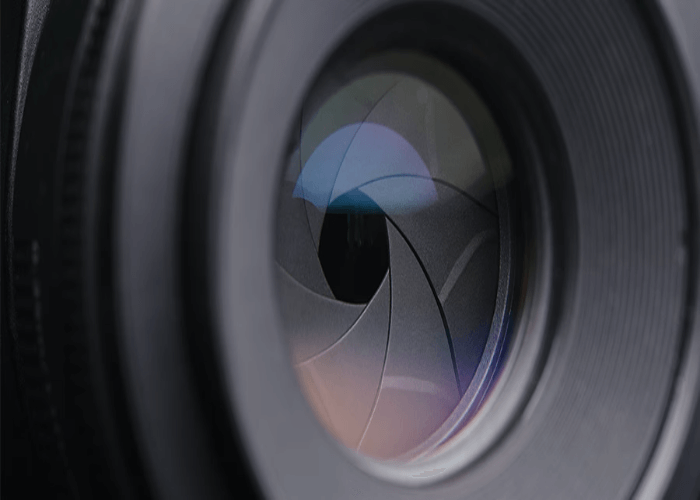
3. Set the Aperture
To ensure a greater depth of field and retain clarity across the frame, use a smaller aperture with a bit higher f-number.
Compose the Shot
As soon you set up your camera and settings, you are ready to set your Photos by composing various settings and physical characteristics.
1.Choose a Scene
Long exposures are effective when there are moving objects in the picture, such as water, clouds, or moving vehicles. Popular topics include seascapes, rivers, and waterfalls.
2. Frame the Shot
Carefully evaluate where your main subject, foreground, and background components should be placed in your photograph.
3. Focus
Set your lens’ focus manually and tweak it to get crisp images. Magnification and live view can be used to hone in on certain details.
Calculating Time Exposure
It might take some trial and error to determine the appropriate exposure time for long-exposure photographs. Use the sunny 16 rule as a popular starting point: Set your aperture to F oblique 16 and ISO to the base value, for example, ISO 100, and then modify your setter speed until the exposure is right. There is not a universal formula, though. Your exposure settings might be affected by factors including writing, the intended look, and the density of any filters you are applying. To improve your method, experiment and analyze your findings.
Using ND Filters
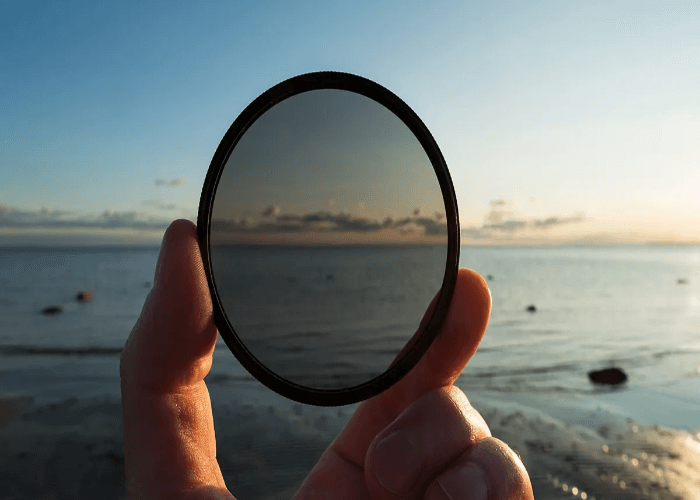
Filters with neutral density are crucial equipment for long-exposure photography. Because they cut down on light entering the lens, you may utilize slower shutter speeds even in strong lighting. The strength of ND filters is measured in stops and varies. As you acquire skill, start with a 3-stop or 6-stop ND filter and then progressively add more to your collection.
Use Bulb Mode
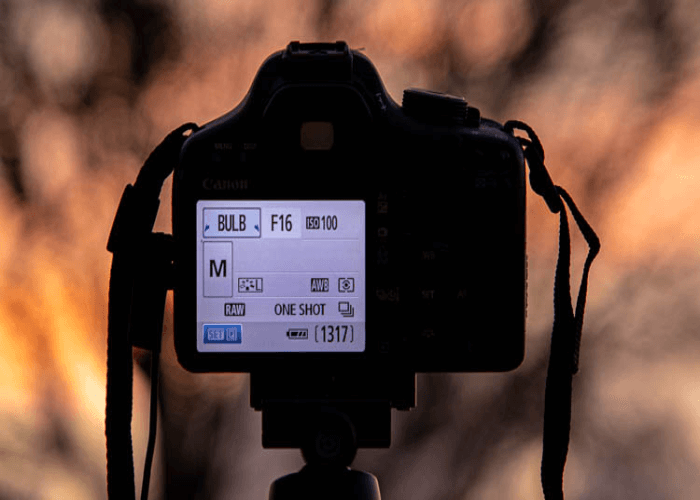
Change to Bulb mode for exposures that last longer than the camera’s predetermined shutter rates. As long as the shutter button is depressed, the shutter remains open in this mode. In Bulb mode, a remote shutter release comes in helpful for reducing camera shaking.
Experiment and Practice
The scale of long-exposure photography calls for experience and experimentation. If your early results don’t meet your expectations, don’t give up. Continue honing your skills, picking up from your errors, and experimenting with new concepts.
Safety and Considerations
- When shooting outside, be aware of your surroundings and take essential safety precautions.
- Carry extra memory cards and batteries because prolonged exposures can quickly drain one battery and fill one’s memory card.
- Respect the surroundings and any laws or rules that may be in effect where you are taking pictures.
Conclusion
All in all, long-exposure photography provides an enthralling opportunity to artistically and uniquely capture motion and light. You may open up a world of options and produce breathtaking photographs that captivate viewers with the correct tools, a thorough grasp of camera settings, and a creative eye.
So, walk out with your favorite spot with your camera, tripod, and remote shutter release in hand and explore the fascinating world of long-exposure photography.
Frequently Asked Questions
What Shutter Speed Should I Use for Long-Exposure Photos?
The desired effect determines the appropriate shutter speed. Start with exposures of many seconds to minutes for smooth water or light trails. Depending on the amount of motion you wish to capture, choose your shutter speed.
How Can I Avoid Overexposing Myself in Strong Lighting?
Use a narrower aperture with a higher F number and low ISO settings to avoid overexposure. Reduce the amount of light entering the lens if necessary by using ND filters.
Which Subjects Lend Themselves Well to Long-Exposure Photography?
Scenes with motion, such as those with rivers, clouds, waterfalls, and traffic, perform particularly well. Investigate the possibilities of many subjects via experimentation.



Leave a Reply