Light can change everything in a photo, even if you’re using the same spot and camera. That’s why knowing about the golden hour and blue hour is so useful.
These two times of day bring out soft, rich colors that make photos look more natural and alive.
In this blog, I’ll explain what golden hour, blue hour, and twilight are. You’ll learn how they affect your photos and how to use each one in a smart way.
By the end, you’ll understand when to take your shots to get the best light and mood.
Golden hour vs blue hour—it’s all about timing. Let’s make it count.
Golden Hour, Blue Hour, and Twilight Explained
Light changes fast during sunrise and sunset. These short times—golden hour, blue hour, and twilight—create natural light that’s softer and more colorful. Knowing when they happen helps you plan better photos.
Let’s break down what each one means and why they matter when working with natural light.
What is Golden Hour?
Golden hour is the short period right after the sun rises or just before it sets. During this time, the sun sits low in the sky, giving off a soft, warm light.
The light is less harsh and creates gentle shadows. It usually lasts about 30 to 60 minutes, depending on the season and your location.
Best Uses
Golden hour works really well for portraits because the light is soft and warm. It smooths skin and adds a gentle glow. Landscapes also look great during this time. Trees, fields, and hills pick up golden tones that bring out their shape and color.
It’s a great time to shoot people, pets, and even everyday life moments. The mood feels calm and natural, which helps tell emotional or personal stories.
If you’re shooting motion—like someone walking, running, or playing—it adds a peaceful rhythm to the frame. This time works well for beginners because you don’t need any special equipment.
Why Photographers Love it
Photographers enjoy golden hour because the light is easy to work with. The sun isn’t too high or too harsh, so you won’t get sharp lines or blown-out areas. Instead, the light spreads softly across the scene.
Shadows become longer and softer, adding more shape and feeling to the shot. Skin tones appear smooth without editing, and colors look warm and real.
This light also brings a peaceful mood, which can help people feel relaxed while being photographed. Even simple things—like a sidewalk, a park, or a field—look more beautiful. Golden hour helps turn regular scenes into special ones.
What is Blue Hour?
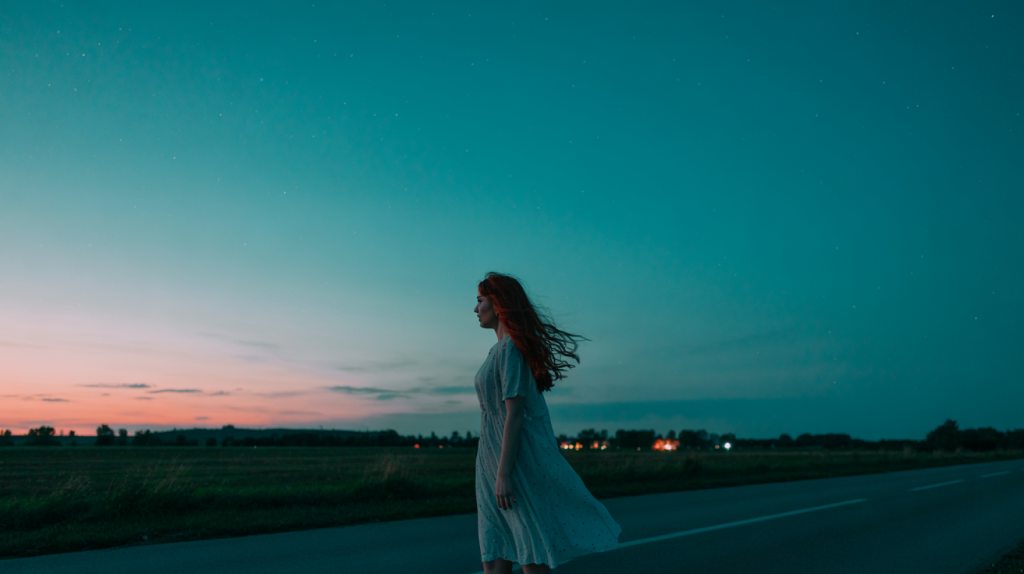
Blue hour takes place just before sunrise and right after sunset, when the sun is below the horizon. The sky turns a deep blue color, and the light becomes cooler and softer.
It’s a quiet moment between full daylight and complete darkness, lasting around 20 to 40 minutes.
Best Uses
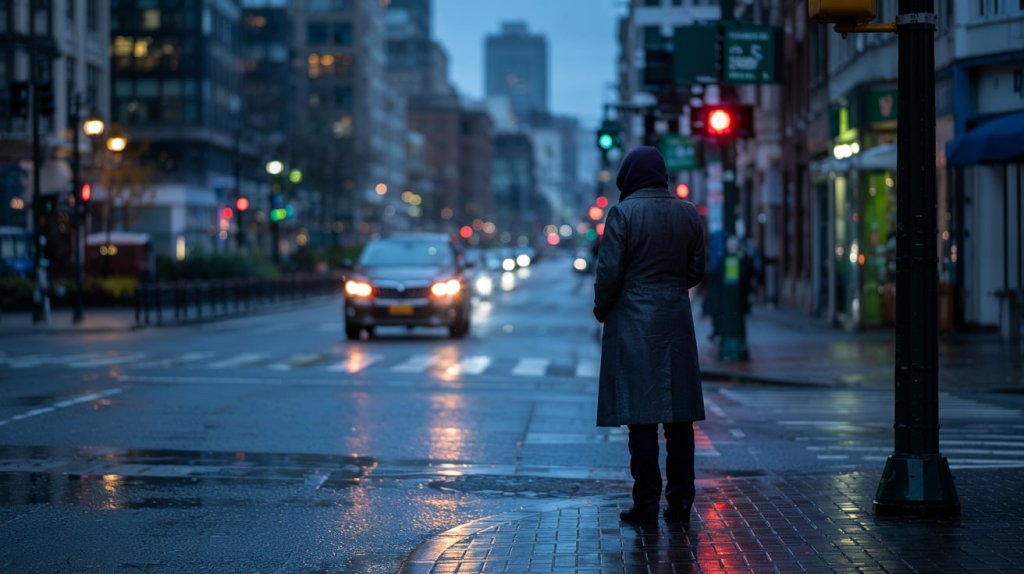
Blue hour is a great time for taking photos in cities. When the sun is just below the horizon, the sky turns a deep blue, while streetlights and buildings begin to shine. This creates a nice balance between natural and man-made light. It’s perfect for bridges, towers, or skylines.
Water reflections look especially smooth during this time. You can also use this light for creative shots that show calm and quiet. It’s useful for long exposure photos where lights stretch or glow. Blue hour gives scenes a cool look that feels still, steady, and sometimes even a little bit dreamy.
Why Photographers Love it
Photographers like blue hour because it creates a special mood that’s hard to get at any other time. The colors are cool, soft, and steady. Since the light is even, it doesn’t create hard shadows or bright spots. This makes the photo feel smooth and clean.
The deep blue sky contrasts well with bright windows, signs, and streetlights, making everything pop. It also helps you control light better if you want to use longer shutter speeds or play with moving lights.
Blue hour is quiet, with a calm feel that works well for thoughtful or serious photo ideas.
What is Twilight?
Twilight is the time between full daylight and full night. It happens twice each day—before sunrise and after sunset. Twilight has three parts:
- Civil twilight: The sun is just below the horizon, and it’s still fairly light outside.
- Nautical twilight: It’s darker, and the horizon can still be seen.
- Astronomical twilight: The sky is almost dark, but a faint bit of sunlight is still present.
Best Uses
Twilight is full of changes, which makes it fun for different kinds of photos. You can catch the sky turning from light to dark, or from dark to light. Each part of Twilight—civil, nautical, and astronomical—has a different level of brightness.
You can shoot wide skies, city outlines, or stars just starting to appear. It’s a good time for scenes that mix the end of the day with the start of the night. Some people shoot moving lights like cars or glowing windows.
Others take peaceful shots of the fading sky. It works well if you want slow, smooth changes in light.
Why Photographers Love it
Twilight gives you a long, slow shift in light. That’s one of the reasons photographers enjoy it so much. You get time to play with different light levels without rushing. The sky changes color gradually, which makes your photos feel soft and calm.
Streetlights and house lights begin to turn on, so you can mix warm and cool light in one photo. It’s also a great time to try longer exposures or take photos of early stars.
Twilight can add a peaceful or dreamy feeling. It helps create balance between natural light and artificial light without needing too much editing.
Comparing Golden Hour, Blue Hour, and Twilight
Light plays a big role in how your photos turn out. Some times of day give you soft, glowing light. Others give you deep colors or peaceful shadows. Golden hour, blue hour, and twilight each bring something special.
If you’ve ever taken a photo and felt like it didn’t match what your eyes saw, it might be because of the timing.
| Time of Day | Timing | Light Characteristics | Best For |
|---|---|---|---|
| Golden Hour | Shortly after sunrise or just before sunset | Warm, soft, low-angle light with long shadows | Portraits, outdoor scenes, nature shots, emotional or peaceful moments |
| Blue Hour | Just before sunrise or just after sunset, after the sun dips below horizon | Cool, even light with deep blue sky and glowing city lights | Cityscapes, buildings, reflections, quiet or moody photos |
| Twilight | Starts after sunset or before sunrise; includes civil, nautical, and astronomical phases | Fading light with a slow shift from day to night (or night to day) | Night sky, soft landscapes, long exposures, blending natural and artificial light |
Case Studies to Enhance Understanding
Real-world examples help show how lighting choices affect the look and feel of a photo. Below are short case studies that show how timing, light, and technique come together in different settings.
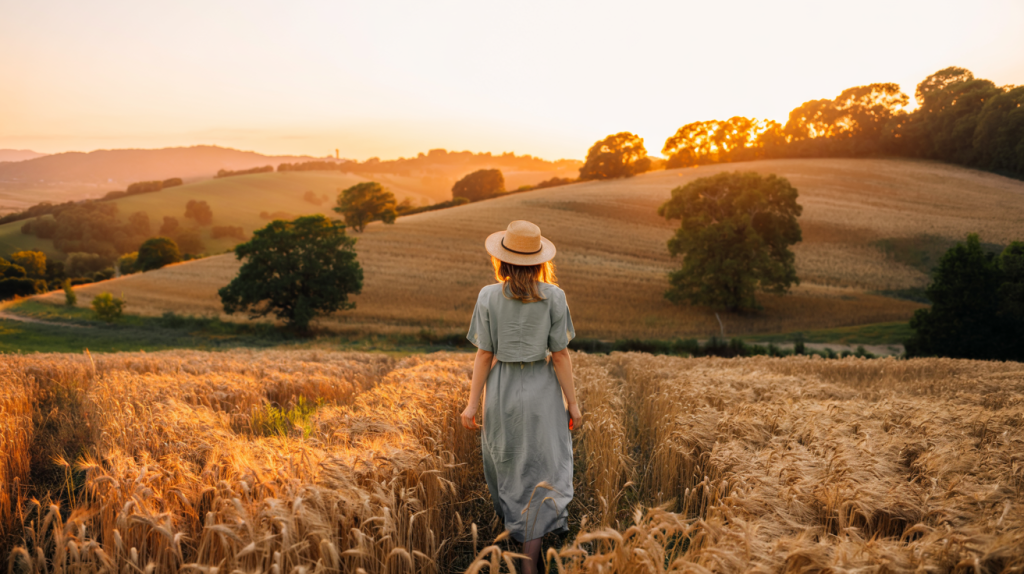
Golden Hour Portrait in a Park
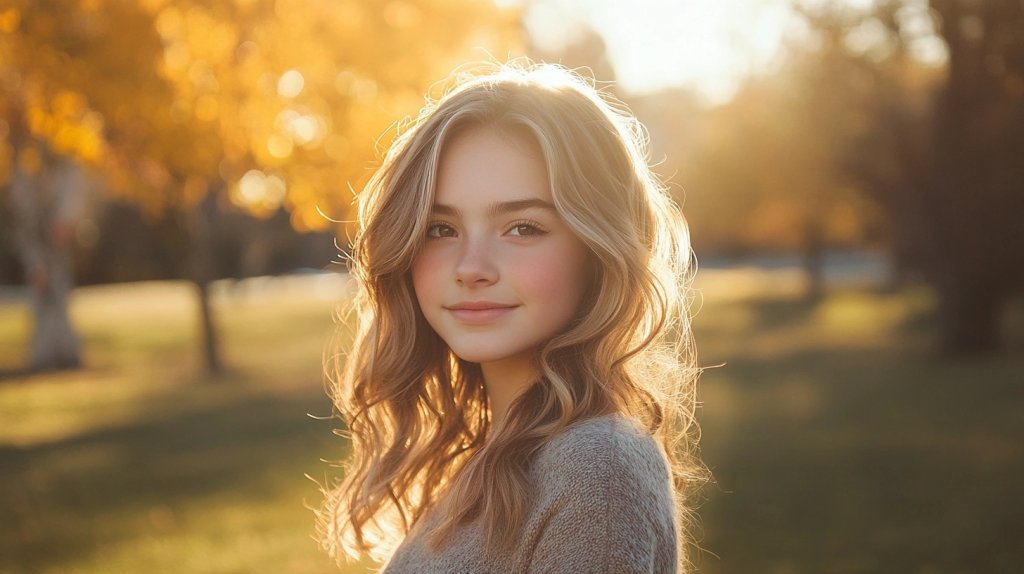
A photographer takes senior portraits for a high school student in a local park during golden hour, about 45 minutes before sunset.
They position the student so the sun is behind them, creating a soft glow around the hair and shoulders. No flash is used—just natural light. They move around to use trees and open space for different backdrops.
The warm sunlight added a golden touch to the skin and softened shadows on the face. The long shadows gave depth, and the light made everything look calm and warm. The student felt relaxed, which helped with natural smiles and poses.
Blue Hour Cityscape from a Rooftop
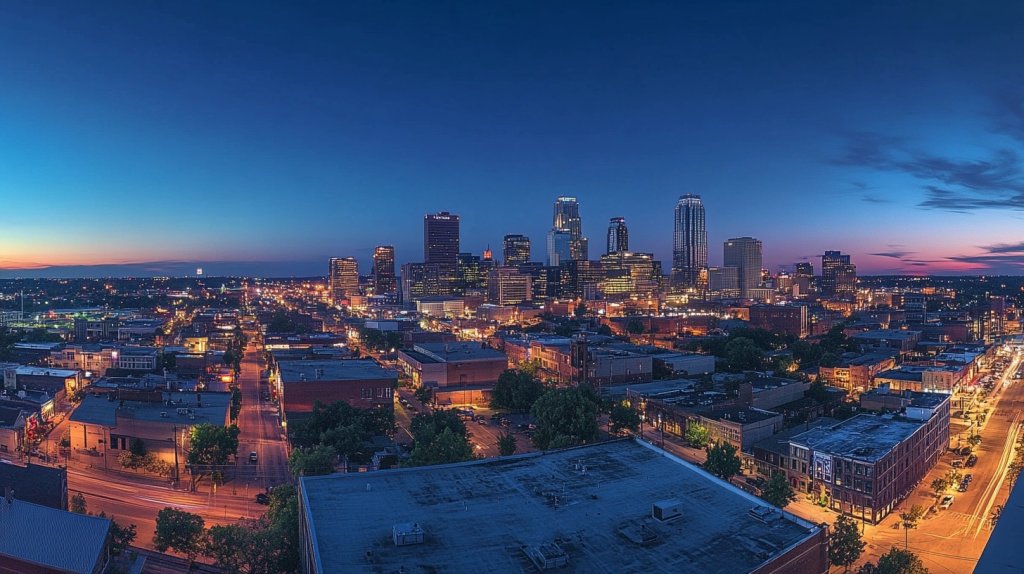
A photographer shoots a city skyline from a rooftop deck about 20 minutes after sunset, during blue hour.
The camera is set on a tripod to keep it steady. A longer exposure is used to let in more light and catch glowing signs, windows, and car lights. The photographer waits for the right balance between fading daylight and city lights turning on.
The deep blue sky made the bright city lights stand out. The mood felt calm but rich. No flash was needed, and the mix of natural and man-made light gave a clear, sharp look without editing.
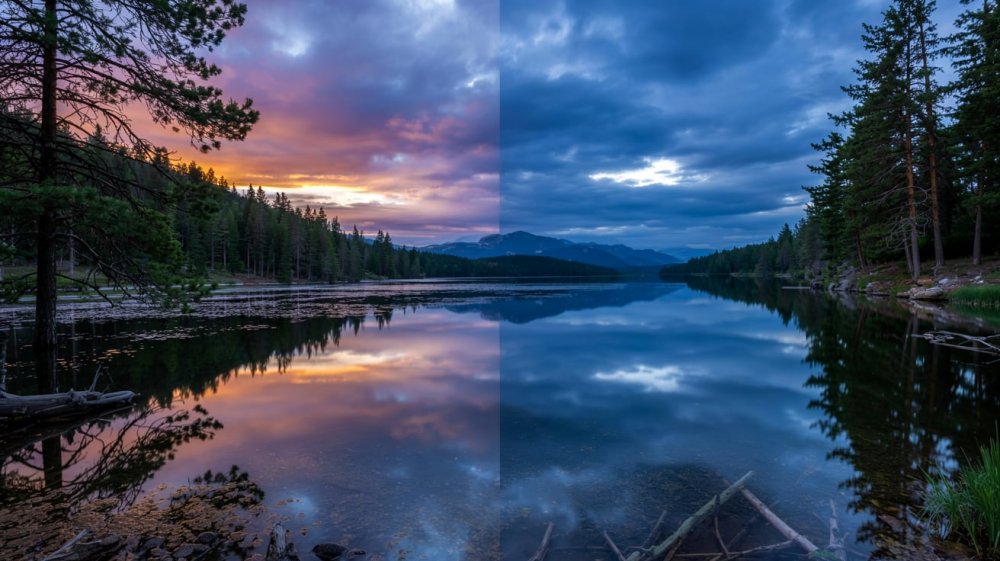
Twilight Lake Scene with Reflections

A landscape photographer visits a quiet lake just after sunset, during nautical twilight.
The sky is getting darker, but there’s still a bit of light left. The lake is calm, and the sky’s colors reflect clearly on the water. The photographer uses a tripod and sets a long exposure to capture the dim light and the still surface.
The soft, fading light created a peaceful feeling. The reflection in the lake doubled the beauty of the sky. Even without a strong sun or bright colors, the photo had a gentle, dreamy mood. It showed the change from day to night in a simple way.
Advanced Techniques for Using Golden and Blue Hour
Both golden and blue hour give you light that’s soft and colorful—but it changes fast. To get the most out of it, try shooting toward the light for a soft glow or use side light to show depth with shadows. Look for shiny surfaces like water or windows to catch reflections that add interest.
One common challenge is that light fades or shifts quickly. Use a tripod to help steady your camera, especially during blue hour when it’s darker. Adjust your settings often—don’t just set and forget. Keep checking your camera’s screen.
Take extra shots with slightly different settings. That way, you won’t miss the best version of your scene as the light keeps changing.
What is the Best Time for Sunset Pictures?
The best time is during golden hour, which starts about an hour before sunset. The sun is low, the light is warm, and the shadows are soft. It’s perfect for outdoor portraits, nature shots, or anything with a peaceful or emotional mood.
What is the Difference Between Golden Hour and Magic Hour?
They are almost the same. Some people use “magic hour” as another name for golden hour. But others use it to include both golden hour and blue hour together—the time around sunrise or sunset when natural light looks its best for photos.
Conclusion
Light can completely change how your photos turn out. Knowing the difference between golden hour, blue hour, and twilight gives you more control and better results.
Each brings its own look, mood, and feel. Now that you understand the value of golden hour vs blue hour, try planning your next shoot around one of these times.
Watch how the light changes. Practice often. You’ll see improvement in no time.
Want more tips on lighting and timing? Check out our other blogs to keep learning and growing as a photographer.


Leave a Reply