When you pick up a camera, you hold a tool made of several key components. Each part plays a vital role in creating photos.
Without knowing these parts, taking good pictures becomes hard. The right mix of these elements helps capture moments that matter to you.
This guide will walk you through the most important camera parts. By the end, you’ll know what each piece does and how they work together.
Your photos will improve once you understand how these basic elements function as a team.
Key Parts of The Camera Body
Every camera’s exterior has several critical components. These parts allow you to hold, control, and operate the camera easily.
Learning about these external elements helps you handle your camera better and take photos more quickly.
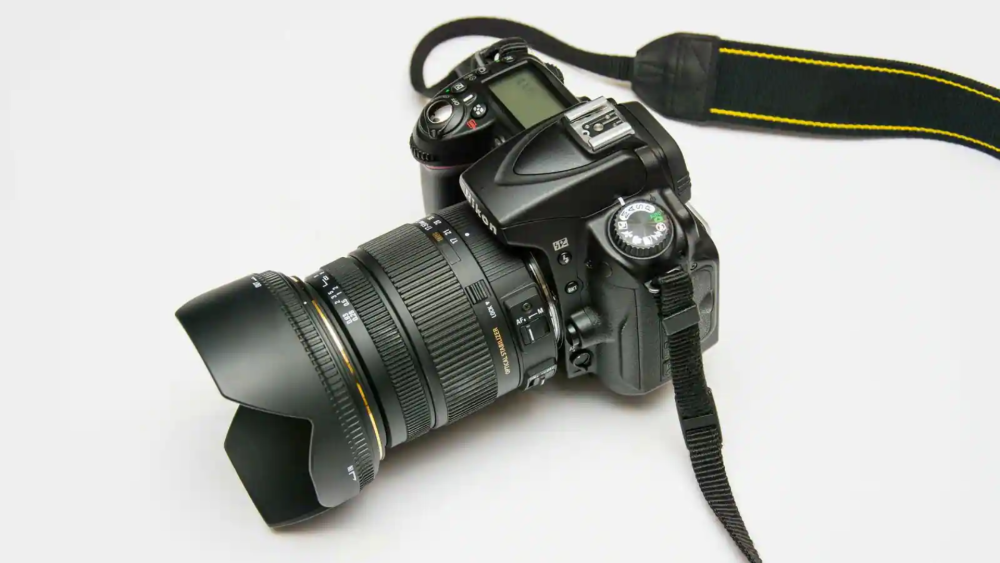
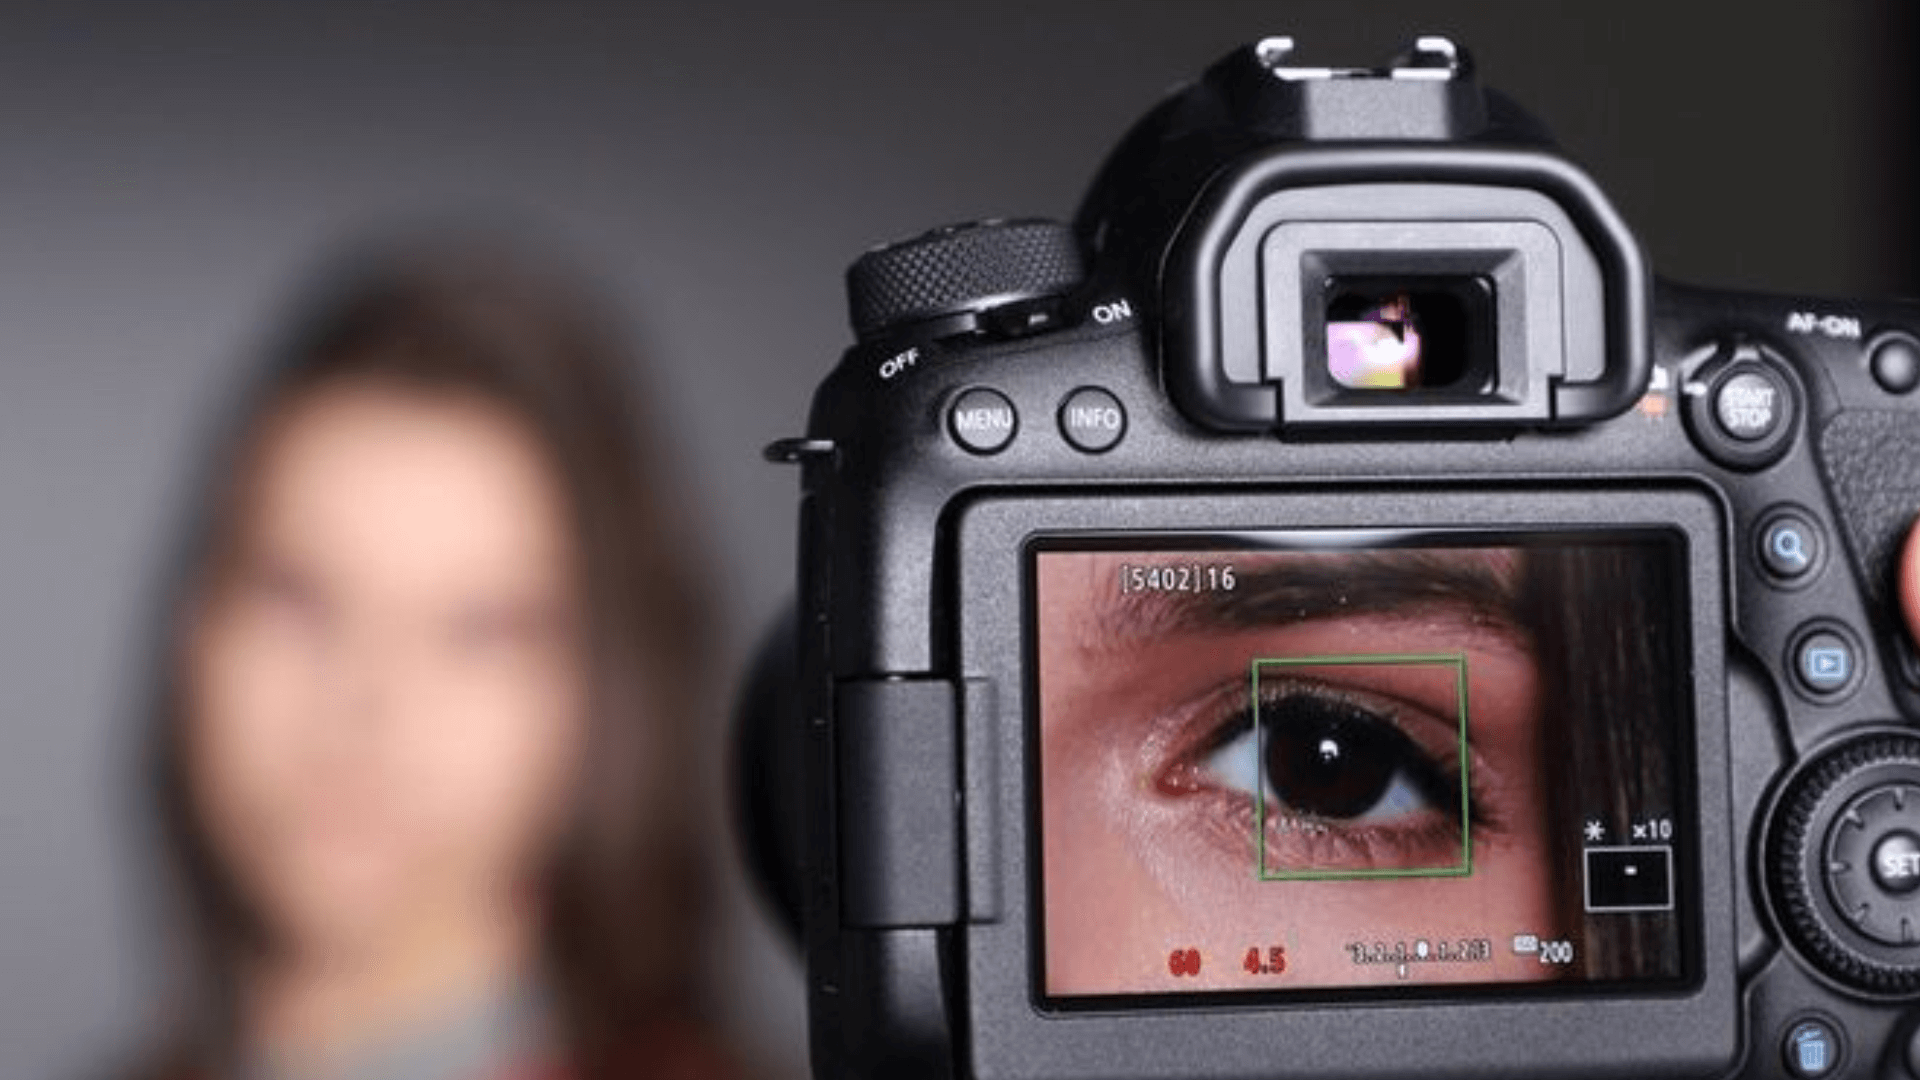
1. Viewfinder
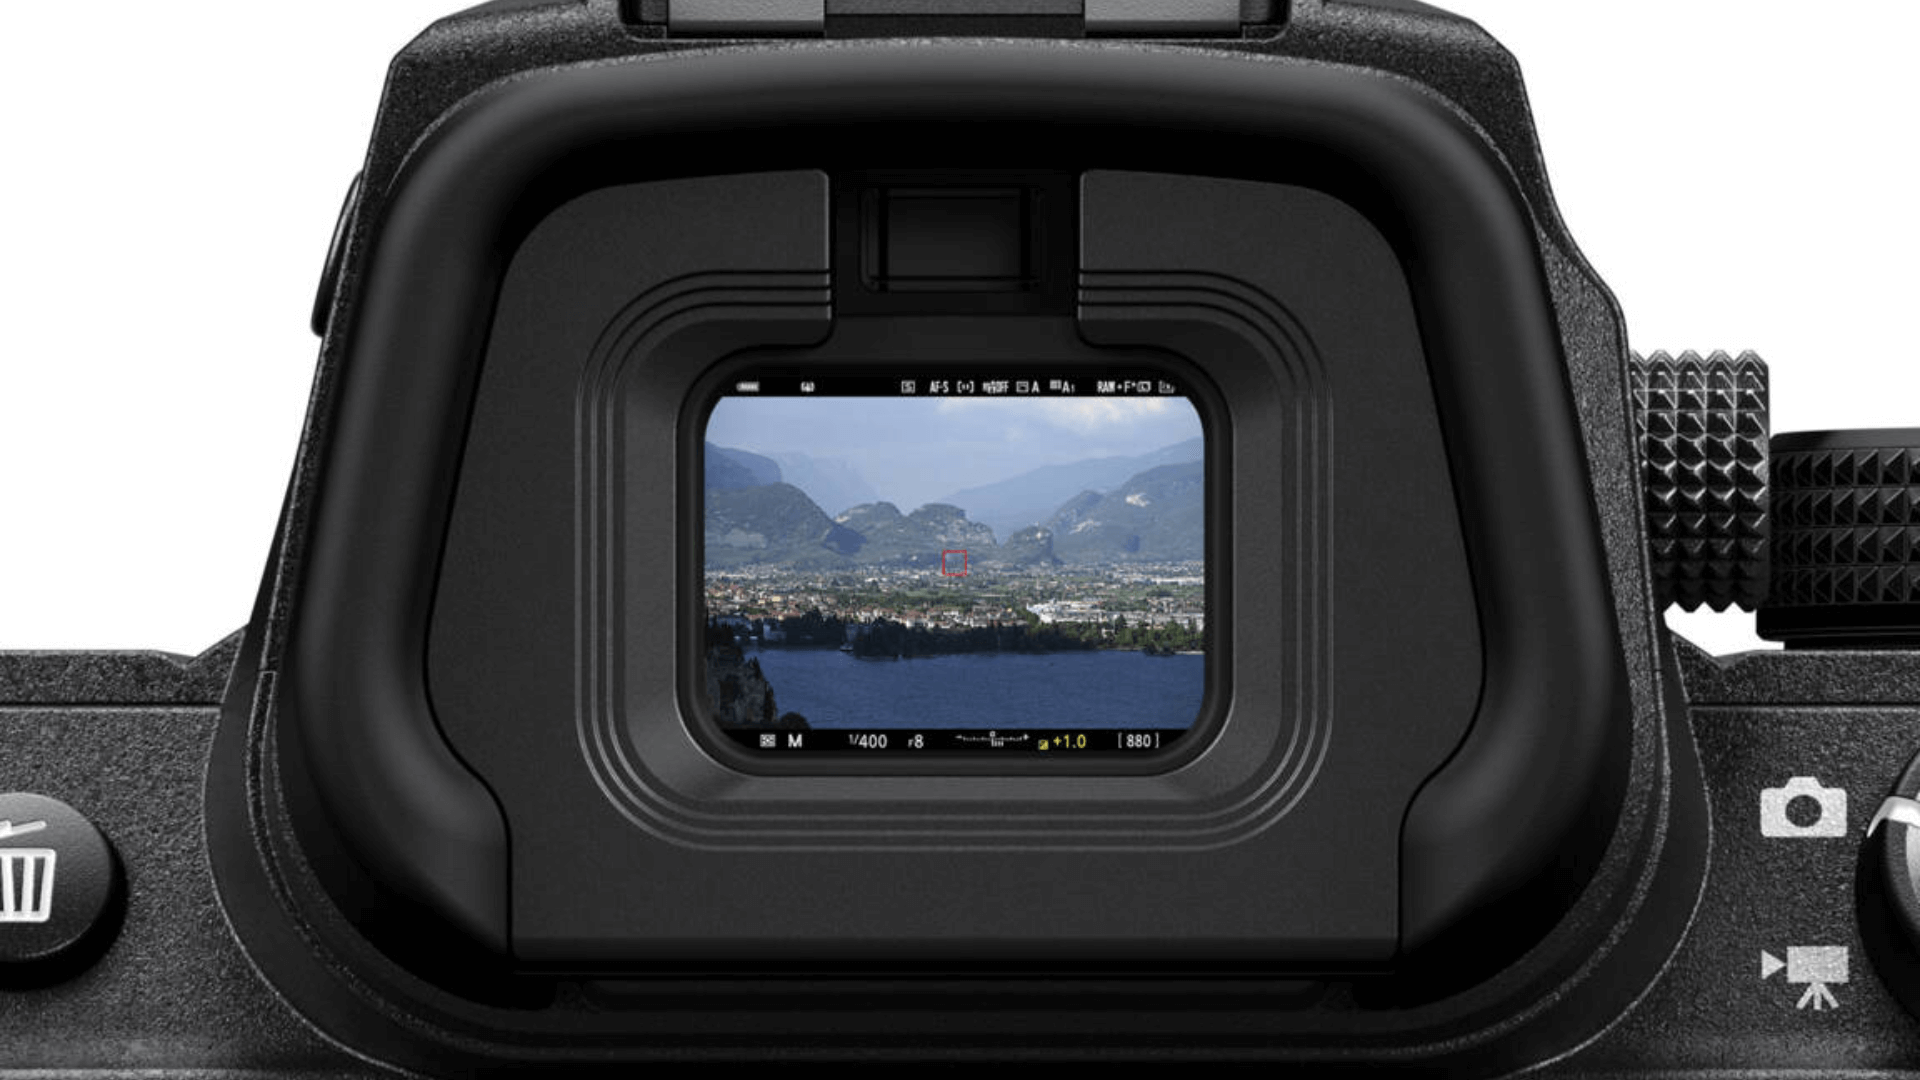
The viewfinder sits at the top of your camera. It works as a small window that shows what your lens sees. When you put your eye to this opening, you can frame your shot without using the screen.
Many professional photographers prefer using a viewfinder because it helps them focus more effectively on the subject. Digital cameras have electronic viewfinders that display all the same info as the screen.
Older film cameras use optical viewfinders that show the actual view through the lens. The viewfinder helps you take photos even in bright sunlight when the screen might be hard to see.
2. Shutter Button
The shutter button is located on top of the camera, typically on the right side. This button controls when the camera takes a photo. When you press it halfway down, the camera focuses on your subject.
And, again, when you press it all the way, the camera takes the picture. The shutter button often feels different from other buttons – it has more give and might click when pressed.
Some cameras allow you to connect a remote shutter button. This allows you to take photos without touching the camera, which helps prevent shaking during long exposures.
3. Mode Dial
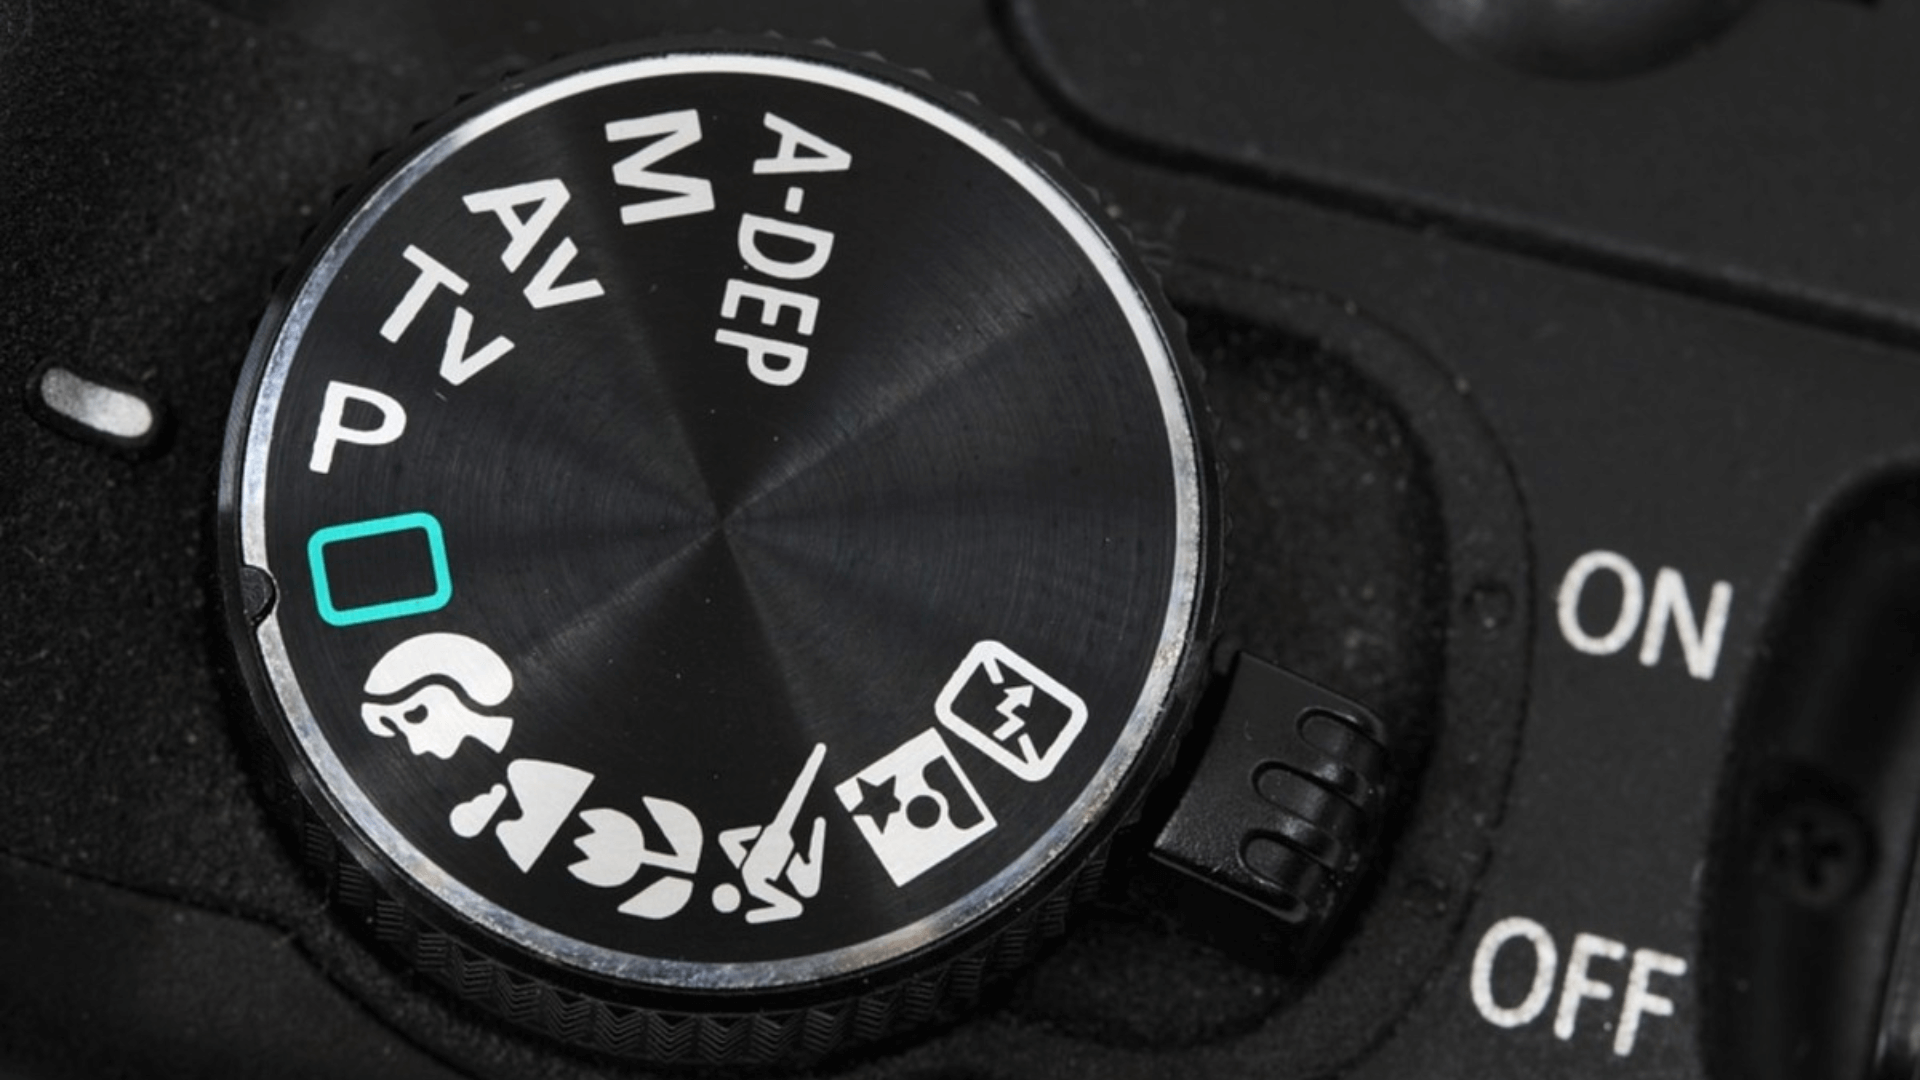
The mode dial sits on top of most cameras. This round dial allows you to select the camera’s settings for various scenes.
You can switch between auto mode, in which the camera makes all the choices for you, and manual mode, in which you control everything.
Other options include program mode, aperture priority, and shutter priority. Each mode alters the level of control you have over your settings.
Beginners often start with auto mode and then try other modes as they become more familiar with the camera. The mode dial makes it easy to switch settings without going through menus.
4. LCD Screen
The LCD screen covers the back of most modern cameras. This screen displays the image before you take it, and then shows the photo after.
It also shows menus, settings, and data about your shot. Most newer cameras have touch screens that allow you to tap to focus or adjust settings.
Some screens can flip out or tilt to help you take photos from odd angles. The LCD uses battery power, so some photographers turn it off to save energy when using the viewfinder instead.
5. Memory Card Slot
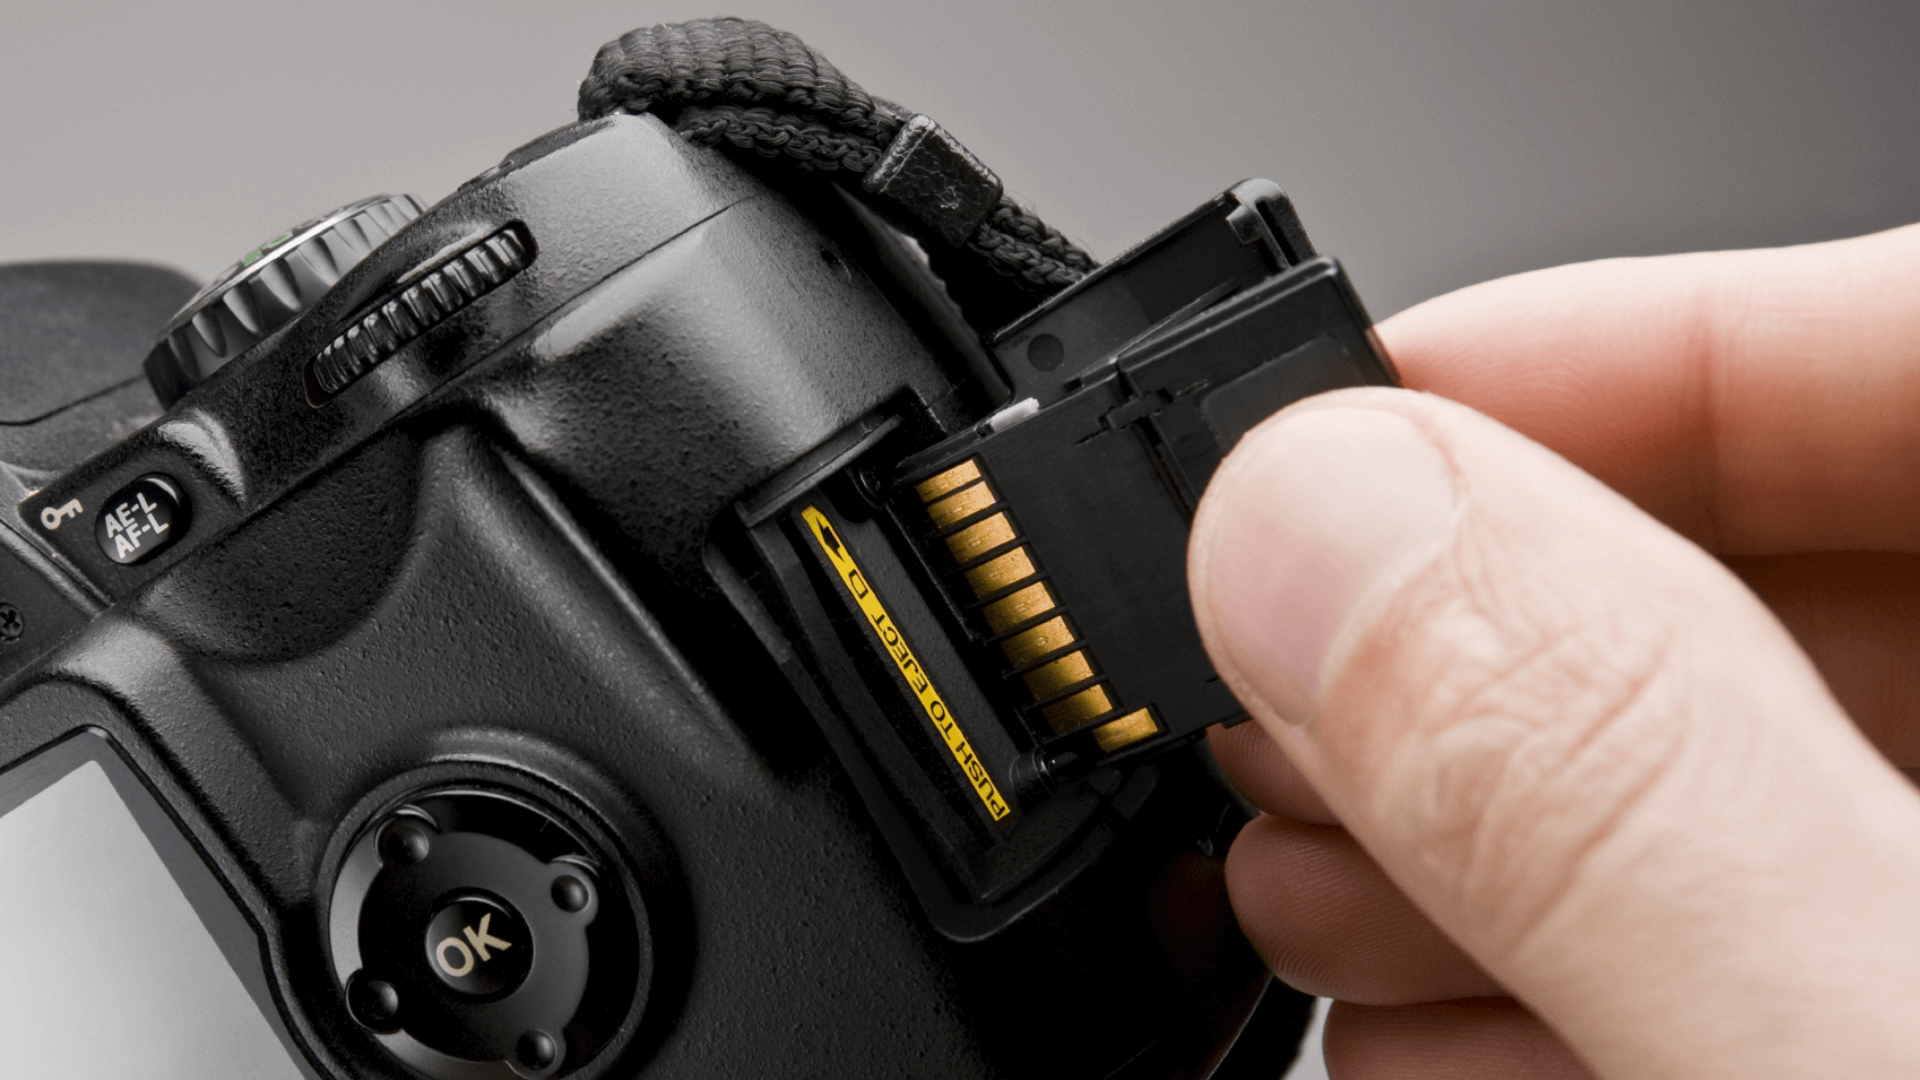
The memory card slot is hidden behind a small door on the side or bottom of your camera. It holds the memory card that stores all your photos. Most cameras use SD cards, though some pro models use CF or XQD cards.
The slot has small pins that read data from and write data to the card. Many cameras show a light that blinks when the camera writes to the card.
You should never remove the card when this light is on. Some cameras have two card slots for backup or extra storage.
6. Battery Compartment
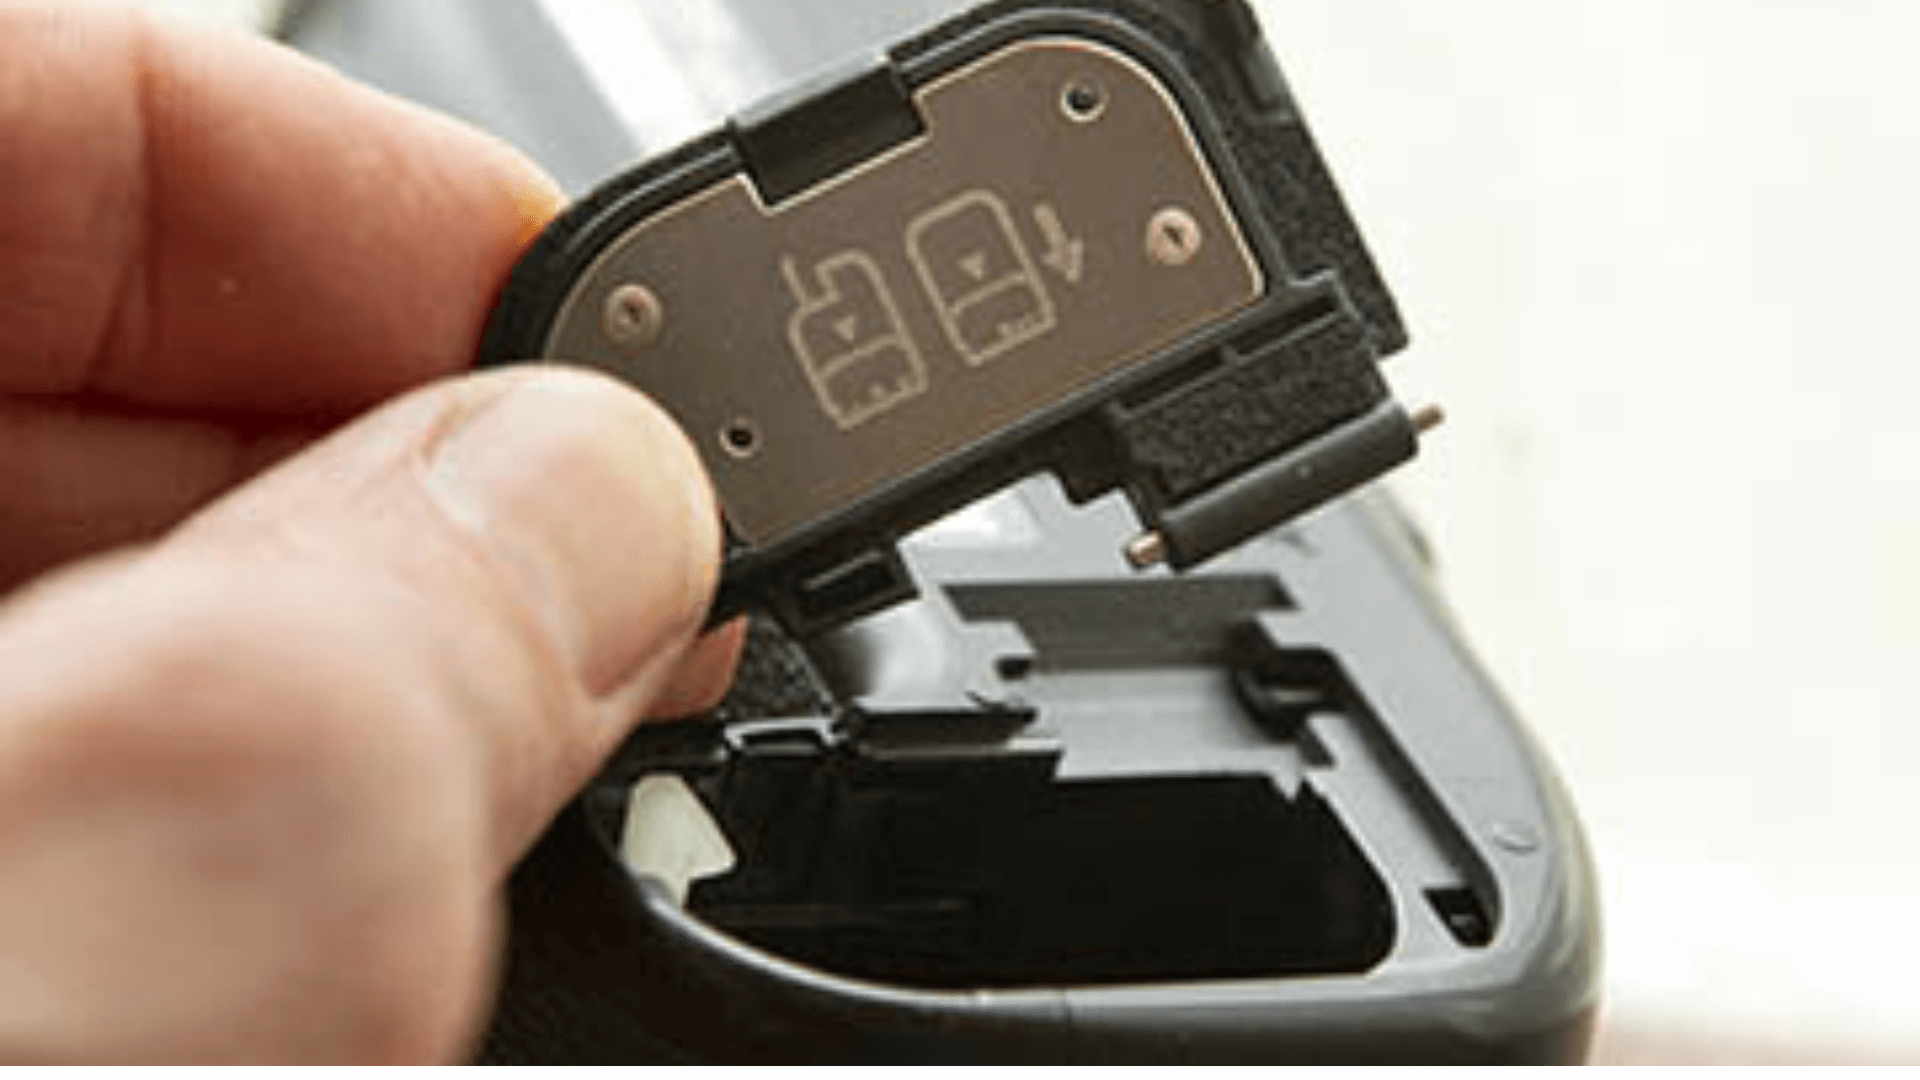
The battery compartment is located at the bottom of most cameras. This space holds the battery that powers all camera functions.
A small door keeps the battery in place, often with a switch or latch to prevent it from falling out. Most modern cameras use rechargeable lithium-ion batteries.
The battery life varies based on how you use your camera. Using the flash, LCD screen, and video mode drains the battery faster. Many photographers carry spare batteries for long shooting days.
Internal Parts of a Camera
The hidden components inside a camera play key roles in creating photos. These internal parts work together to capture light and turn it into an image.
Most users never encounter these elements, but understanding how they work helps you comprehend why your photos appear the way they do.
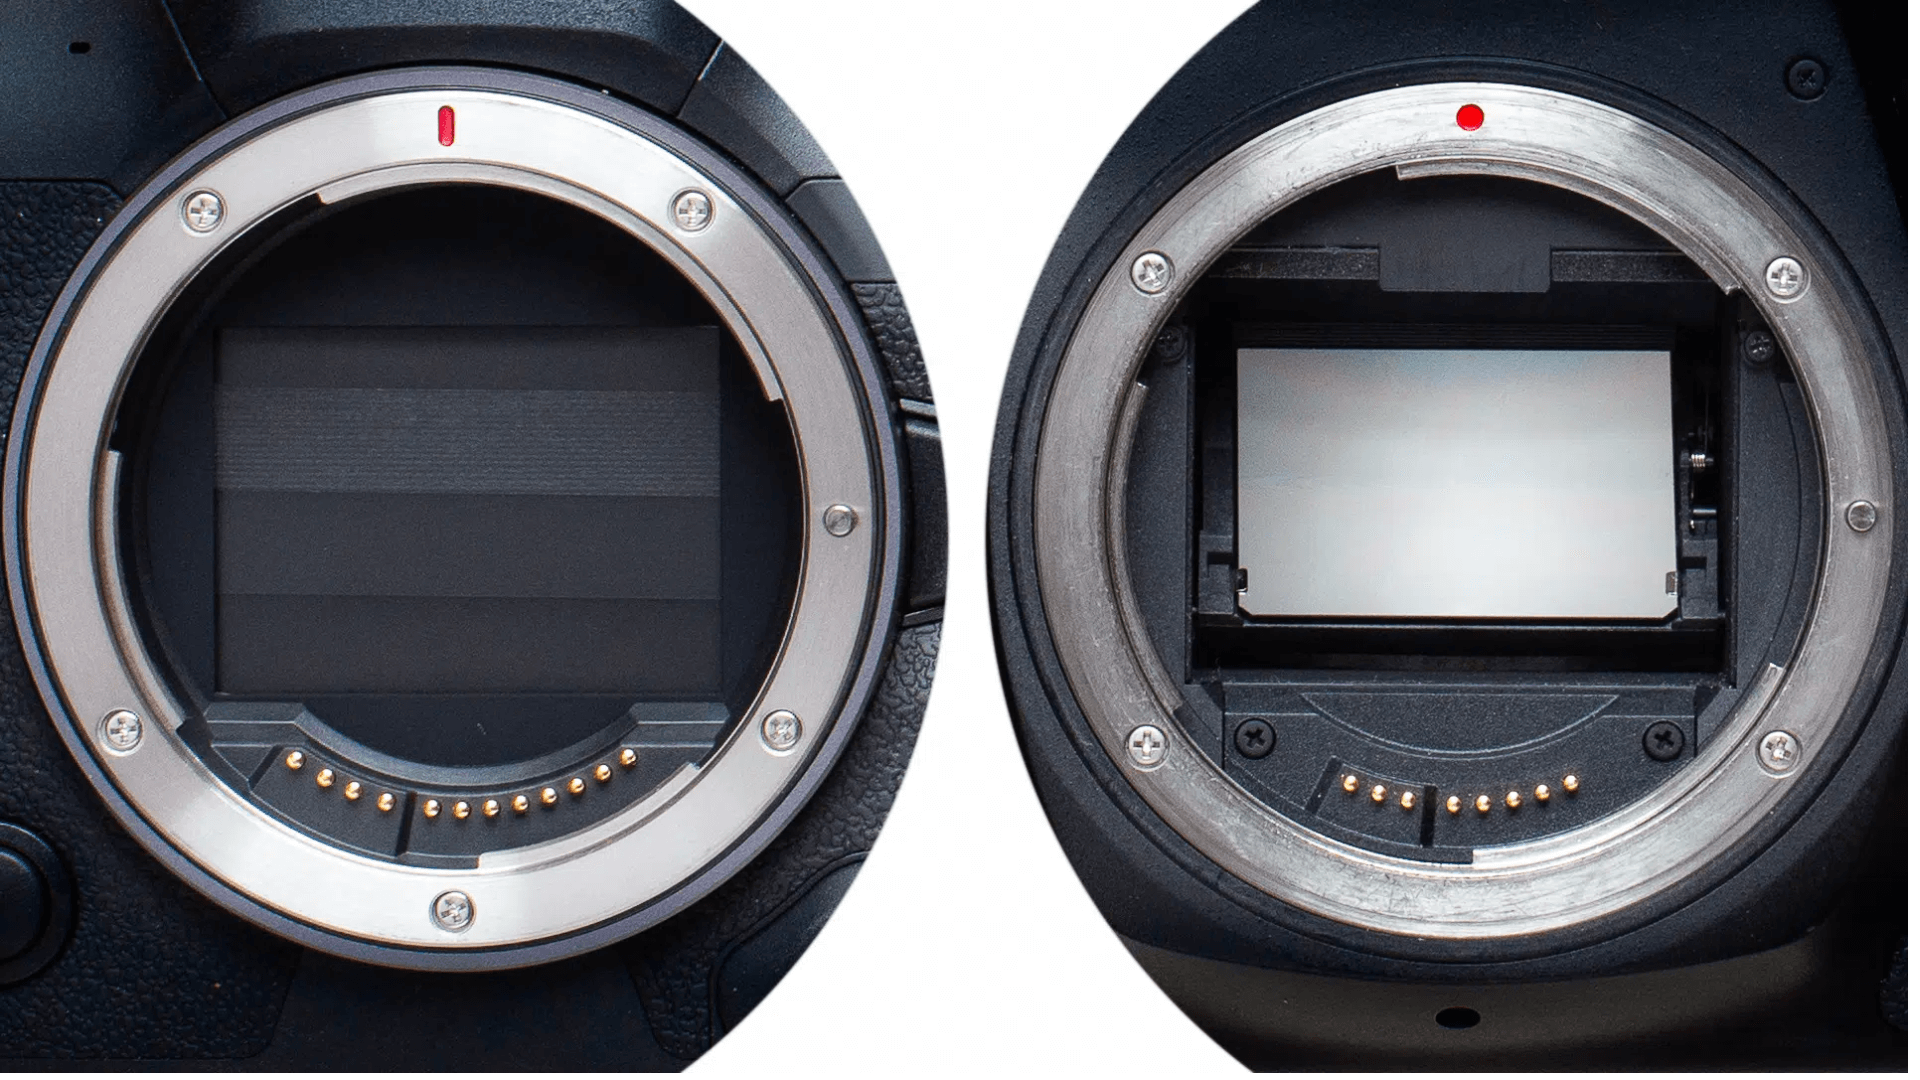
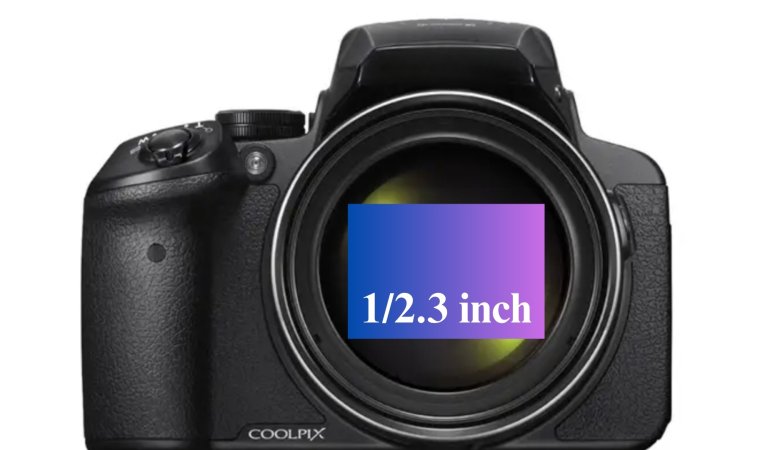
7. Image Sensor
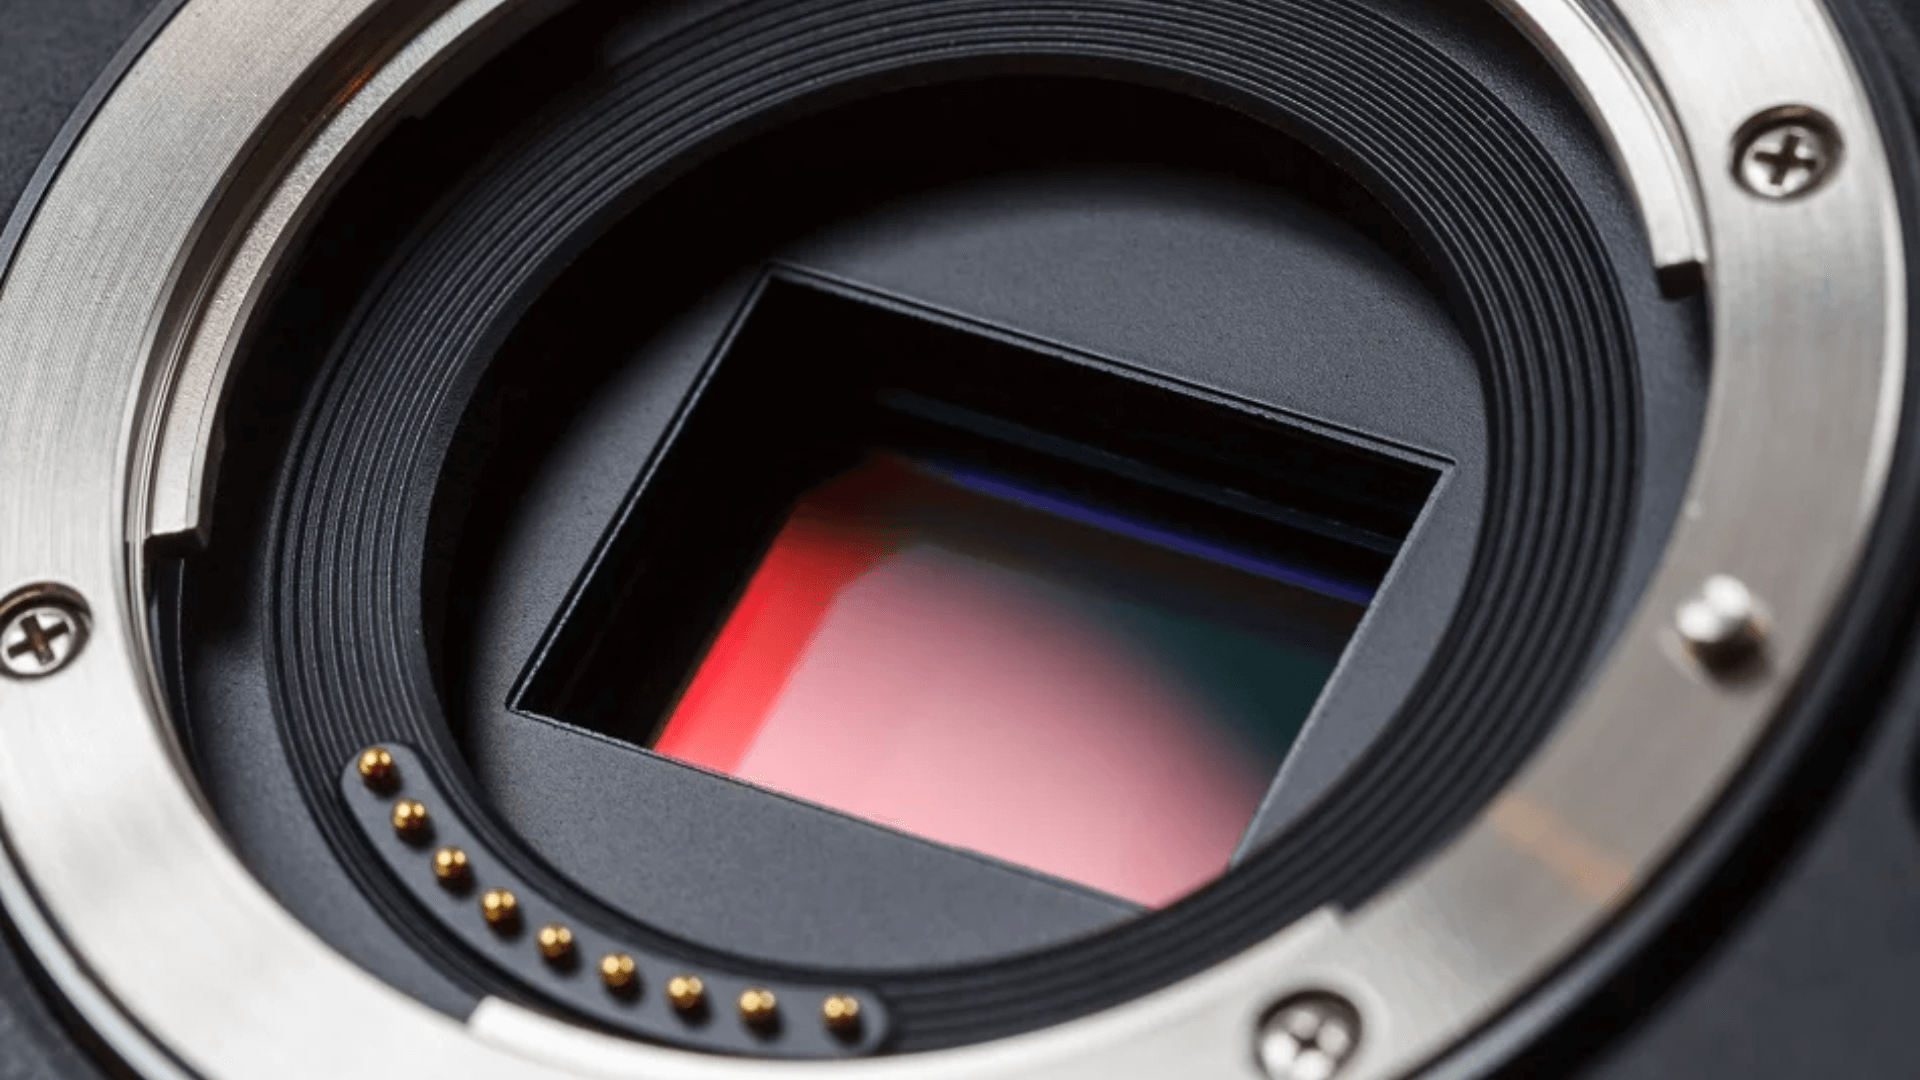
The image sensor, located behind the lens, captures light. This flat, rectangular chip contains millions of tiny light-sensitive spots called pixels.
Each pixel records the brightness and color of light that hits it. Larger sensors can gather more light and produce better images in dim settings.
The size of the sensor has a greater impact on image quality than the number of pixels. Full-frame sensors are larger than crop sensors and typically create better photos.
8. Shutter Mechanism
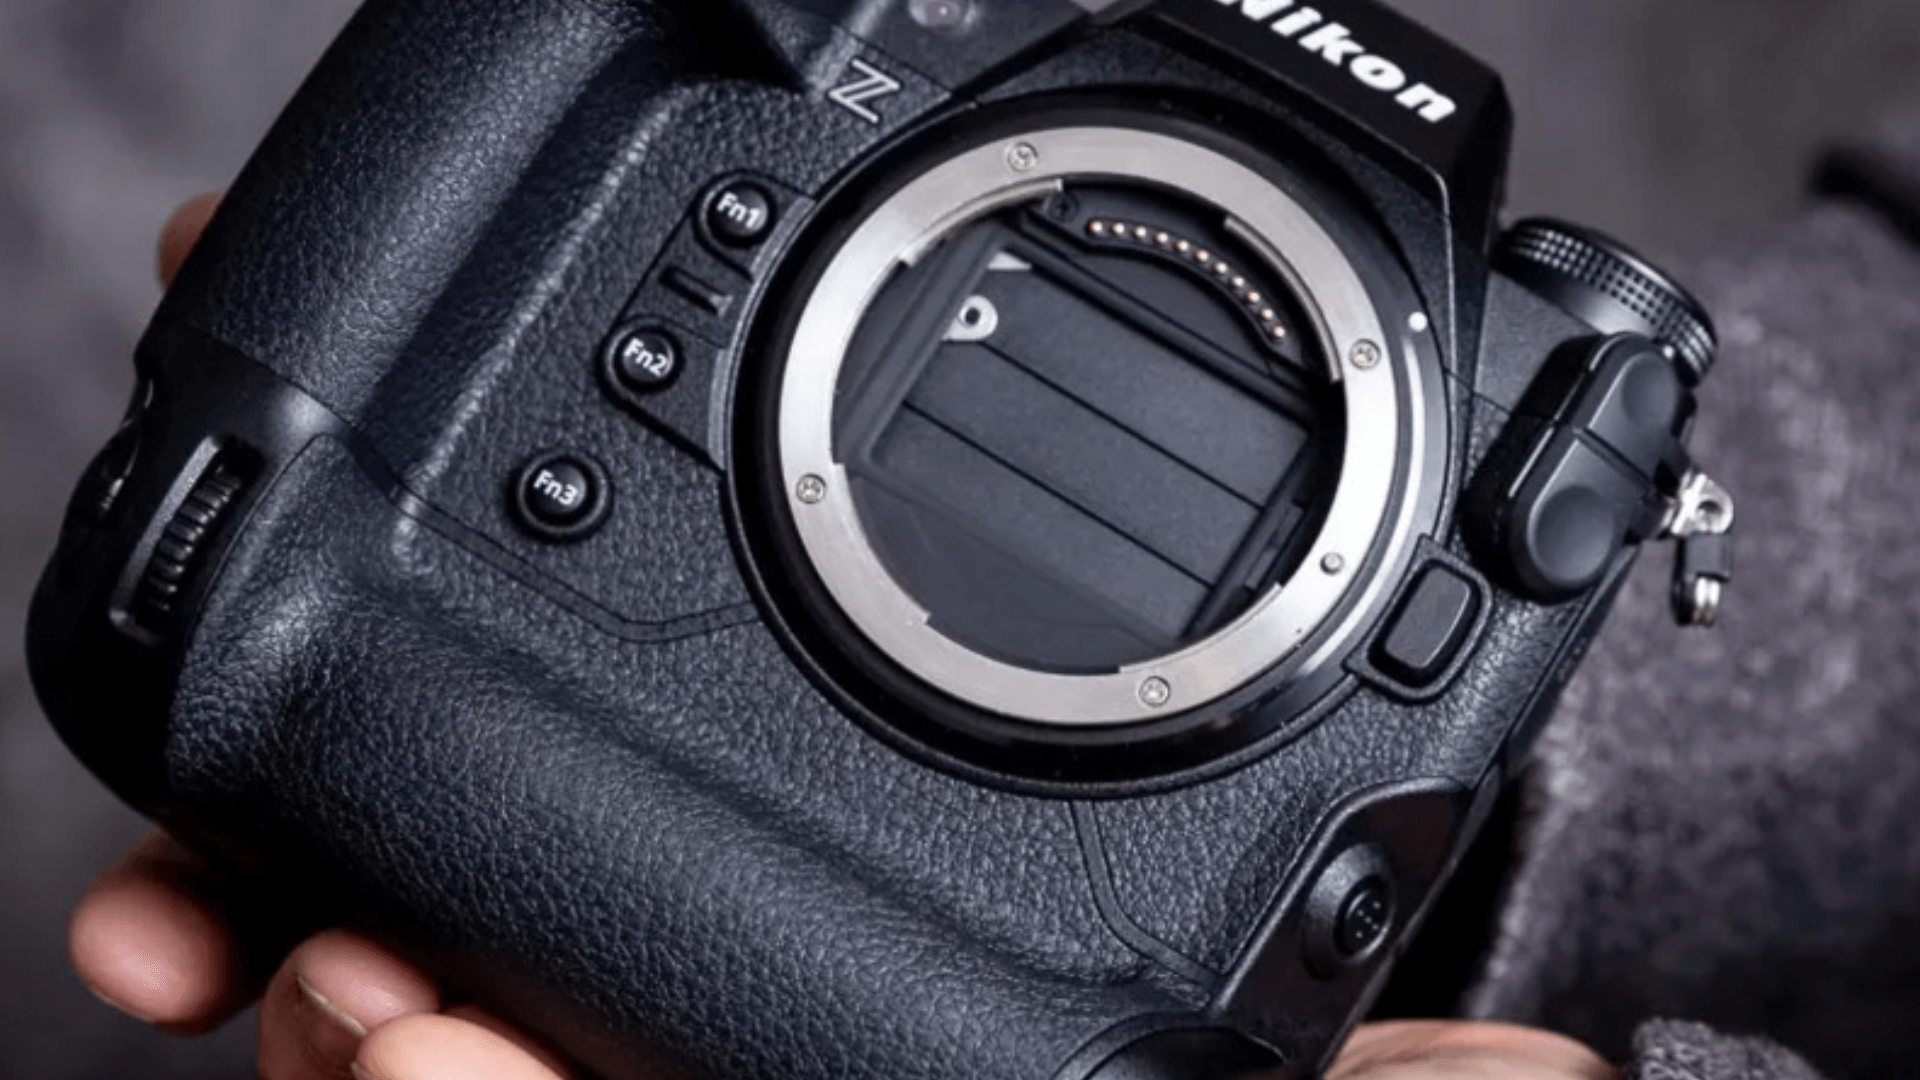
The shutter mechanism blocks light from reaching the sensor until the photo is taken. When you press the shutter button, these thin metal or cloth curtains open for a predetermined amount of time.
This time, known as shutter speed, can range from as quick as 1/8000th of a second to as long as 30 seconds. Fast shutter speeds freeze motion, while slow speeds create blur.
Most cameras use a two-curtain system: the first curtain opens to start the exposure, and the second closes to end it. The shutter makes the clicking sound you hear when taking photos.
9. Mirror System
The mirror system exists in DSLR cameras but not in mirrorless models. This movable mirror sits at a 45-degree angle between the lens and sensor.
It reflects light to the viewfinder, allowing you to see through the lens. When you press the shutter button, the mirror flips up out of the way.
This allows light to hit the sensor, creating the photo. The mirror then returns to its position. This movement causes a brief blackout in the viewfinder when you take a picture.
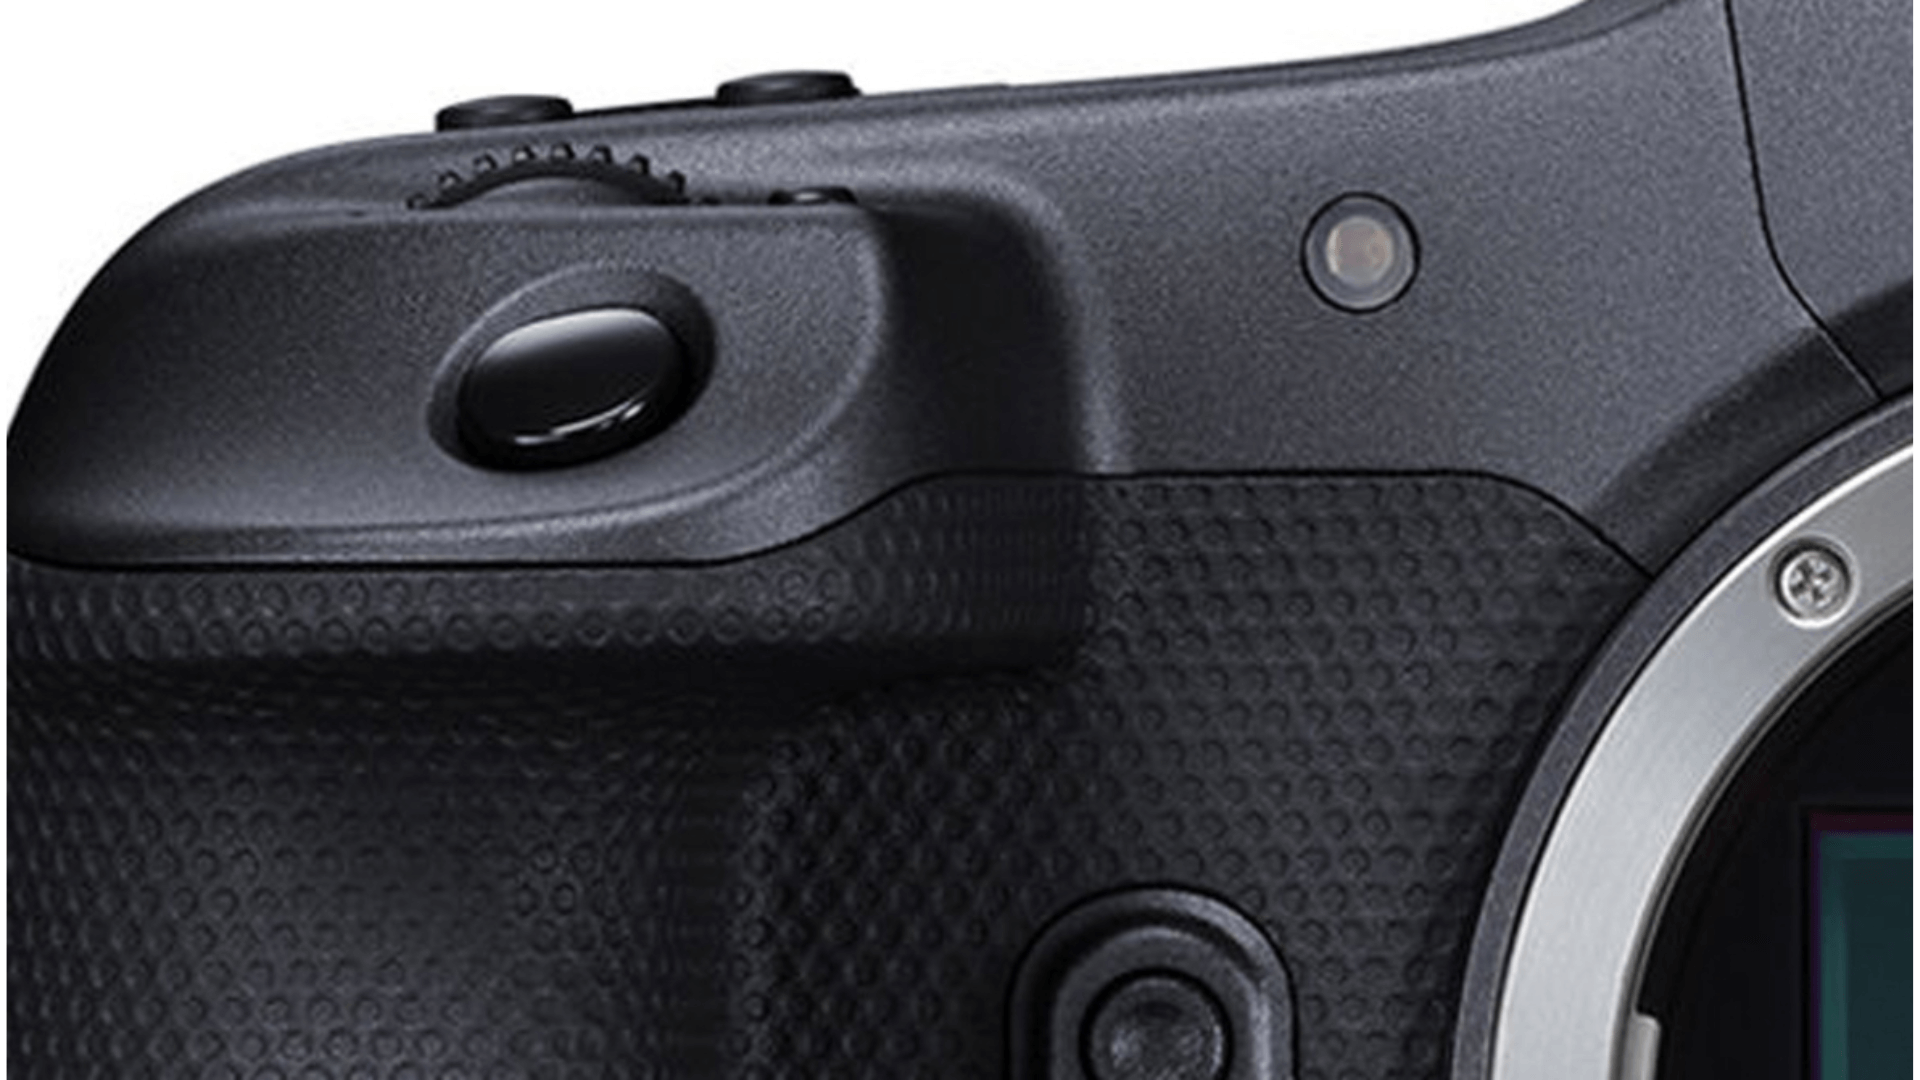
10. Autofocus Motor
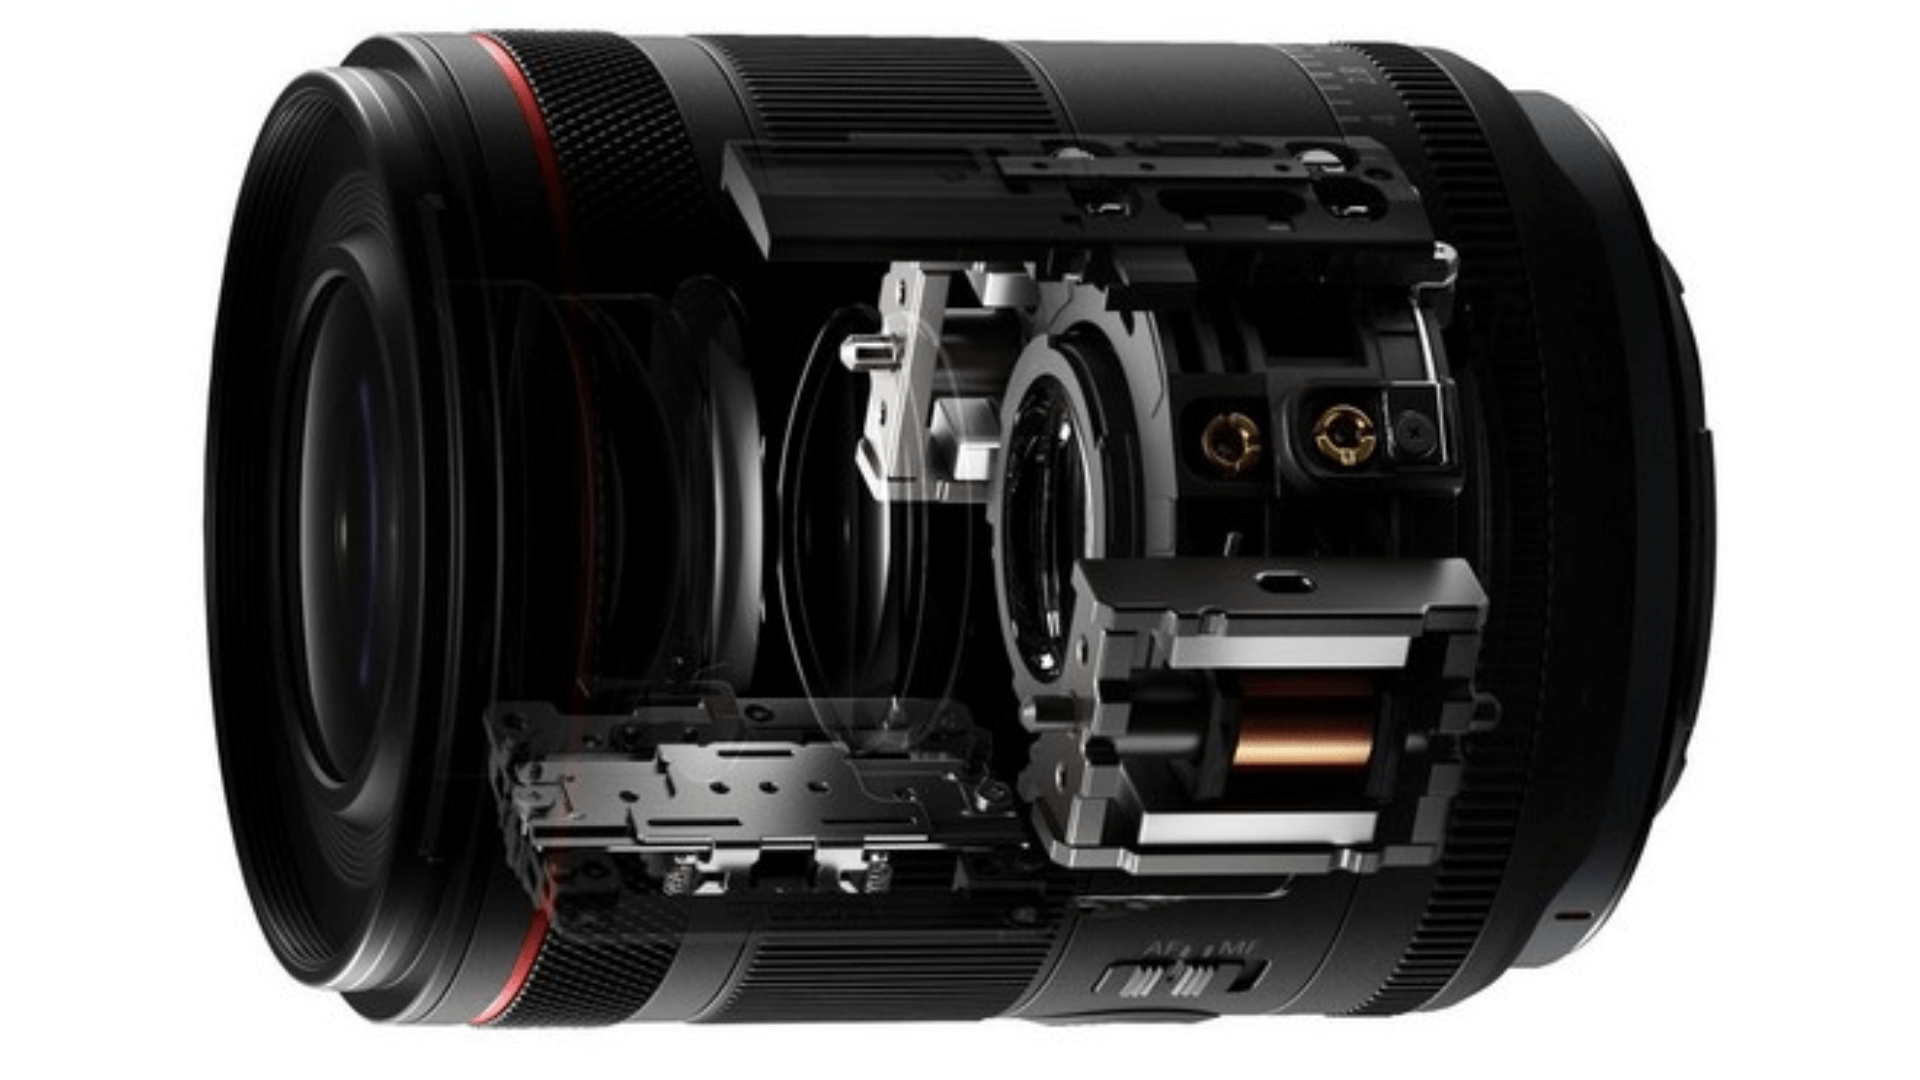
The autofocus motor moves lens elements to make your subject sharp. Some cameras have this motor integrated into the body, while others rely on motors located within each lens.
Phase detection systems utilize specialized sensors to achieve focus quickly. Contrast detection systems check the image for the highest contrast, which shows good focus.
The autofocus motor works with processing chips to track moving subjects. Most cameras have multiple focus points spread across the frame, letting you focus on subjects not in the center.
11. Image Processor
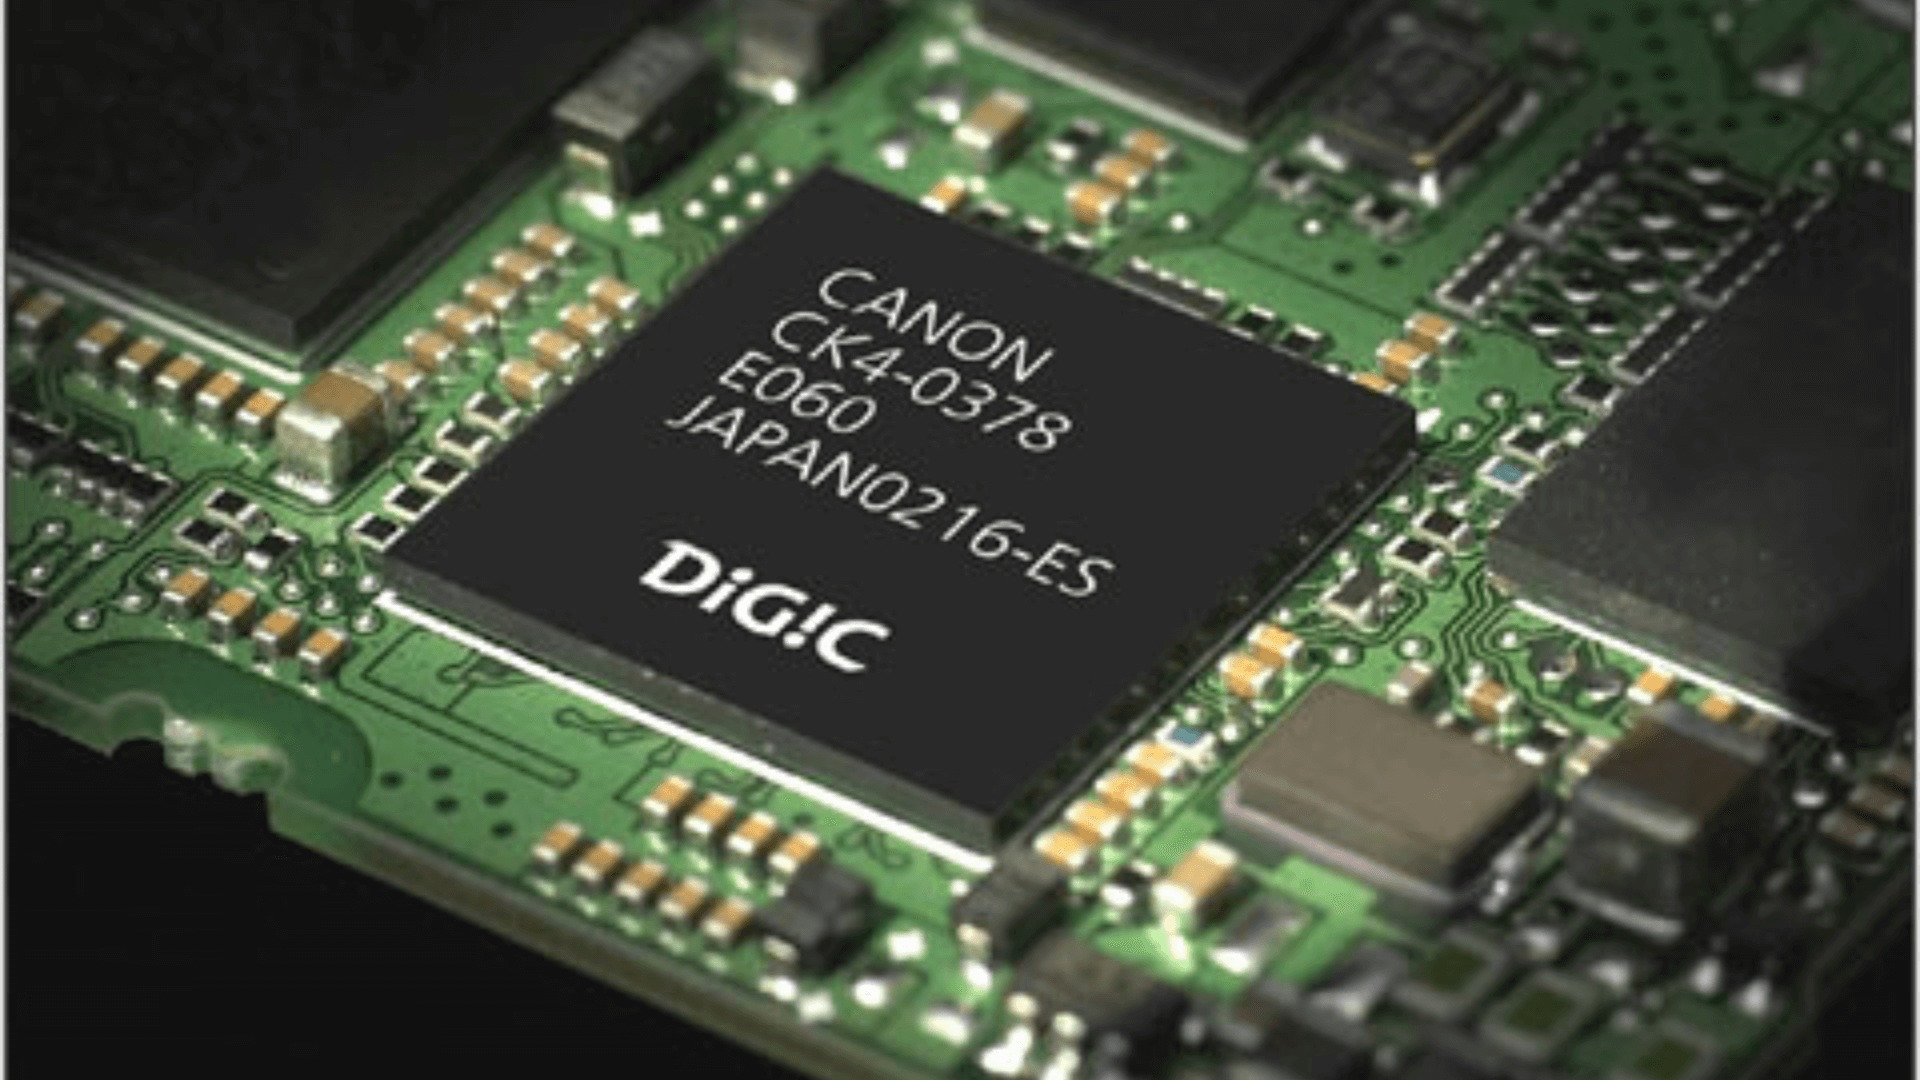
The image processor works like the brain of your camera. This small chip takes raw data from the sensor and turns it into a photo.
It handles tasks such as reducing noise, adjusting colors, and applying effects. Better processors work faster and produce cleaner images. They also control autofocus speed and tracking.
The processor affects the number of photos you can take in a row and the speed at which the camera starts up. Camera makers often name their processors. Newer models usually have more advanced processors.
12. Pentaprism/Pentamirror
The pentaprism sits above the mirror in DSLR cameras. This solid glass piece bends light from the mirror and sends it to the viewfinder.
It flips the image right-side-up and corrects the left-right swap caused by the lens. Higher-end cameras utilize true pentaprism designs made of solid glass, which produce bright, clear views.
Less costly cameras use pentamirrors made of reflecting surfaces in the same shape. Mirrorless cameras skip this part and show a digital view from the sensor instead.
13. Light Meter
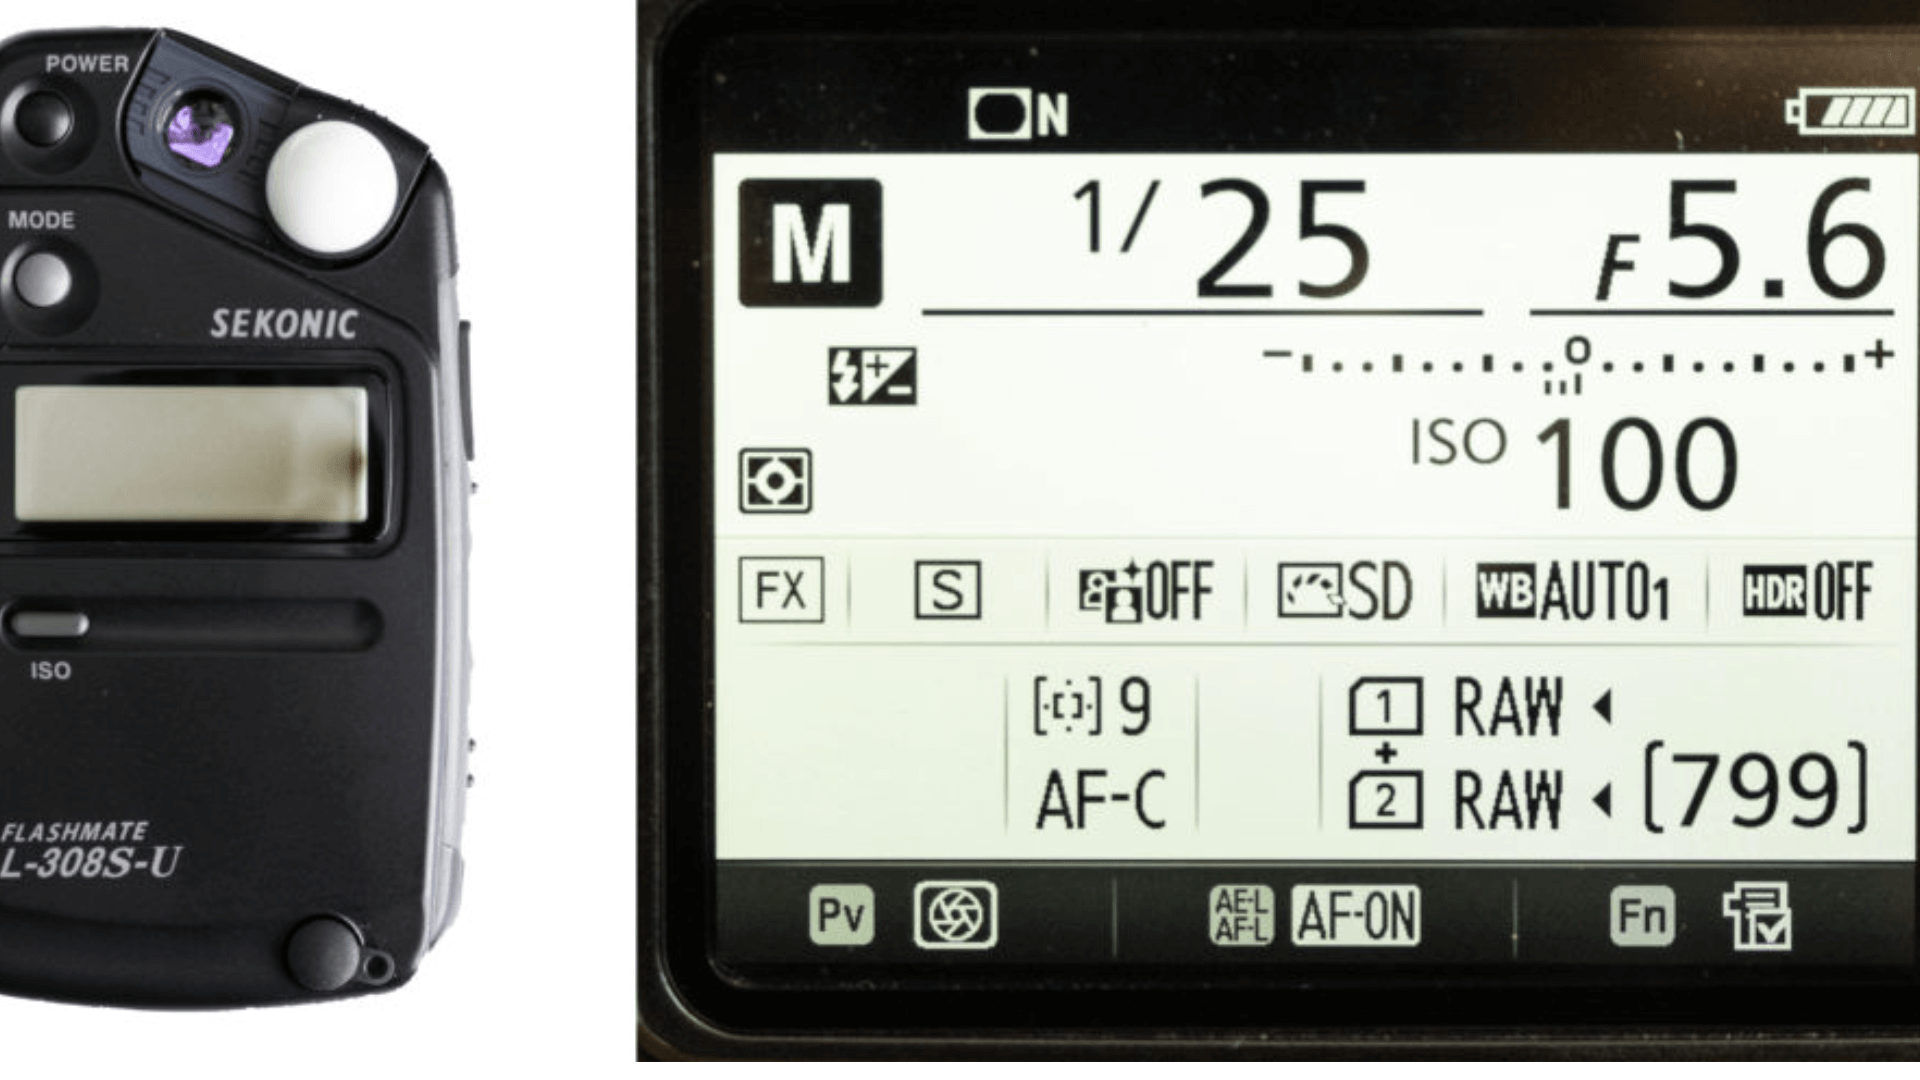
The light meter measures the brightness of your scene. It helps the camera choose the correct exposure settings. Most cameras have multiple meter points spread across the sensor.
They measure light in different parts of the scene. You can set the meter to other modes – matrix metering checks the entire scene, center-weighted metering focuses on the middle, and spot metering checks just a small area.
The meter reads light reflected from your subject, so very dark or bright scenes can fool it. Most cameras show meter readings as a scale in the viewfinder or on the screen.
External Accessories and Add-ons for Cameras
Cameras work well on their own, but many additional features can enhance their performance. These add-ons help in tough spots or improve your basic setup with new features.
From better lighting to steady shots, these tools solve common photography problems and expand the capabilities of your camera.
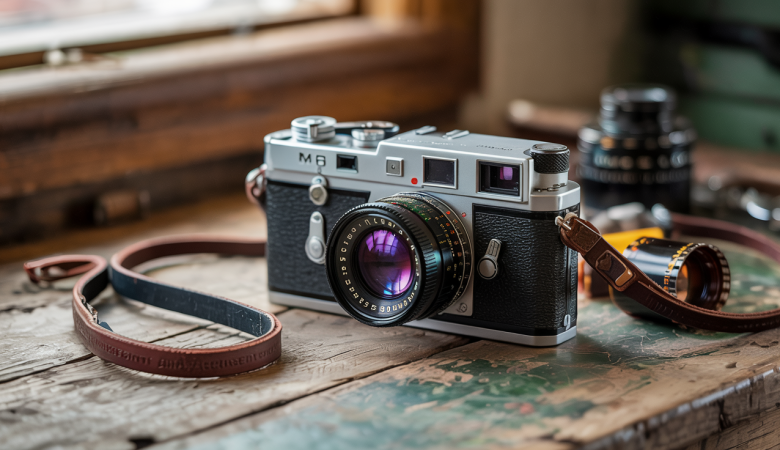
14. Camera Lens
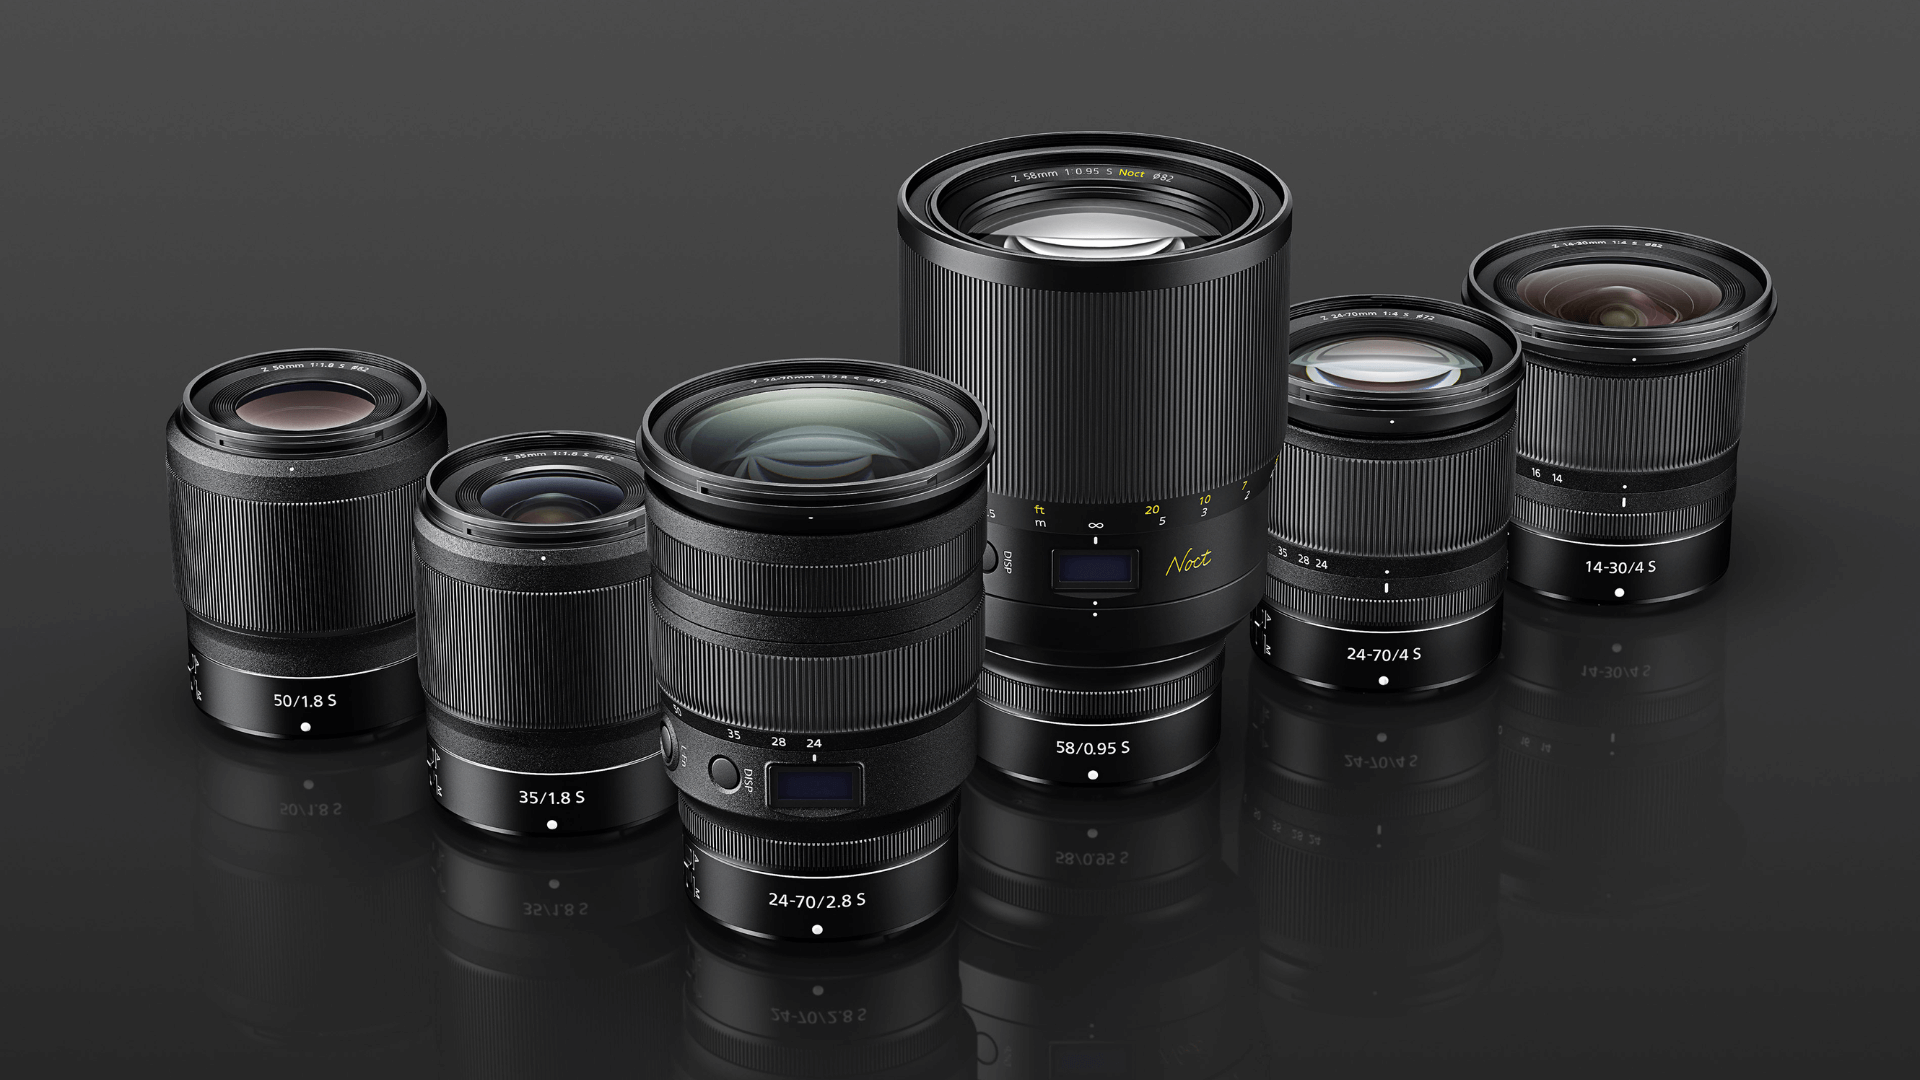
Lenses attach to the front of your camera and focus light onto the sensor. Each type of lens serves a different purpose. Wide-angle lenses fit more of the scene in your photo, making them great for landscapes.
Telephoto lenses bring distant subjects closer, making them perfect for wildlife or sports photography. Macro lenses take clear, close-up shots of tiny objects.
Prime lenses have one fixed focal length and often take sharper photos. Zoom lenses let you change focal length without switching lenses.
Lens quality significantly impacts image sharpness, color, and background appearance. Good lenses often cost more than the camera body.
15. External Flash
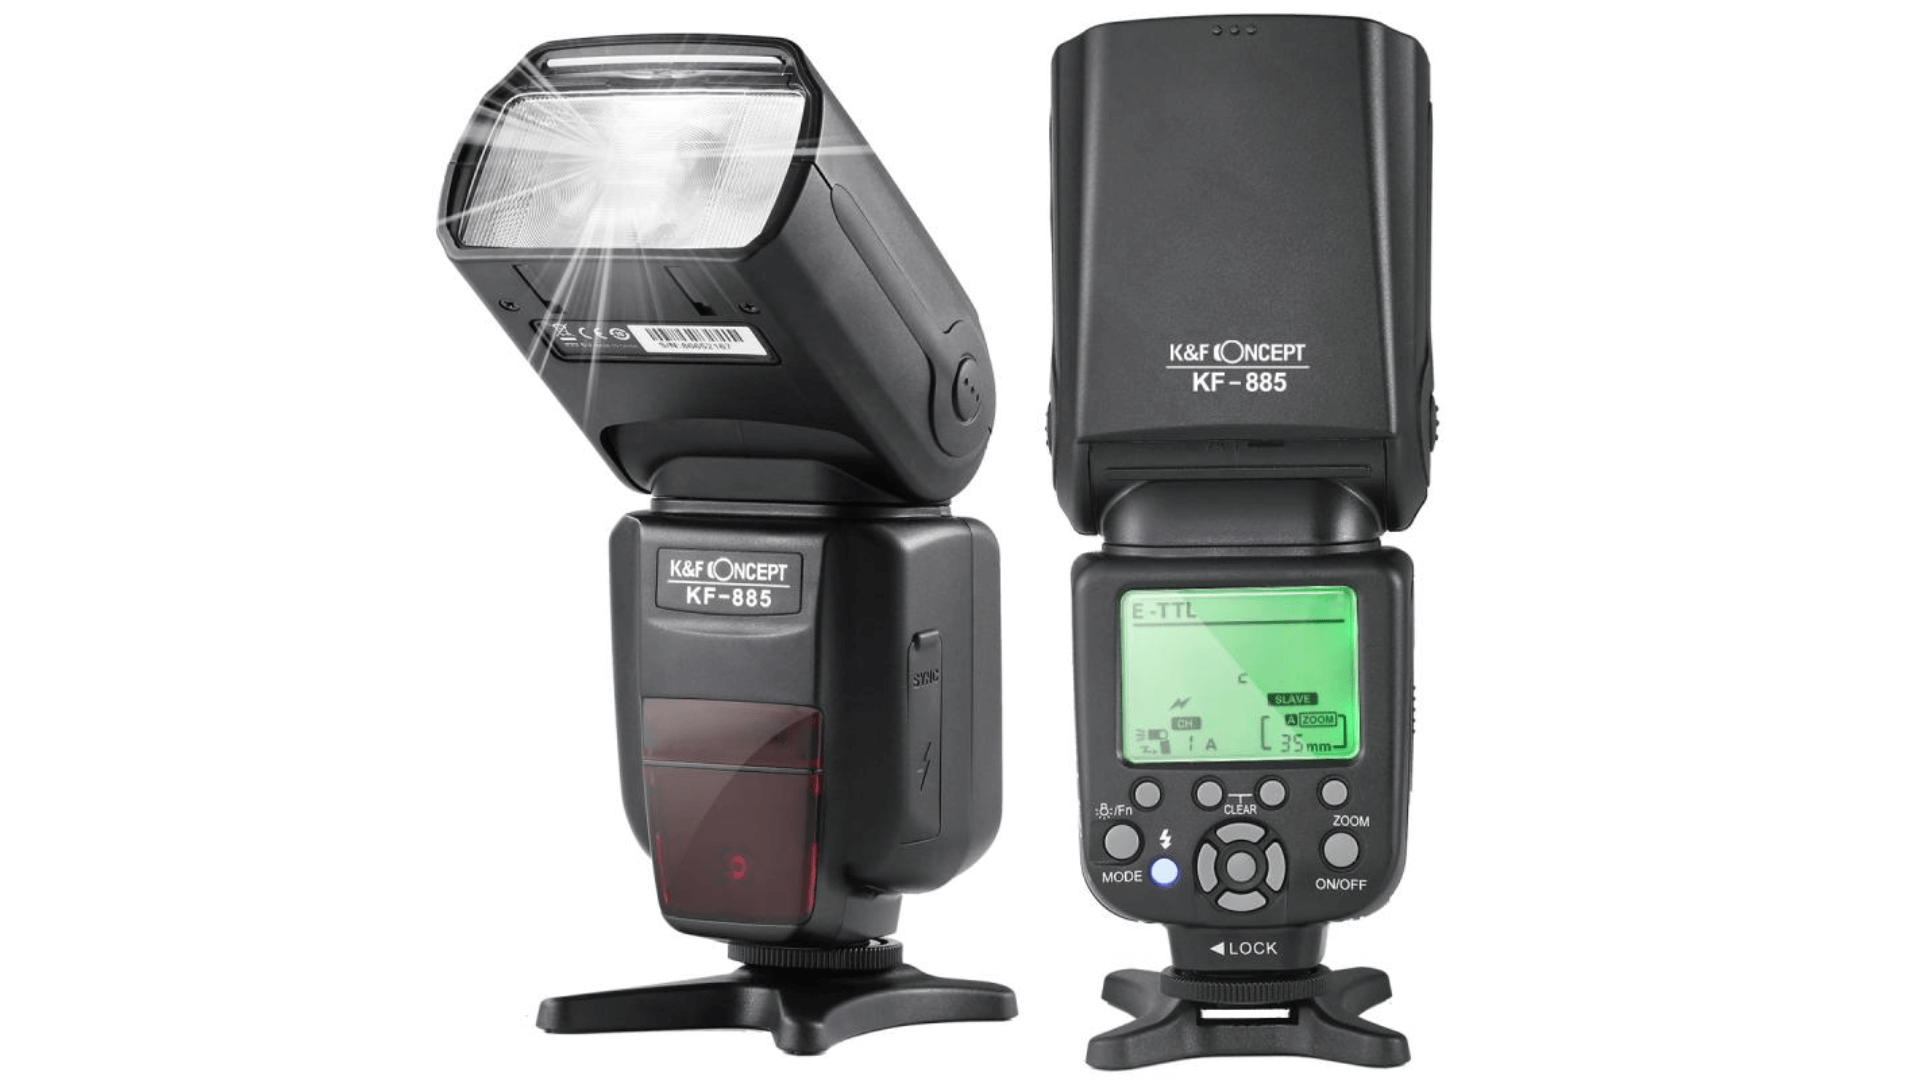
External flashes mount on top of your camera to add more light to your photos. These units are stronger than built-in flashes and use less battery power from your camera.
You can point them in different directions to bounce light off walls or ceilings. This creates softer lighting than direct flash. Many external flashes tilt and rotate for more control.
Some models work wirelessly, allowing you to place them away from the camera. Professional photographers often use multiple flashes to light different parts of a scene.
External flashes have settings that control the amount of light they produce.
16. Tripod
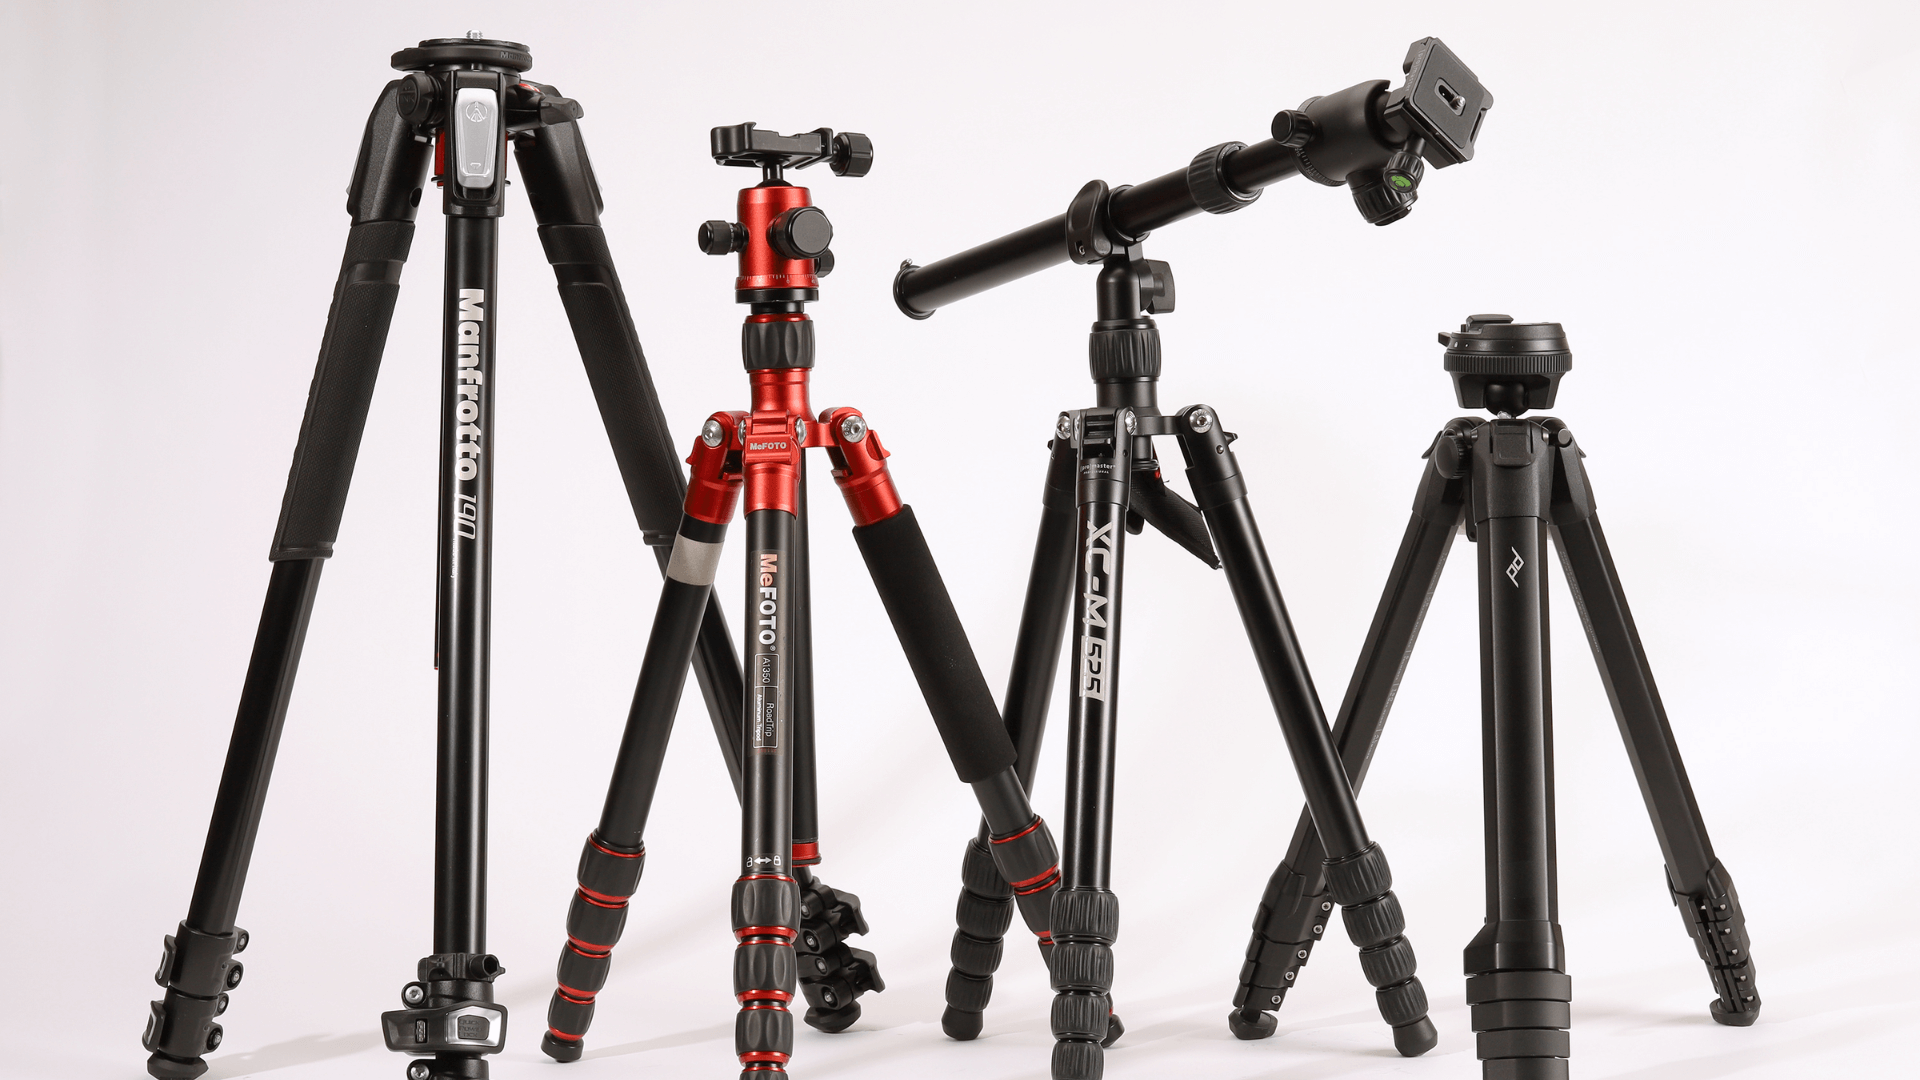
A tripod helps steady your camera during shots. This three-legged stand prevents camera shake, which causes blur in photos. Tripods help most during long exposures, low-light shots, and precise framing.
They come in different heights, weights, and materials. Carbon fiber tripods weigh less than aluminum ones but are more expensive.
The tripod head controls how the camera moves; ball heads offer quick movement, while pan-tilt heads provide more precise control.
Some tripods have special features, such as legs that spread wide for low shots or center columns that can be adjusted sideways.
17. Memory Cards
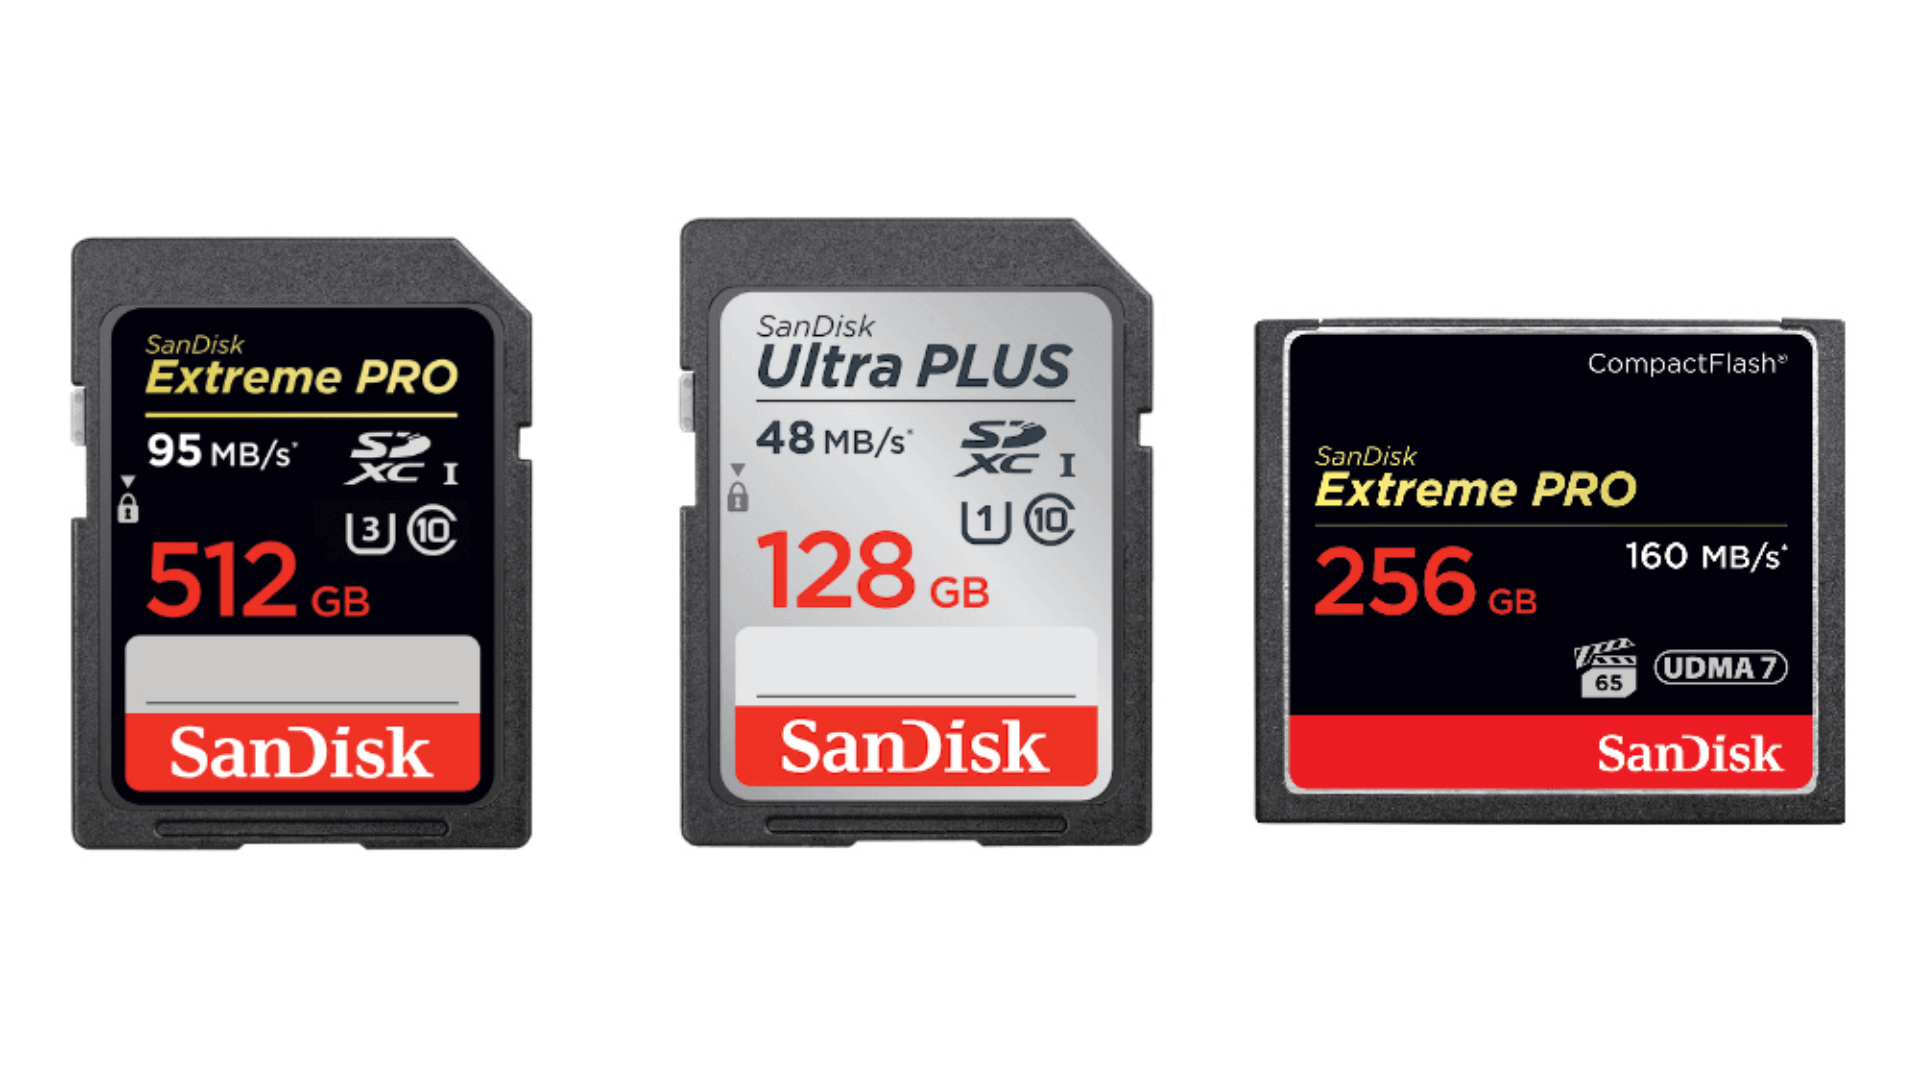
Memory cards store all the photos you take with your camera. These small cards come in various types and sizes. SD cards are the most common, while CF and XQD cards are used in higher-end cameras.
Cards have speed ratings that tell how fast they can save data. Faster cards are helpful when taking multiple photos quickly or shooting video.
They also come in different storage sizes, from 16GB to 512GB or more. Professional photographers often use multiple smaller cards rather than one large card. This reduces the risk of losing all photos if one card fails.
18. Camera Bag
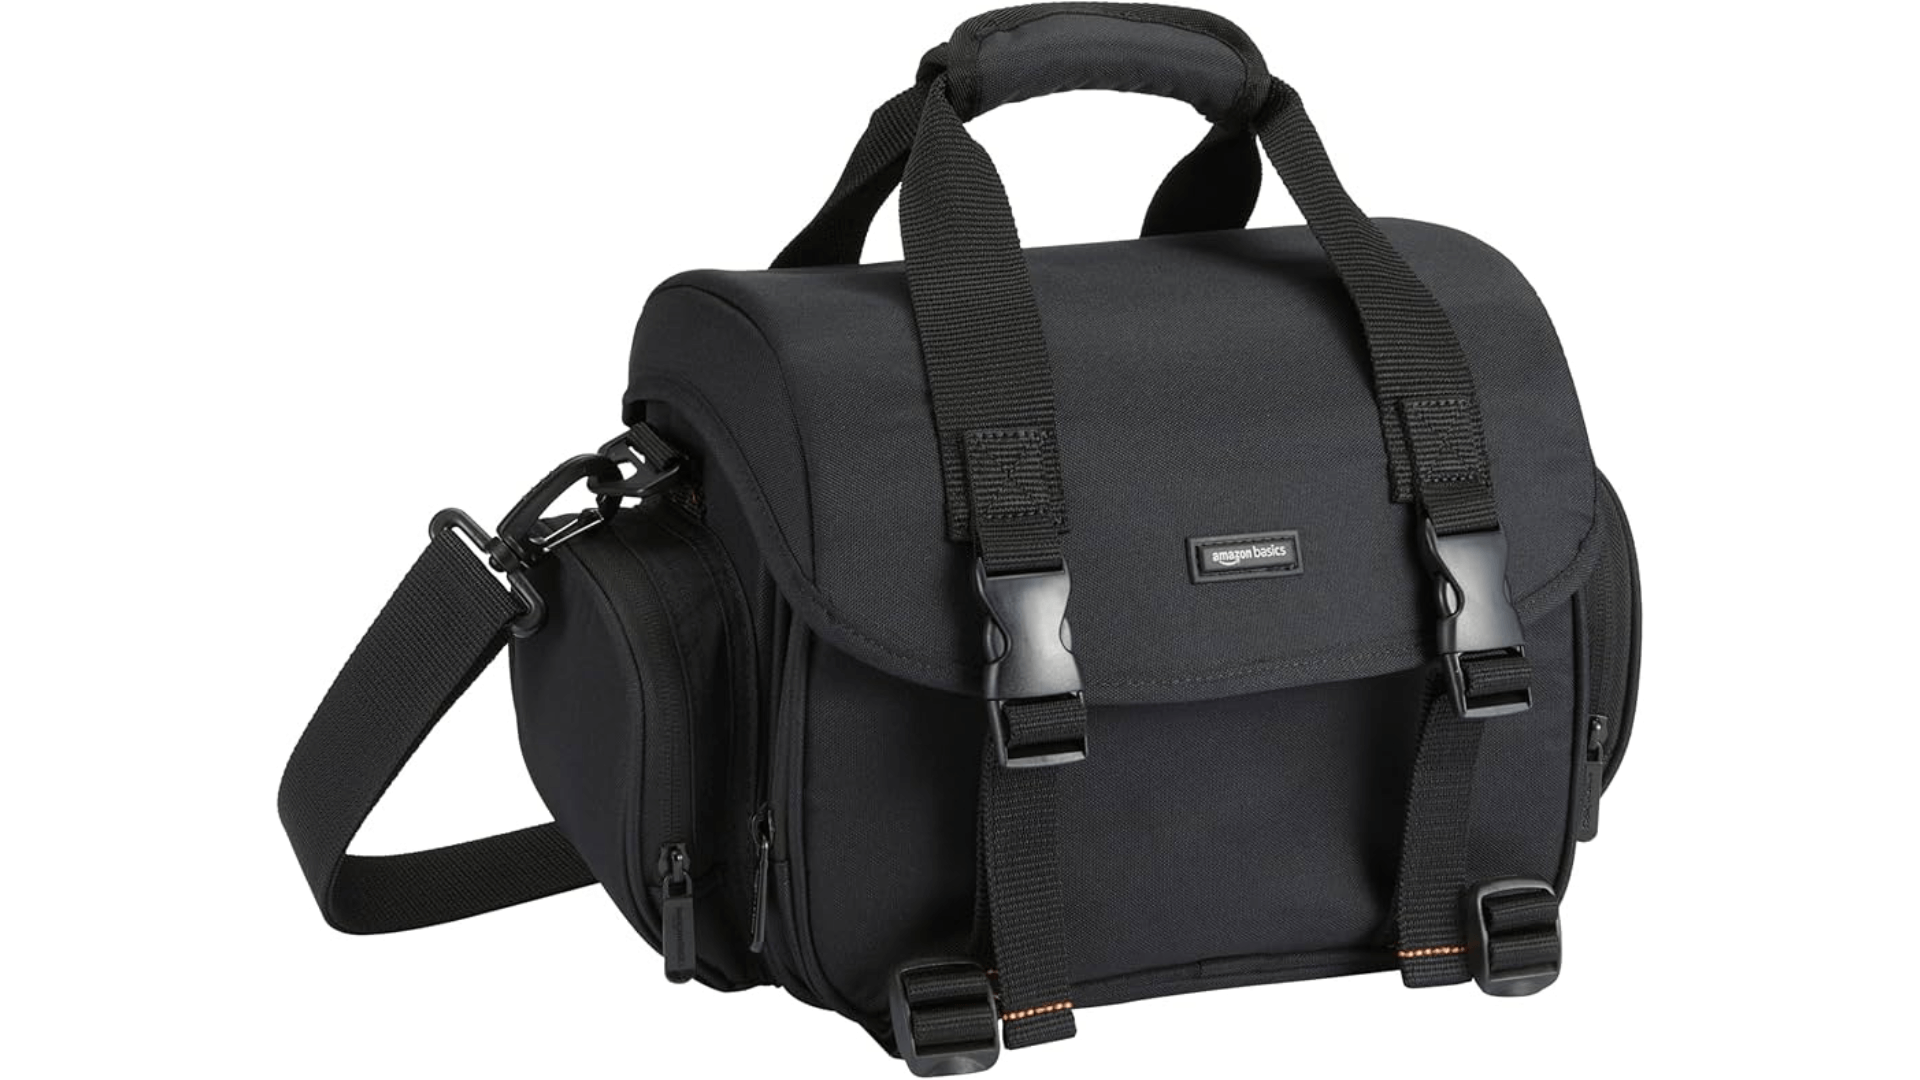
Camera bags protect your gear while making it easy to carry. They come in many styles – shoulder bags, backpacks, and roller cases. Good bags have padding to cushion your equipment from bumps.
They often include dividers you can move to fit your gear. Many have weather-proof covers to keep rain out. Some bags resemble normal backpacks to avoid drawing attention to their costly contents.
The best bag depends on how much equipment you carry and where you take it. Smaller bags are ideal for daily use, while larger ones are better suited for long trips with a lot of gear.
19. Remote Shutter Release
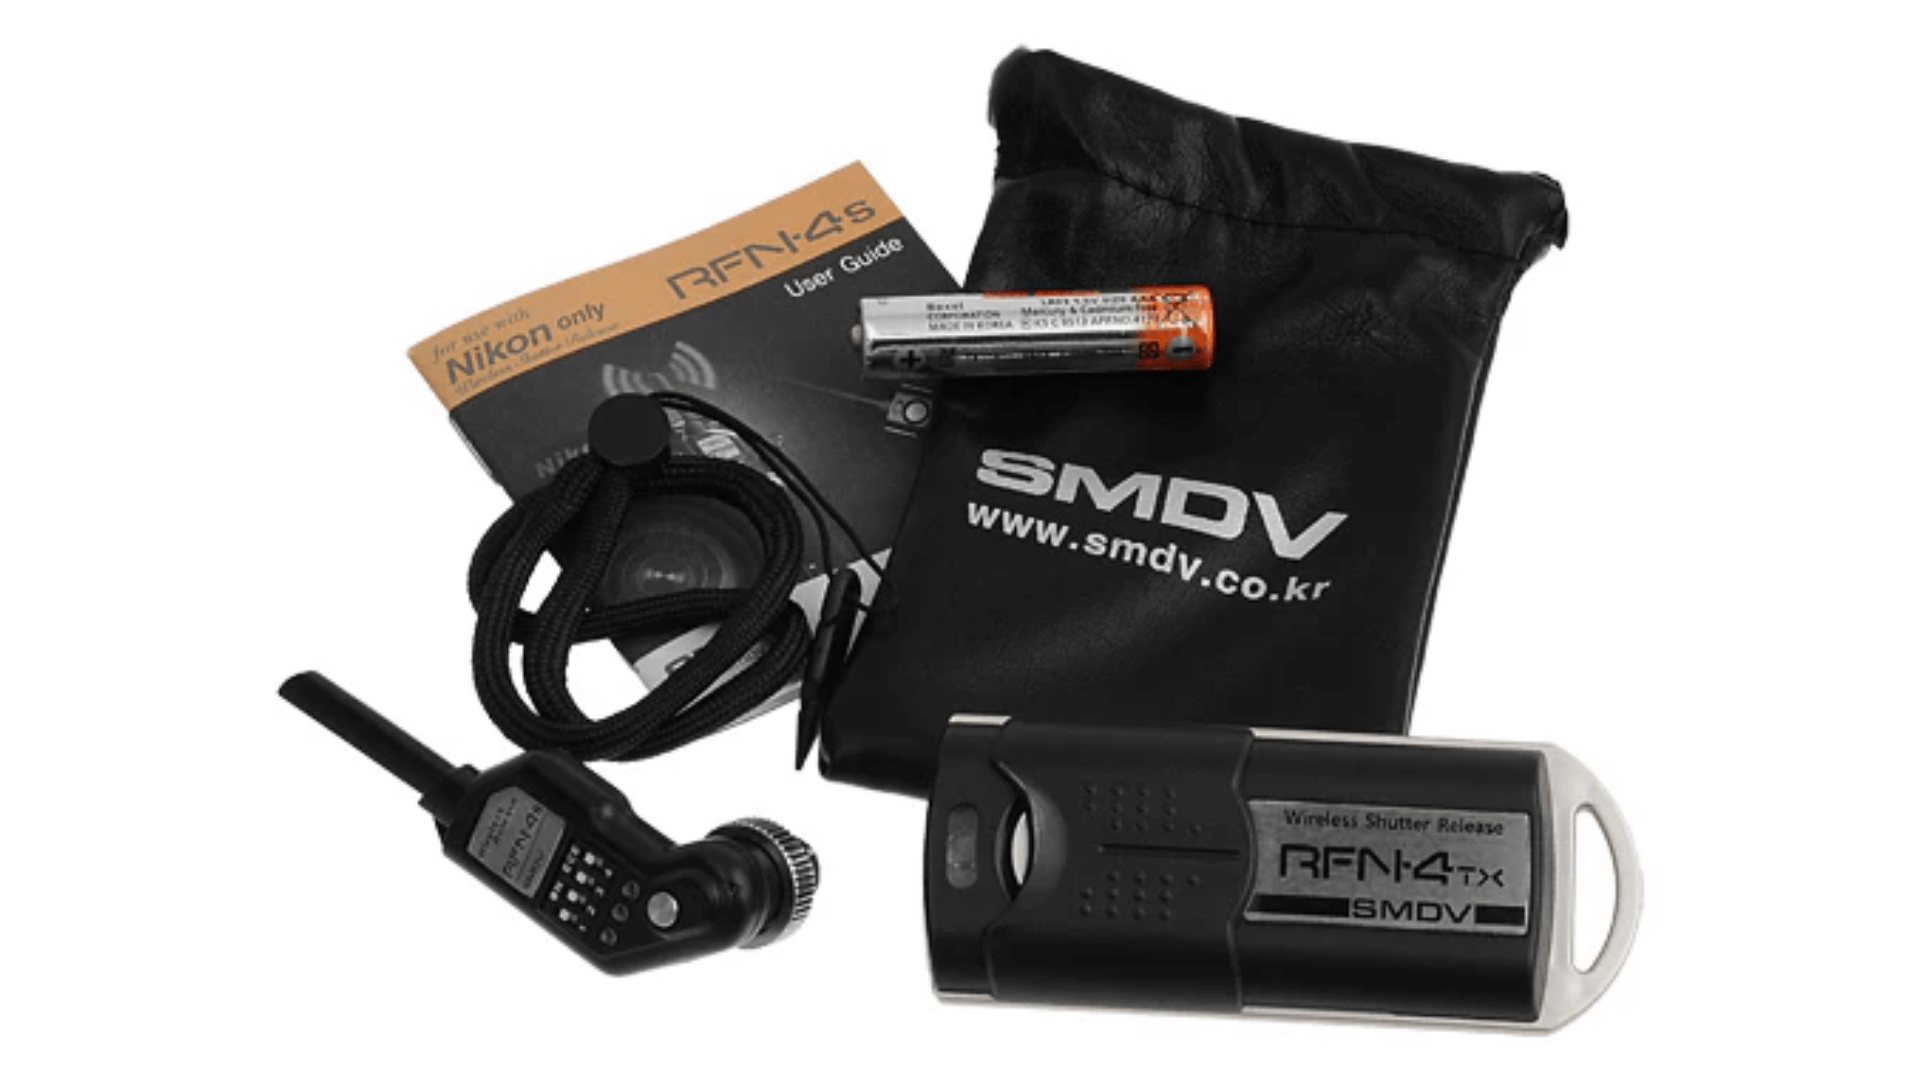
Remote shutter releases let you take photos without touching your camera. These small devices connect to your camera by cable or wireless signal.
They help avoid camera shake during long exposures or macro shots. Some have simple buttons that trigger the shutter. Others include timers, interval settings for time-lapse photos, and exposure controls.
Wireless models allow you to work from a distance, letting you step away from the camera. Some phone apps can act as remote releases for newer cameras.
This tool proves most useful for night photography, self-portraits, and wildlife shots where you can’t be near the camera.
20. Filters
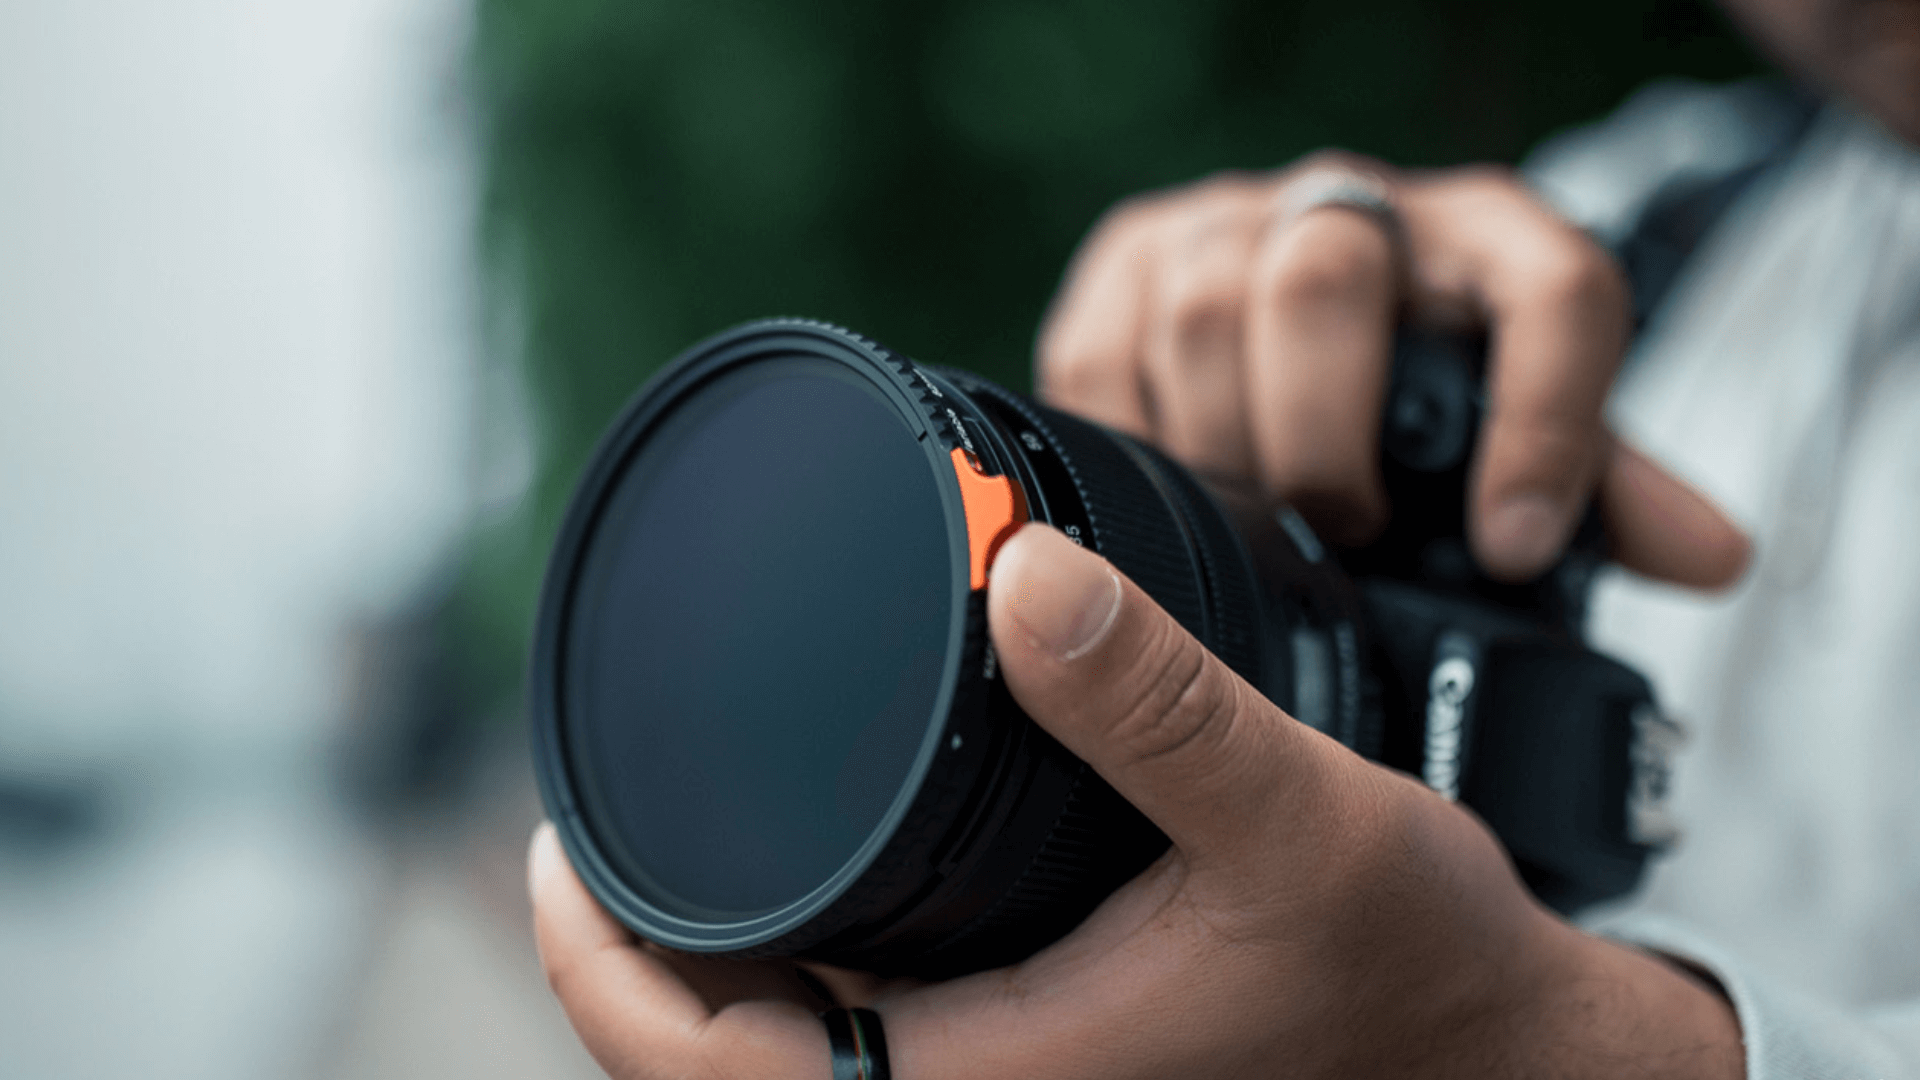
Filters screw onto the front of lenses to change how your photos look. UV filters protect your lens from scratches and dust without changing the image.
Polarizing filters reduce glare and make the sky appear deeper blue. ND (neutral density) filters block some light, letting you use slower shutter speeds for smooth water or motion blur.
Color filters add tints to black-and-white photos. Graduated filters darken only part of the image, which is helpful for bright skies.
Each filter serves a specific purpose, and some effects can’t be copied well with editing software. Quality filters utilize high-quality glass that won’t compromise image sharpness.
Final Thoughts
Now you know about the key parts of a camera and other useful add-ons. Each piece works with others to help you take better photos.
So, understanding these components makes using your camera easier and more fun. Next time you pick up your camera, try to remember what each button and part does.
This knowledge will help you resolve common issues and capture sharper, better-lit images.
Want to learn more? Try studying one camera part each week.
Or better yet, grab your camera and practice using these parts right now. Your photos will thank you!

Leave a Reply