Do you want to make your photos look special without spending forever on each one? Well, in Adobe Lightroom, there’s a cool thing you can use: presets! Lightroom Presets are like magical filters that make your pictures look better with just one click. And guess what? You can use these presets on not only one but lots of pictures all at the same time.
Let’s learn about this quick and easy way to edit photos. It’s super easy. Just pick the photos you want to edit, find a preset you like, and click apply. Ta-da! Now, all those pictures look amazing in the same way. You save time and still get awesome results.
So, come with us and learn how to use presets on your selective pictures and make your photography even more fun.
What are Lightroom Presets?
Lightroom presets are pre-defined settings that you can apply to your photos to achieve specific looks and styles quickly and easily. Think of them as one-click filters that adjust various aspects of your photo, such as exposure, color balance, contrast, and more.
They are like magic formulas that change your ordinary image into a stunning masterpiece without the need for complex manual adjustments.
Development Mode
- To start applying preset to multiple images, first, pick a preset in Lightroom that matches the style you want. Lightroom has many presets, each designed to create different feelings and looks, from energetic and colorful to thoughtful and black-and-white. These presets give you a head start in creating the story you want.
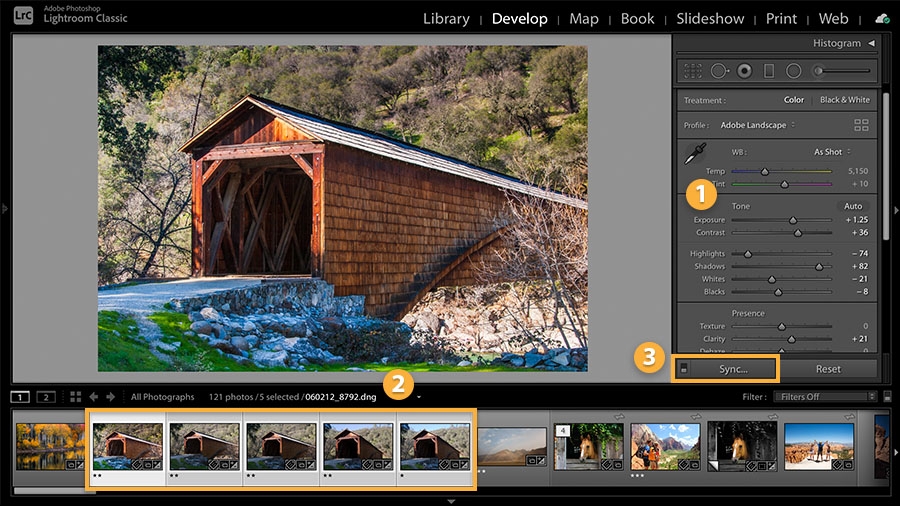
- Your next task is to select the pictures that will go through the changes of the preset you picked. These pictures could be a bunch of shots taken during one photo session or a group of photos that capture one event. This step ensures that all the pictures in your collection look consistent and work well together. It’s like picking the best canvas for your artistic ideas.
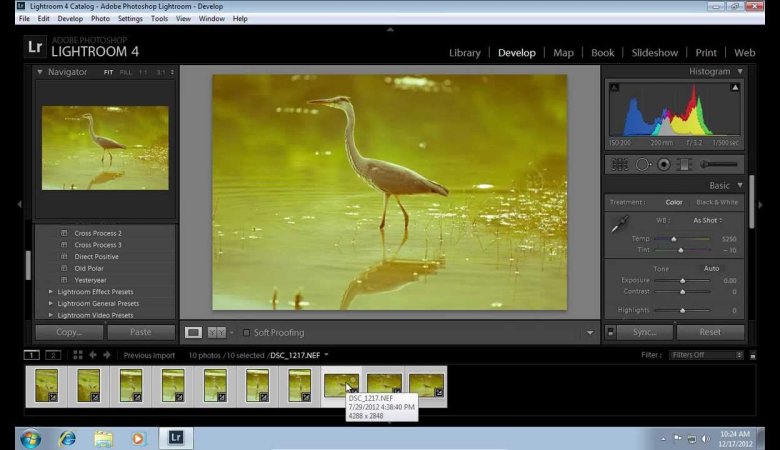
- If you want a consistent background for your images, use photography backdrops to match different looks. With your chosen pictures ready, look at the Sync button. When you press it, Lightroom’s magic works. It makes all the special settings from your preset work for all your pictures. It’s like a conductor that changes your images easily,
- When you click the sync button, a box asks if you want to start syncing. When you press the Synchronize button, you’re given the OK for the special changes to happen to your chosen pictures. It’s like saying it’s okay for the artistic modification to begin.
- Now, the big moment has arrived! Just like magic, your pictures are instantly made beautiful with the preset you picked. Watch as your photos change together into an attractive and stunning look. This clever process saves you time and effort, so you don’t have to spend ages adjusting each picture individually. Once you’ve edited your photos with presets, use a photo printing machine to turn your digital creations into physical prints.
Different Methods of Applying Presets to Multiple Images in Lightroom
1. Applying Preset to Multiple Photos in the Develop Module
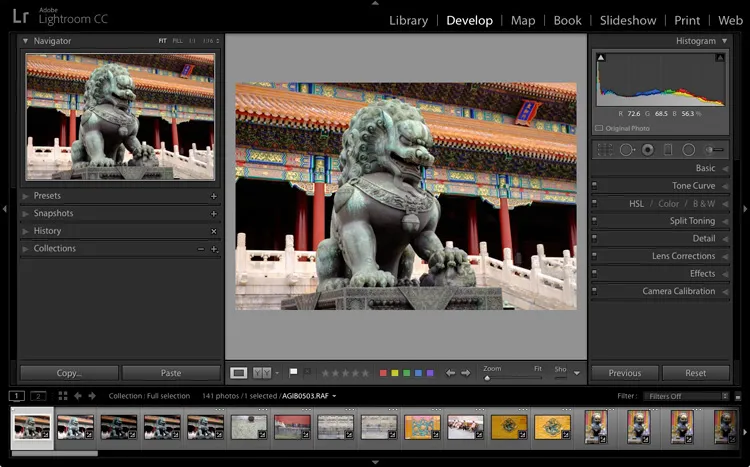
In the Develop module, you can boost your creative skills by applying presets to multiple images in your collection. First, you choose the images you want to edit, and then you go to the Quick Develop panel on the right side. Here, you can easily use a preset you like on your chosen images. This adds a consistent style to your images. What’s even better is that you can make specific changes to each image after applying the preset. This gives you much control over how the final images will look. Use an external hard drive to keep your images safe with you.
2. Applying Presets to Multiple Photos During Import
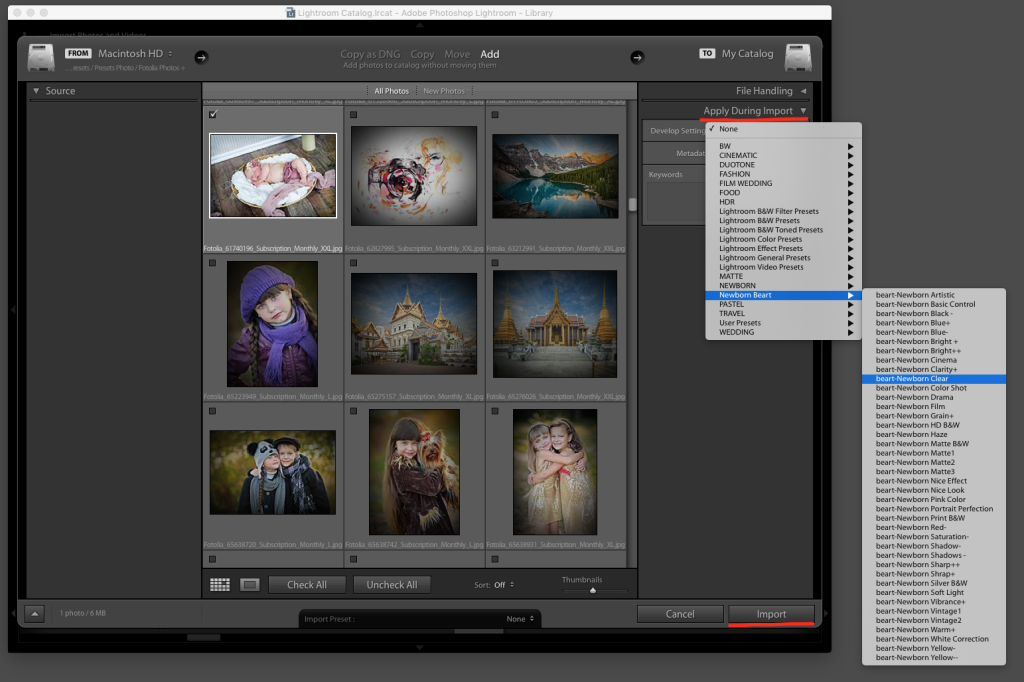
For accurate editing, use graphic tablets for your preset adjustments. Using presets while bringing your photos into Lightroom is a clever way to save time. It not only makes your work faster but also gives all your pictures a similar style. When you import a bunch of pictures, you can use a preset for all of them right from the beginning. This smart trick makes all your pictures look the same without you having to edit each one separately. This works well when many photos are taken in the same lighting or meant for one project. By using presets while you bring them in, you make sure all your pictures tell a similar story without needing to do a lot of hands-on work.
3. Applying Preset to Multiple Photos in the Library Grid
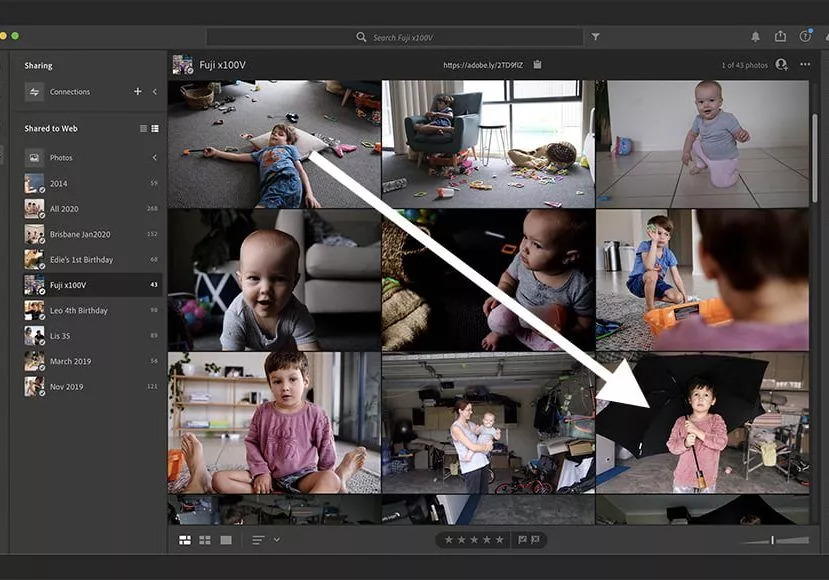
Think of a grid filled with possibilities, like a canvas ready for your creative ideas. Welcome to the Library Grid, your space for efficiently applying presets to many images simultaneously. Here’s how it works: pick the images you want to improve with your unique touch, then look at the Quick Develop panel on the right. This is where the magic happens. Easily apply your favorite preset to all the selected images with just a few clicks. The best part is how fast it is, a quick solution when you want to add style instantly. Think of it as your artistic introduction, a simple start that gets things ready for more detailed edits later on.
Conclusion
Using presets in Lightroom to edit many pictures is a smart and easy way to make your photos look better. Think of presets like instant filters that you can add to your pictures with just a few clicks.
They save you time by automatically fixing things like colors, brightness, and how things stand out. It’s fun to try different presets and see how they change your pictures.
Whether you’re a pro photographer or just like taking pictures, using presets in Lightroom makes editing much easier. You can make your pictures look awesome without spending much time on each one.
So, use this small picture hack and make your work easy.



Leave a Reply