
Ever take a photo and something just feels off? Learning a few camera settings for portraits can make a big difference.
You don’t need a fancy setup or big words to get better results. Just a few small changes can turn a plain photo into one that actually looks great.
If your portraits aren’t coming out the way you hoped, this guide is for you. I’ll go over the basics like:
- Light
- Focus
- Blur in the background
I’ll explain it all in simple steps, no confusing words, no tech talk. Even if you’re using a phone, these tips can help your pictures look clearer, more natural, and more like what you imagined.
Understanding the Basics of Portrait Photography Settings
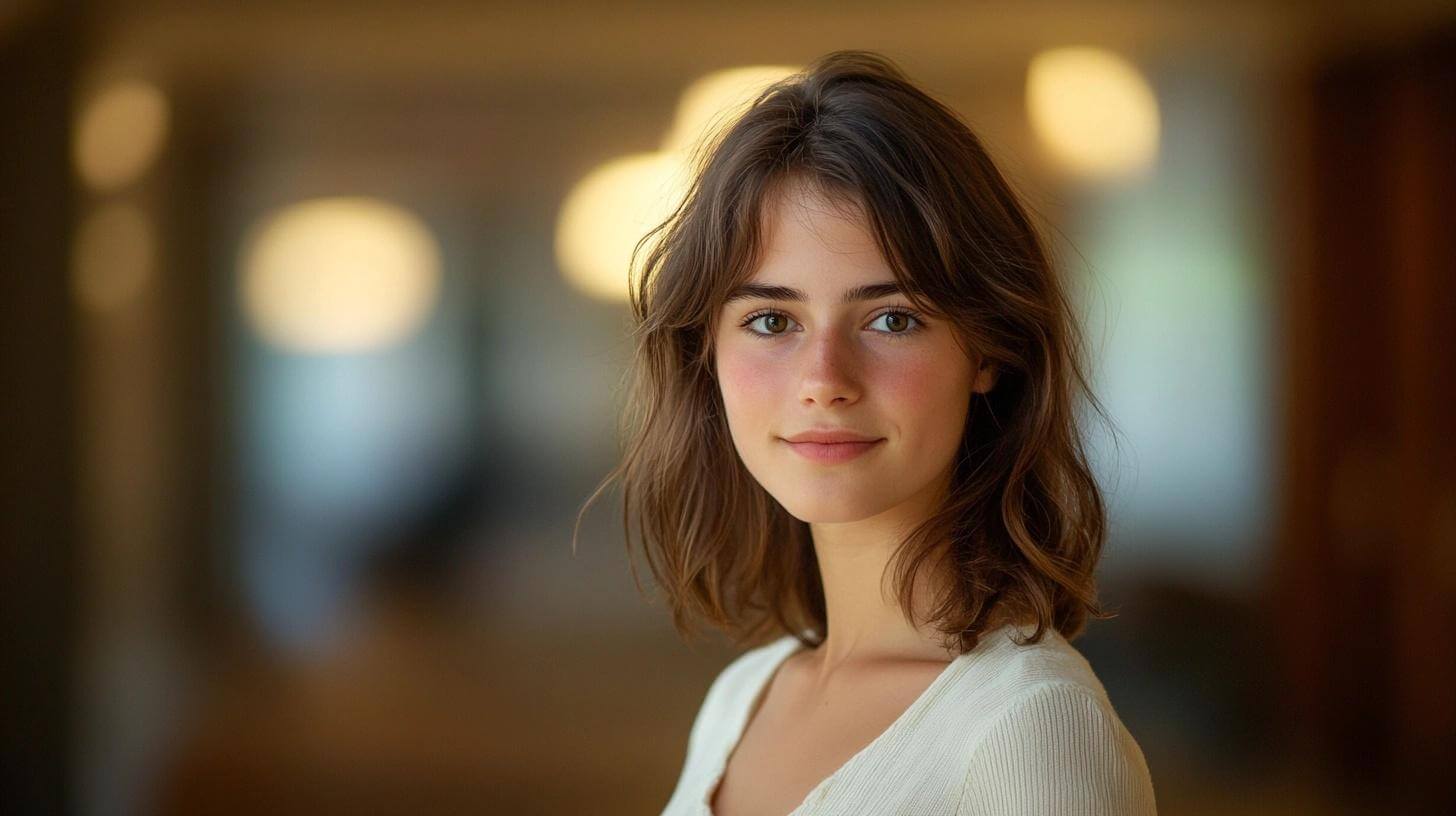
Learning how your camera settings work can really change how your portraits turn out. When you use the right settings, your photos look sharper, brighter, and more focused.
ISO – The Light Level in Your Shot
ISO tells your camera how much light it should try to take in. A low ISO, like 100 or 200, works best in bright places, like outside on a sunny day. These settings help you get clean, sharp pictures without that fuzzy grain you sometimes see.
When it’s darker (like indoors or outside at night), you need a higher ISO, like 800, 1600, or even 3200. This helps the camera see better in low light. But when ISO goes up, so does image noise, which can make your photo look rough or unclear.
The trick is to use just enough ISO to brighten the photo, but not so much that it ruins the details.
If you’re using a newer camera or smartphone, high ISO levels may still look okay. Even so, it’s always better to start low and only raise ISO when you have to.
Shutter Speed – Freezing or Showing Motion
Shutter speed is how fast your camera opens and closes to take a picture. A faster shutter speed keeps your photo sharp by freezing motion. A slower one lets in more light but can make moving things look blurry.
For portraits, especially when you’re holding the camera, use at least 1/125 of a second. That’s quick enough to catch a still person clearly.
If the person moves even a little, or if you’re taking pictures of kids or pets, try 1/250 or 1/500 to keep the photo crisp.
If you’re using a tripod, you can use slower shutter speeds since your camera won’t shake. But even then, your subject needs to stay very still, or you’ll still get a blur. Think of shutter speed like blinking, and you want to snap at just the right moment to keep everything clear.
Aperture – The Sharpness of Backgrounds and Faces
Aperture controls how much of your photo is in focus from front to back. It also affects how much light goes into your camera.
A lower f-number, like f/2.8 or f/1.8, gives you a blurry background. That’s great for portraits because it makes the person pop out more while the rest fades nicely.
This kind of background blur is called “shallow depth of field.” It helps keep all the attention on the person you’re photographing.
If you’re shooting more than one person, like a family or group shot, you might want to raise your aperture to f/4 or f/5.6. This gives you more focus across the scene so nobody looks out of place.
Also, in bright light, using a lower aperture (like f/1.8) might make your photo too bright. You may need to lower the ISO or use a faster shutter speed to balance it out.
Focus – Getting the Eyes Just Right
Eyes are the first thing people notice in a portrait. That’s why it’s super important to make sure the eyes are the sharpest part of the photo. If the eyes are blurry, the whole photo can feel off—even if the rest is clear.
To help with this, use single-point autofocus and aim that point right at one of the subject’s eyes. If your camera or phone has eye-detection focus, turn it on. This tool finds the eyes on its own and keeps them sharp, even if your subject moves a bit.
When you’re done taking the photo, zoom in and check the eyes. If they’re in focus, you’ve nailed the shot. If not, try again and keep adjusting until they are.
Advanced Settings for Specific Conditions
Light plays a big role in how your photos turn out. Depending on whether you’re inside or outside, or working with sunlight or lamps, your camera needs to be adjusted. Here’s how you can do that.
Lighting Conditions – Natural Light vs. Artificial Light
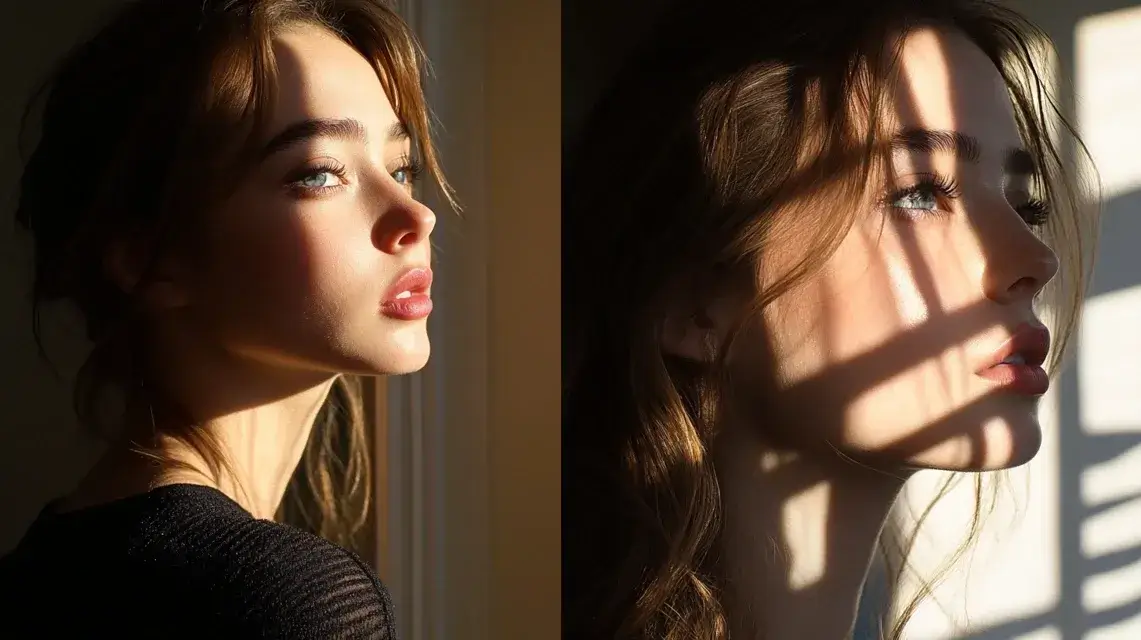
Natural light, like sunlight, works best early in the morning or late in the afternoon. During these times, the light is soft and warm, which makes faces look better.
In these conditions, keep your ISO low (100–200), use a fast shutter speed (1/125 or higher), and a wide aperture (around f/2.8) to blur the background.
If the sun is too harsh, move your subject into the shade or bounce light with a white paper or cloth.
Artificial light, like lamps or LEDs, isn’t as strong. Raise your ISO to 800–1600 and slow your shutter speed (but not below 1/60). Use a wide aperture like f/2.0. To soften harsh light, cover the lamp with a thin white cloth.
Low-Light Portraits
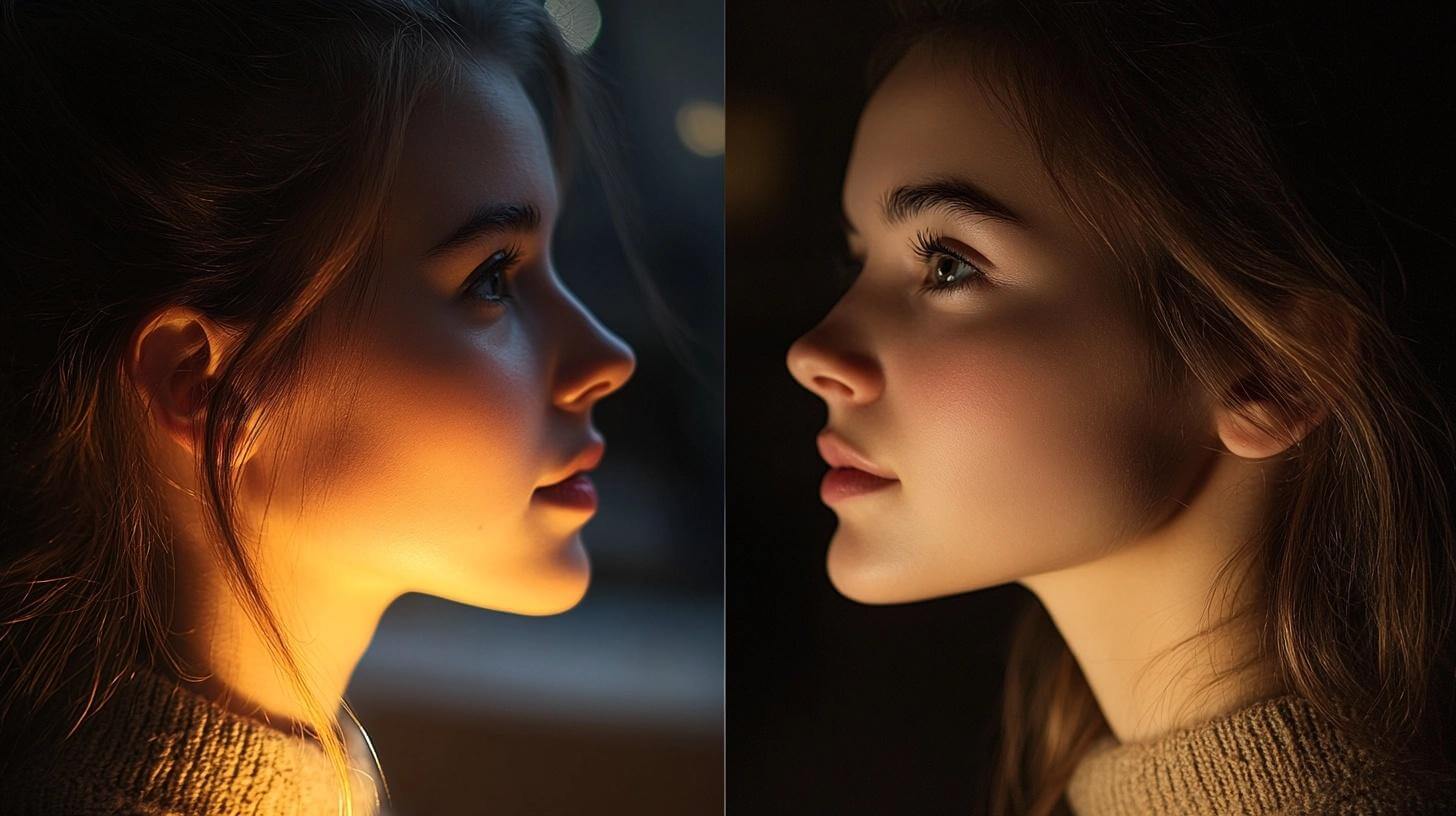
Taking portraits in low light can be tricky, but it’s possible with the right settings. First, raise your ISO to 1600 or 3200 to brighten the photo. Just know that higher ISO can make your photo look grainy.
Next, use a wide aperture like f/1.8 or f/2.0. This lets in more light and gives you a nice blurry background.
Keep your shutter speed at 1/60 of a second or faster. If it’s slower, your photo might turn out blurry, unless you use a tripod. A tripod keeps the camera steady.
You can also use a small light, like an LED or flashlight, to light the face instead of raising the ISO too much.
Outdoor vs. Indoor Portraits – Setting Differences
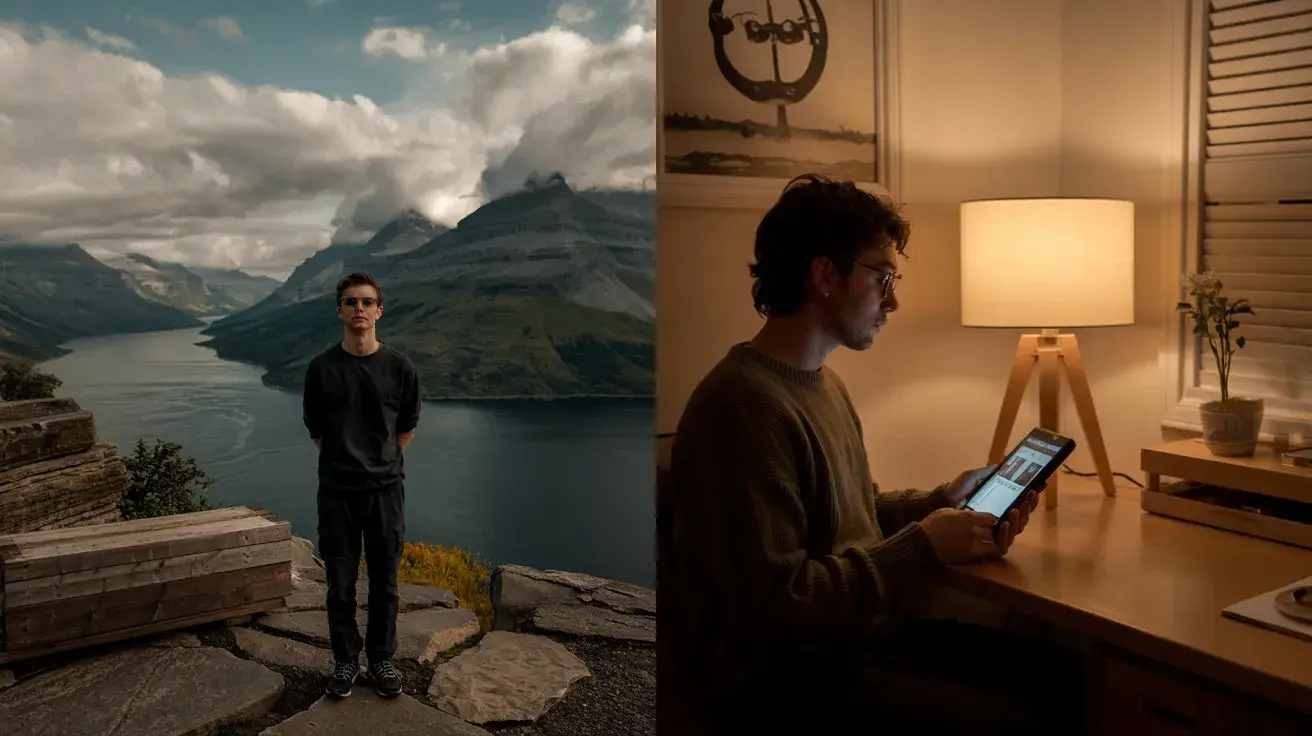
Where you take your photo matters a lot. Outdoor portraits usually have lots of light, so use a low ISO like 100 or 200. Set your shutter speed fast (around 1/250) to keep things sharp.
A wide aperture like f/2.8 will blur the background and focus on the person. If the sunlight makes harsh shadows, use a white board or paper to bounce light back onto the face.
Indoor portraits are a bit harder because the light is weaker. Raise your ISO to 800 or 1600. Use a wide aperture like f/2.0 or f/4 to let in more light.
Your shutter speed can be slower (around 1/80 to 1/125), but hold the camera steady or use a tripod. If light or shadows look odd, try moving the light or the person a little.
Studio Lighting Setups – Getting Even and Soft Light Indoors

When you’re taking portraits in a studio or at home with lights, your goal is to make the light soft and even on the person’s face. A good way to do this is by using two lights.
The first light is the main one and should be placed at a 45-degree angle to the face. This gives a natural look. The second light, called a fill light, helps remove shadows. If you don’t have a second light, use a white wall or board to reflect the light.
To soften harsh light, cover the lamp with a thin white cloth. Start with ISO 100 or 200, shutter speed at 1/125, and aperture at f/4.
If the photo looks too dark, open the aperture more or raise the ISO a little.
Choosing the Right Equipment for Portrait Photography
You don’t need the fanciest camera or lens to take great portraits. But using the right modes and lenses can help you get better results.
Let’s look at the camera settings and lens options that work best for portrait shots.
Camera Modes – What Each One Does Best
Each mode gives you control over different parts of the photo. Here’s a quick guide to help you pick the best one for your shot:
| Mode | What You Control | Best For |
|---|---|---|
| Aperture Priority (A/Av) | You choose the aperture | Blurry backgrounds, control over depth of field |
| Manual (M) | You control everything | Full control in tricky or changing light |
| Shutter Priority (S/Tv) | You choose the shutter speed | Freezing motion (kids, pets, moving people) |
Knowing when to use each mode can save you time and make your portraits look more polished. Try them out in different situations to see which one works best for you.
Lenses – Which Ones Are Best for Portraits?
The lens you use changes how the photo looks. Here are the most common and useful types:
Top Lens Focal Lengths for Portraits
- 85mm – Great for close-up portraits, gives a natural look.
- 135mm – Good for more distant shots, strong background blur.
- 50mm – Works well for both full-body and close-up portraits.
- 35mm (on crop-sensor cameras) – Acts like a 50mm lens on full-frame cameras.
Best Budget-Friendly Lenses
- 50mm f/1.8 – Also known as the “nifty fifty.” Sharp, lightweight, and great in low light.
- 35mm f/1.8 – Perfect for crop-sensor cameras. Similar look to 50mm on full-frame.
- Used or older model lenses – You can often find high-quality lenses for less when buying used.
Post-Processing Tips for Portraits
Editing your portrait photos can make a big difference. Even small changes can help your photo look cleaner and more natural.
It’s better to shoot in RAW instead of JPEG. RAW files save more detail from your photo. This means you can adjust brightness, colors, and shadows without losing quality.
JPEG files are easier to share, but they don’t give you as much freedom to edit. If you’re planning to edit your portraits, RAW is the better choice.
When you start editing, keep it simple. Make the photo brighter if it’s too dark. Fix the colors so the skin looks natural. You can also sharpen the photo to make the eyes look clearer.
If needed, smooth the skin a little, but don’t go too far. You want the person to still look like themselves.
For editing tools, beginners can try free or easy apps like Snapseed or Lightroom Mobile. These are simple to use and great for quick changes.
If you want more control, Adobe Lightroom and Photoshop are very popular. Lightroom helps with lighting and colors. Photoshop is good for detailed edits, like fixing skin or hair.
Both programs take some time to learn, but you can start with the basics and get better over time.
Common Mistakes to Avoid in Portrait Photography
- Overexposure: Photos that are too bright lose skin details, so lower your ISO or use a faster shutter speed.
- Underexposure: Dark images hide important features, so raise your ISO or use a wider aperture.
- Blurry Eyes or Faces: Always focus on the eyes and use a shutter speed of at least 1/125 to keep them sharp.
- Too Much Editing: Over-editing makes portraits look fake, so keep your changes light and natural.
- Distracting Backgrounds: Busy backgrounds pull focus from the subject, so blur them with a wide aperture or use a simple setting.
- Wrong Camera Angle: Shooting from too high or too low can distort faces, so keep the camera at eye level for a natural look.
Conclusion
Getting your setting for portrait photography right can turn an okay photo into one that really stands out.
Now that you know how to handle light, focus, and camera modes, try using these tips the next time you take pictures of people. Small changes can make a big difference. Don’t be afraid to test different settings and see what works best for you.
The more you practice, the better your portraits will look. And remember, good gear helps, but knowing how to use it matters even more.
Keep learning, keep clicking, and keep improving. Want more easy tips like this? Check out our other blogs to keep growing your photography skills.
Leave a Reply