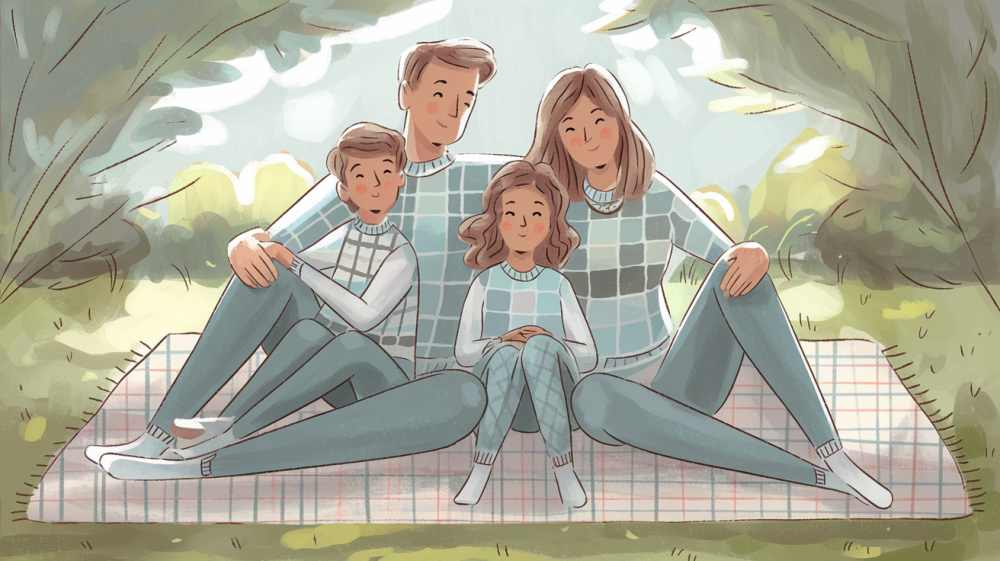
Family photos freeze time. They remind us of laughs, hugs, and everyday stuff that matters most. But setting up a professional shoot can feel like a big deal—money, time, outfits, and getting everyone to smile at once? It’s a lot.
Doing it yourself takes the pressure off. You get to control the pace, the setting, and the vibe. Plus, it’s easier than you think. With just a few simple tips, you can take photos that really feel like you.
In this blog, I’ll show you why DIY is often the better choice, when it makes more sense than hiring someone, and how to pull it off without making any common mistakes.
So, if you’re ready to make real memories and keep them, keep reading.
Why DIY Family Photos are a Better Choice
Doing your own family photos isn’t just easier—it can actually be better in a lot of ways. Here’s why more and more families are skipping the studio and picking up their phones instead.
You Save Money
Let’s be honest—photo sessions with a pro can cost a lot. Between session fees, outfits, and prints, it adds up fast.
With DIY photos:
- You use what you already have.
- You don’t have to pay every time you want new pictures.
- You can take as many as you want—no extra charge.
You’re in Control
You pick the time, the place, and the pace. No one’s rushing you. No pressure to get it “right” in an hour.
- Want to try photos at sunset? Go for it.
- Kids getting cranky? Pause and come back later.
- Want silly poses instead of stiff smiles? Totally fine.
You decide what feels right for your family.
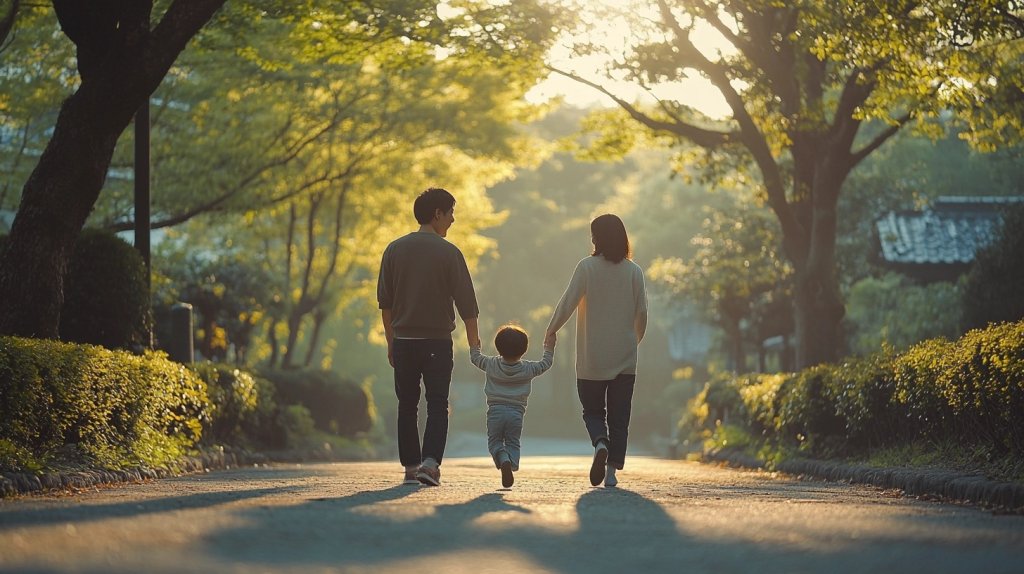
Real Moments, Not Posed Ones
When you’re at home or at the park, everyone’s more relaxed. That means more natural smiles and fewer forced poses.
- You can catch real laughs and tiny moments.
- You don’t have to stand still in awkward poses.
- You get photos that feel like your family, not just ones that look nice.
It’s Fun and Creative
Taking photos together becomes an activity, not just a task.
- You can make it a weekend thing.
- Let the kids help set up or press the button.
- Try different places around the house or outside.
You Learn Something New
You’ll start to notice little tricks—how light works, what angles look best, how to frame a shot. It’s not hard, and you get better with each try.
And that’s a cool skill to have, especially when you want to keep special moments later on.
DIY family photos aren’t just easier. They’re more like you. More relaxed. More fun. More affordable. And honestly? The results can be just as good—or even better—because they show your real life, not a perfect setup.
What You Need for a DIY Family Photo Session
You don’t need a bunch of fancy stuff to take good family photos. Just a few simple things can help you get started, and you might already have most of them at home.
1. A Phone or Camera You Already Own
Most phones today have great cameras built in, so you don’t need to buy a professional one. When you take pictures, use the back camera because it usually gives you better quality than the front.
You can also try using the “portrait” or “photo” mode—those are great for family pictures.
2. A Tripod
A tripod helps keep your phone or camera steady so your photos don’t turn out blurry. You can find small, affordable tripods online or at stores. Many of them come with a phone holder, which makes setup easier.
If you don’t have a tripod, you can stack some books or place your phone on a shelf—just make sure it’s steady so it doesn’t fall or shift during your shoot.
3. A Remote or Timer Feature
It’s tough running back and forth to press the camera button, especially with kids in the mix. That’s why using a timer or remote is super helpful. Most phones have a timer option—just set it for three or ten seconds, press start, and get in the shot.
You can also get a small Bluetooth remote to click photos without touching your phone.
4. Good Lighting
Lighting is one of the most important parts of a good photo. The best light is natural light. Early mornings or late afternoons are perfect because the sunlight is not too bright or harsh. Cloudy days are great too because the light is soft and doesn’t create strong shadows.
If you’re indoors or taking pictures at night, you can use artificial lights. White light bulbs work better than yellow ones because they make the colors in your photo look more natural. Try not to use overhead lights, since they can create shadows.
5. Editing Apps or Tools
After taking your photos, a little editing can make them even better. You don’t need to be a tech expert to do this. Apps like Snapseed, Lightroom Mobile, or VSCO are free and easy to use.
You can fix the brightness, add a bit of contrast, or crop out stuff you don’t want in the frame. Just don’t go overboard—simple edits often look the best and keep the photo looking real.
6. Optional Props
Props can add a fun touch to your photos, but you don’t have to use them. Even something small, like a blanket, a favorite toy, or a fun hat, can make the photo more personal.
If you want a seasonal vibe, try things like pumpkins for fall or fairy lights during the holidays. Just remember, the focus should stay on your family, not the props.
How to Plan Your Shoot Like a Pro
Planning your own photo shoot doesn’t have to be hard. A little prep can make a big difference in how your photos turn out. Start by choosing your location. You can take photos inside your home or head outdoors.
Indoors is great for cozy, relaxed shots—just make sure you have enough natural light coming in through windows.
Outdoors gives you more space and a natural background, like your backyard, a park, or even a quiet street. Think about where your family feels most comfortable.
Next, pick the right time of day. Light is softer and warmer early in the morning or in the late afternoon. This time is called “golden hour,” and it helps your photos look calm and glowy.
Try to avoid taking photos when the sun is high in the sky, like at noon, because the light can be too harsh and create shadows on faces.
You can also plan your shoot around a theme or a special moment. Think about holidays like Christmas, Halloween, or even a birthday.
You might also want photos for milestones like a baby’s first steps or a graduation. Having a theme makes your photos more fun and gives you ideas for what to wear or bring.
Speaking of clothes, picking the right outfits makes a big difference, too. Try to stick to a few simple colors that look good together. You don’t all have to match, but the colors should blend well. Here’s a simple outfit color chart:
| Look | Color Ideas |
|---|---|
| Soft & Calm | Cream, tan, light blue, gray |
| Bold & Fun | Red, navy, white, mustard yellow |
| Earthy Tones | Olive, brown, rust, beige |
| Seasonal | Pastels in spring, deep tones in fall, festive colors for holidays |
Planning like this helps everything go smoother, and the more relaxed you feel, the better your photos will turn out.
Poses & Prompts that Actually Work
You don’t need to be a model to get great family photos. You just need a few easy poses and fun prompts to guide everyone.
The goal isn’t to look perfect—it’s to feel real. These ideas will help you get both group shots and candid moments that you’ll actually want to keep.
1. Classic Group Pose
Start with the simple stuff. Have everyone stand or sit close together. Think of it like a group hug without the squeeze. If you’re sitting, a blanket on the ground works great. You can sit cross-legged, with little kids on laps or between knees.
Try standing with arms around each other, or have taller folks behind and shorter ones in front. Keep the lines soft and natural—no stiff arms or perfect rows.
2. Candid Prompts that Get Real Smiles
Candid shots are often the best because they show your real vibe. Try prompts like “walk slowly toward the camera while talking,” or “tell each other a silly joke.” You can also play games like tag, twirl your toddler, or ask everyone to hug at once.
These things feel silly in the moment, but they often lead to the best photos—real smiles, laughter, and connection.
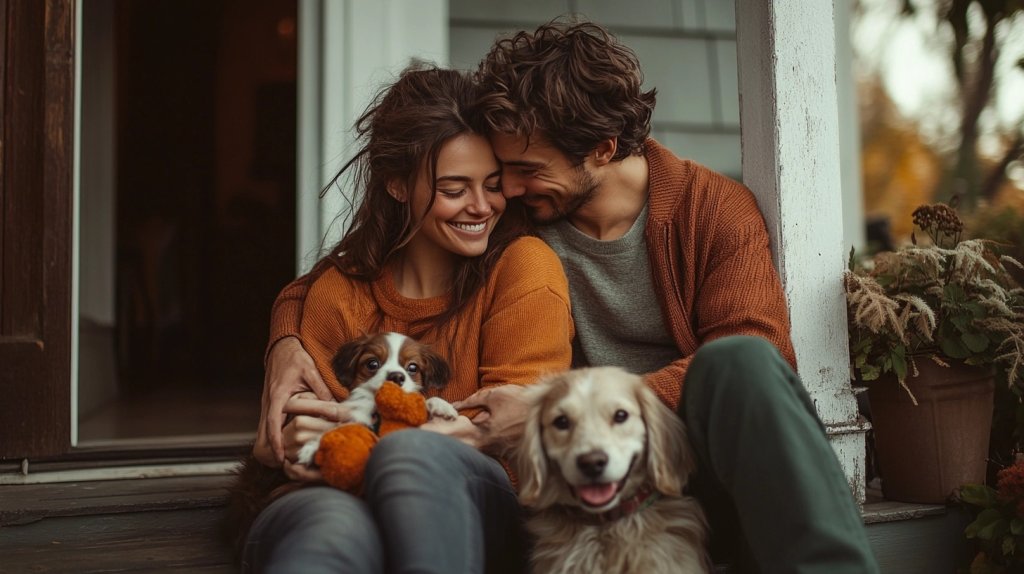
3. Couple, Kid, and Pet Ideas
For couples, have one person wrap their arms around the other from behind. Try nose-to-nose, or share a quiet smile, looking at each other. For kids, let them be wild and free—ask them to jump, spin, or show off a toy. Pets? Just let them be part of it.
Have someone hold the pet, or let them sit close. Keep treats nearby to grab their attention if needed.
4. Posing by Group Size
Knowing what to do based on how many people are in your photo helps a lot. Here’s a quick guide:
- 1 Person: Sit on a stool, lean on a wall, or look off to the side.
- 2 People: Stand close, face each other, or walk holding hands.
- 3 People: Form a triangle—one person slightly in front or lower.
- 4-5 People: Line up at different heights—some standing, some sitting.
- 6+ People: Use steps, benches, or have rows to fit everyone naturally.
Mix standing and sitting to keep the shape interesting. Always watch for space between people—closer is better!
5. Don’t Be Afraid to Move
Movement brings photos to life. Ask everyone to sway, spin, walk, or even tickle each other. These light actions keep energy up and often lead to the best in-between shots—the ones where people are laughing or looking at each other in a way that feels true.
Tips for Taking the Photos
- Set up your tripod at eye level: Place the tripod so it’s even with your family’s faces, not too high or too low. Make sure it’s standing steady and won’t tip over. If you don’t have a tripod, use a stack of books, a chair, or a shelf.
- Frame the photo before you jump in: Take a few test shots to check the angle and background. Make sure everyone will fit in the frame and there’s not too much empty space above your heads or around the sides.
- Use the timer or remote to take the photo: Set the timer to 3 or 10 seconds so you have time to get in place. A Bluetooth remote is even easier—you can click it while standing in the shot without running back and forth.
- Turn on the grid on your phone or camera: Most cameras have a grid option in settings. Use the lines to keep the photo straight and make sure faces are near the center or top third of the screen.
- Clean your lens before starting: A quick wipe with a soft cloth can make your photos look sharper. Dust or smudges on the lens can make things look blurry or foggy.
- Use natural light when possible: Stand near a window or face the sunlight if you’re outside. Good lighting helps your photo look brighter and more natural, even with a basic phone camera.
- Keep kids happy and involved: Let them hold a toy, play a quick game, or make a silly face between shots. Short and fun sessions work better than long, serious ones.
- Take lots of photos, not just one: Try a few poses, change your expressions, and move around a little. The more photos you take, the better chance you’ll catch that perfect moment.
- Don’t stress over perfect: Some of the best shots come from small laughs, crooked smiles, or little surprises. Focus on real moments, not just perfect poses.
DIY vs. Hiring a Photographer: Which is Right for You?
| Feature | DIY Photos | Professional Photographer |
|---|---|---|
| Cost | Not expensive | Expensive |
| Control | Full control over timing, setting, and style | Limited control—you follow their lead |
| Time Required | Takes more of your time | Less work for you |
| Photo Quality | Can be great with practice | High-quality and professionally edited |
| Flexibility | Very flexible—shoot anytime, retake freely | Limited to session time |
| Experience Needed | Some learning involved | No experience needed—pro handles everything |
| Personal Feel | Natural and relaxed | More polished and posed |
| Best For | Every day, memories and casual updates | Big events and special occasions |
When to Go DIY and When to Hire a Pro
Doing it yourself is a great choice when you want to keep things simple, low-cost, and relaxed. It works best for everyday memories—like playing in the yard, birthdays at home, or just hanging out on the weekend.
You can take your time, try different ideas, and snap photos without the pressure. It’s also ideal if you’re on a budget or want to take pictures more often without having to spend money each time.
On the other hand, hiring a photographer makes sense when the moment really matters and you want everything to look polished and professional. Think big events—like weddings, baby announcements, graduations, or family reunions. A pro knows how to get everyone posed quickly, handle lighting, and capture shots that look clean and high-end.
If you don’t want to worry about setup, camera settings, or telling people where to stand, a photographer takes that off your plate. It’s also a good choice if you’re planning to print large photos or create gifts.
In the end, there’s no right or wrong. It’s all about what fits your needs.
Common Mistakes and How to Fix Them
Even when you’re doing your best, little things can throw off your photos. The good news? Most mistakes are easy to fix once you know what to watch out for.
- Blurry photos: Use a tripod or steady surface, and check focus before clicking
- Dark or underexposed shots: Move closer to natural light or adjust brightness in your editing app
- Harsh or uneven lighting: Avoid direct sunlight; try shooting during golden hour or on cloudy days
- Awkward or stiff poses: Use fun prompts like walking, hugging, or talking to relax everyone
- Faces not in focus: Tap on faces to focus before taking the photo
- People too far from the camera: Move closer or zoom in slightly to keep faces clear and detailed
- Crooked framing: Turn on the grid feature on your phone to line up straight shots
- Busy or distracting backgrounds: Choose simple backgrounds or blur them slightly while editing
- Over-editing or too many filters: Keep edits light, fix brightness, color, and crop
- Everyone looking in different directions: Count down out loud or use a funny word to grab attention
With these quick fixes, your photos will look more polished and natural, without needing any special skills or tools. A few small changes can make a big difference.
Conclusion
Taking your own family photos can be simple and fun. You don’t need a fancy setup—just some time, a little planning, and the people you love.
By trying diy family photos, you get to save money, stay relaxed, and capture moments that feel real. You’ve now got everything you need to start—tools, tips, and ideas that actually work.
Don’t stress about being perfect. The best photos are the ones that show your real life, just as it is. Give yourself space to try, learn, and enjoy the process.
Want more easy tips for capturing everyday life? Please take a look at our other blogs. There’s always something helpful waiting for you there.


Leave a Reply