Shadows aren’t just dark spots, and they can shape a photo in ways that make it feel real, deep, and full of mood. When used right, shadows can turn a simple photo into something people stop and look at.
If you’re looking to take better photos and stand out, learning how to use shadows is a smart step.
This blog will share easy and creative shadow photography ideas you can try right away. You’ll learn how light and shadow work together and how to use them to make your photos more interesting.
Want your photos to feel different, like they tell a story? Keep reading.
What is Shadow Photography?
Shadow photography is all about using shadows to make photos more interesting. A shadow is the dark shape that appears when something blocks the light.
In photos, shadows can add mood, shape, and even mystery. They help guide the eyes and can show more than just what’s in the light.
Instead of only focusing on the subject, shadow photography also pays attention to the shapes and patterns made by the shadows. Sometimes, the shadow becomes just as important as the main object.
Basic Principles of Shadow Photography
Here are a few key ideas behind shadow photography:
- Use of Light: Shadows only happen when there’s light. So, where the light is coming from—like the sun, a lamp, or a flashlight—matters a lot.
- Hard vs. Soft Shadows: Bright, direct light (like the sun at noon) makes sharp, clear shadows. Softer light (like on a cloudy day) makes gentle, fuzzy shadows.
- Shape and Angle: Shadows change shape based on the angle of the light and the object. Moving your camera or the light can completely change the photo.
- Contrast: Shadow photography often plays with contrast—the difference between light and dark areas. This helps bring out shapes and details.
Creative Shadow Photography Ideas
Now that you know how light and shadow work, here are some fun ideas you can try. You don’t need a fancy camera—just use your phone and find some light.
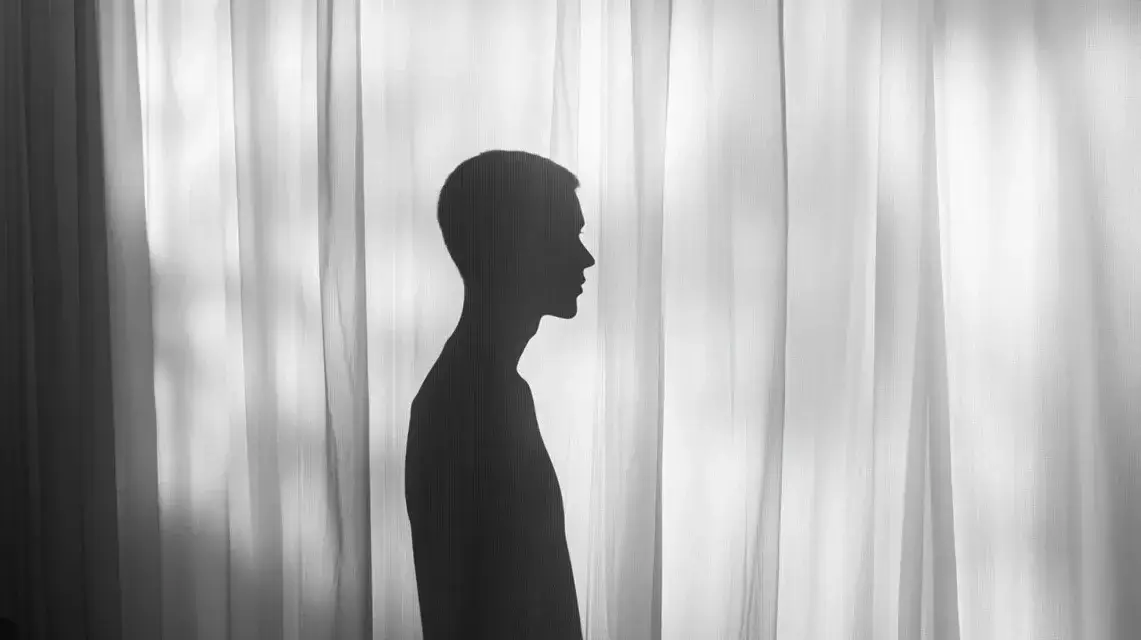
1. Silhouettes in Sunset
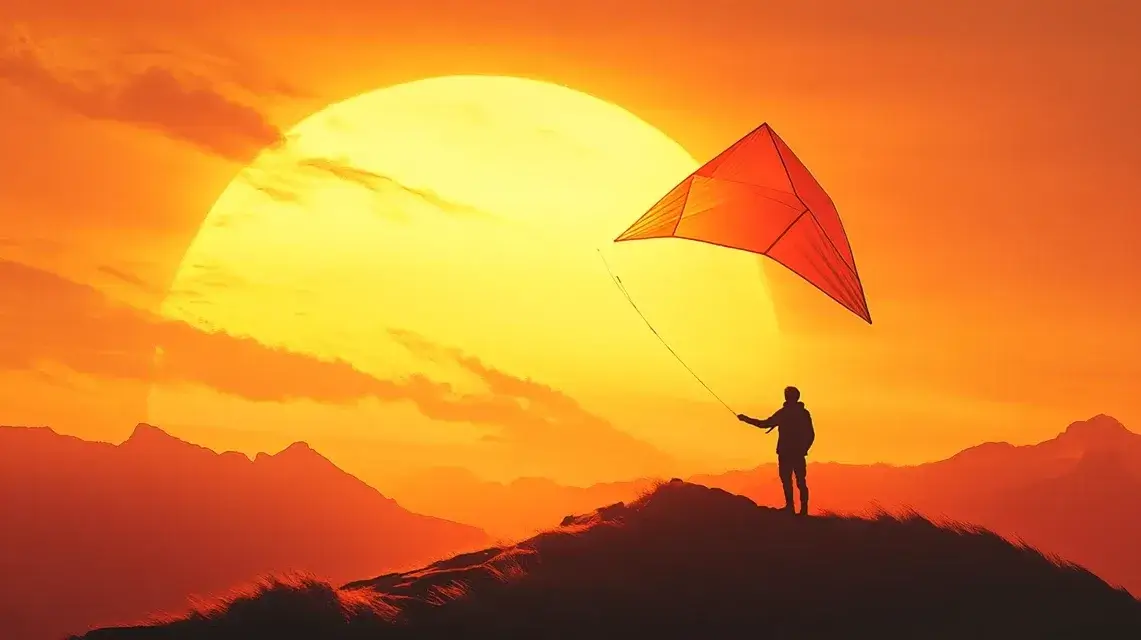
During sunset, the sun sits low in the sky, casting strong light from behind your subject. This creates a full, dark outline known as a silhouette. You won’t see details—only the shape.
It’s a simple way to make your photo feel bold or emotional. Try different poses or objects in front of the sun to change the story your photo tells.
2. Mirror Shadows
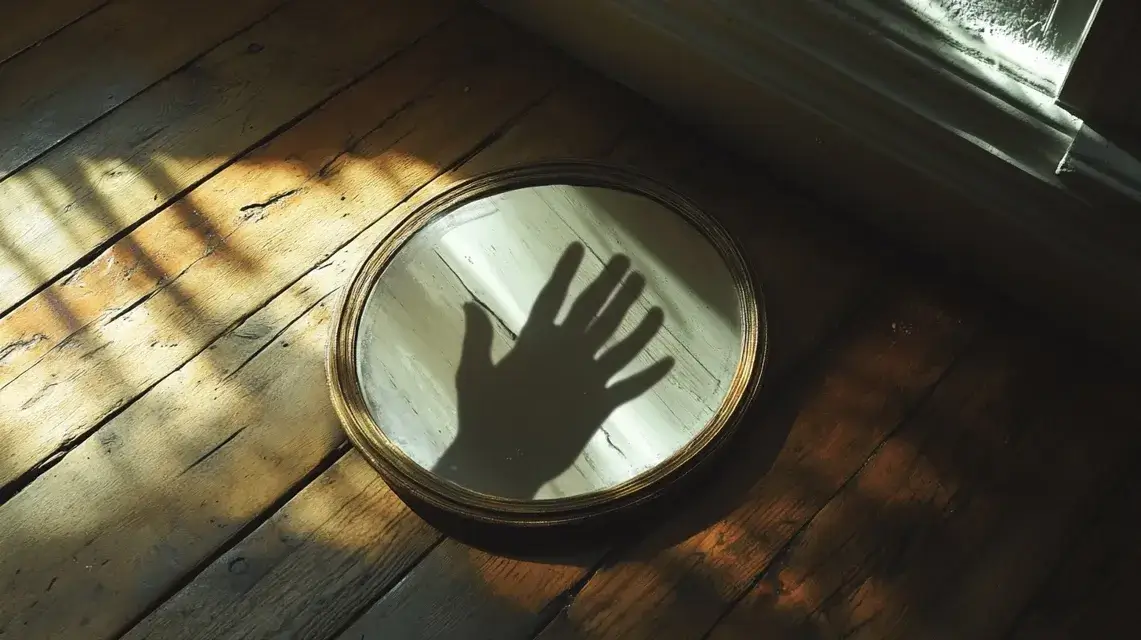
Using a mirror with sunlight or a flashlight can create double patterns. The mirror bounces the shadow onto another surface, like a wall or the ground, and this reflection adds layers to the photo. It’s a fun way to mix shapes and angles.
You can tilt or move the mirror to change the pattern. It works well with hands, leaves, or cut-out shapes for a balanced, creative effect.
3. Shadows Through a Window
When light enters through a window, it makes cool lines and shapes. Place objects—like mugs, plants, or toys—near the window so the sunlight throws their shadows onto the floor or wall.
You’ll get a mix of shapes from both the object and the window frame. It works best during bright parts of the day when the sun shines directly in.
4. Shadow Play with Hands
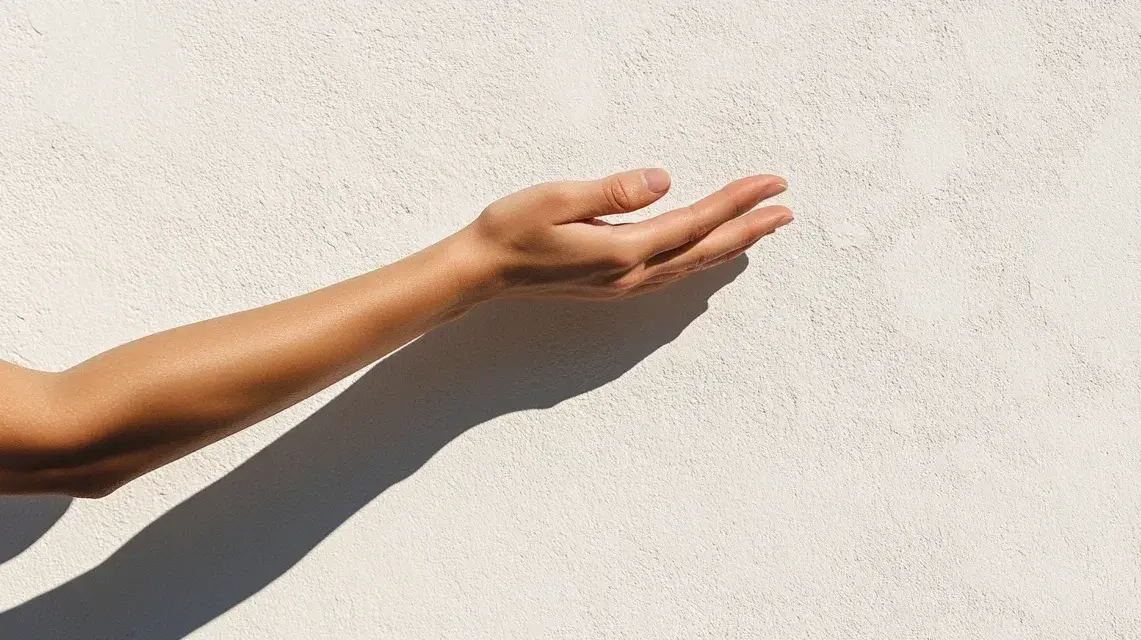
Hands are great for shadow art. Shine a light toward a wall, and use your hands to form shapes like birds, animals, or hearts. Their shadows show up clearly. Because hands are flexible, you can make all kinds of figures.
This idea is fun, simple, and works even with just a flashlight or lamp. Try different hand positions or backgrounds to get new results each time.
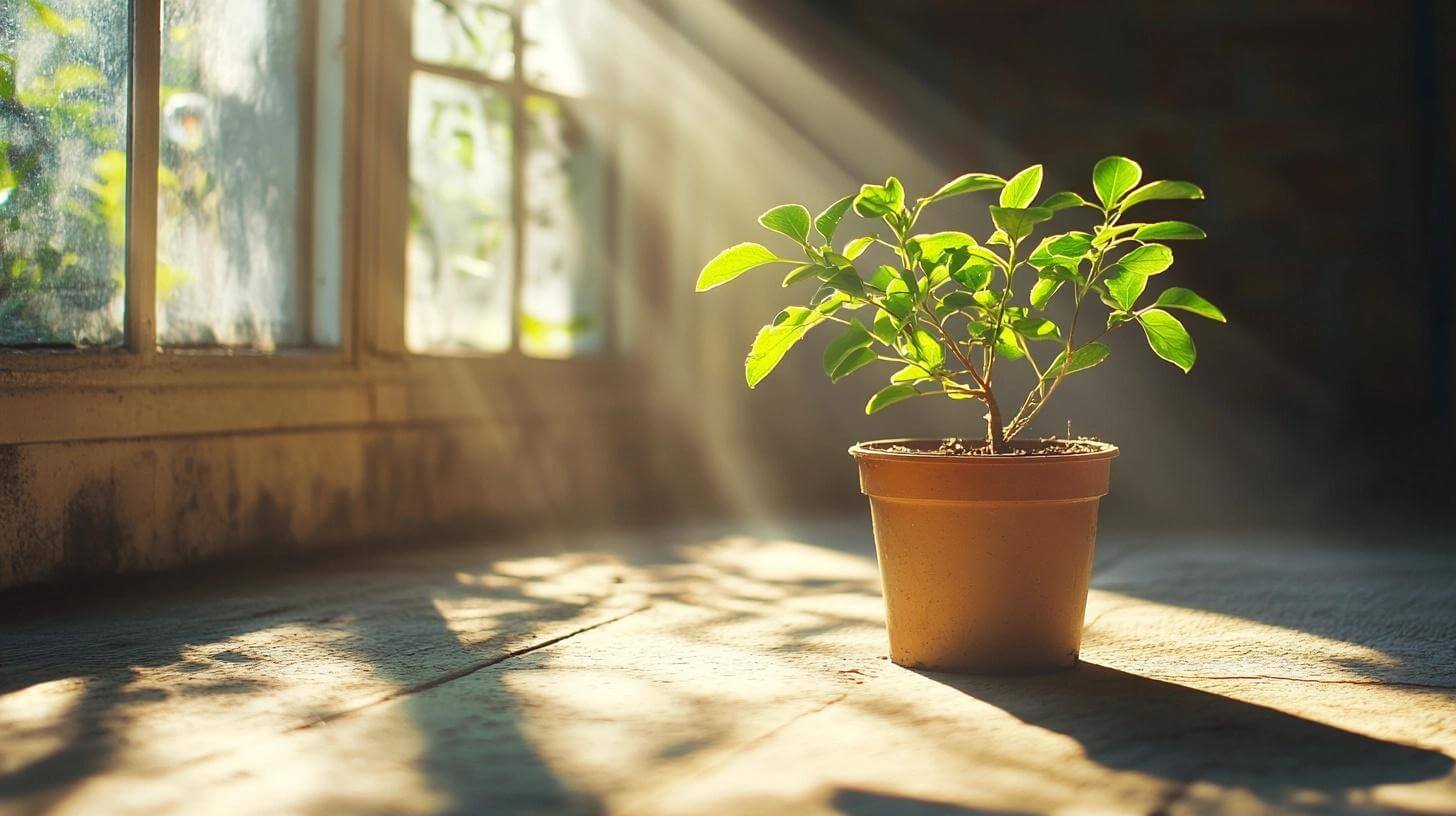
5. Shadow of a Plant
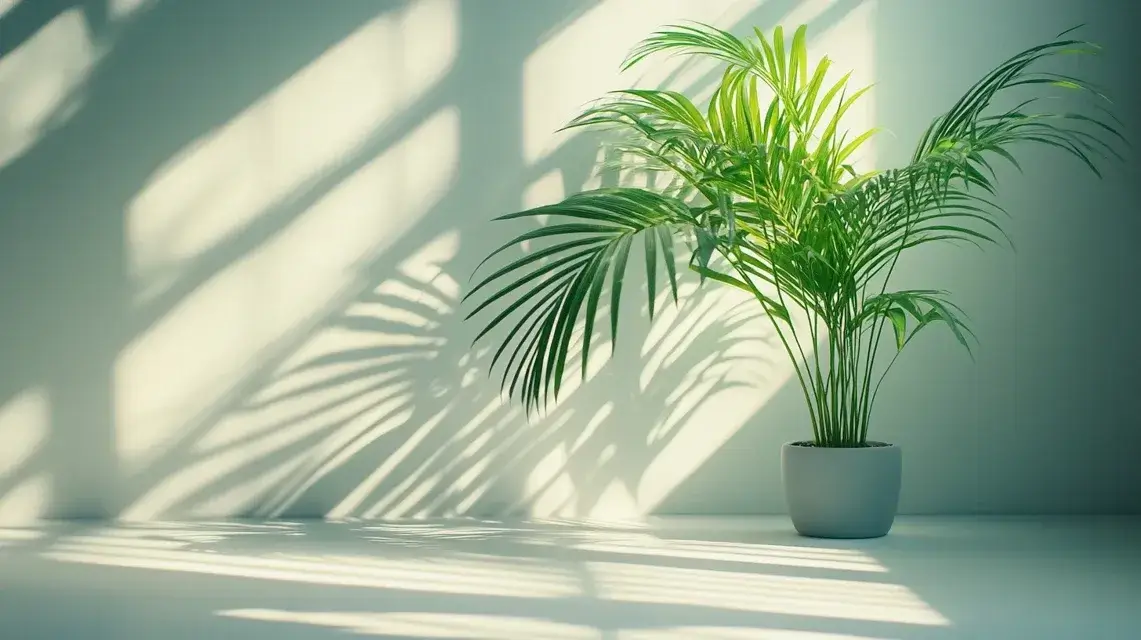
Plants with big or detailed leaves create lovely natural shadows when light hits them. Try placing a plant near a window or lamp. The spaces between the leaves let light through, while the rest blocks it, making a pretty pattern on the wall or ground.
You can move the plant or the light to change the shadow. It’s a great way to add a calm, nature feel.
6. Shadows and Lines

Things like fences, blinds, or grilles create strong light and shadow patterns. Light passes through the gaps and gets blocked by the solid parts, forming stripes or grids on surfaces. It adds structure and mood to your photo.
The best time to try this is when the sunlight is sharp, like early morning or late afternoon. You can also tilt the camera to change the way lines look.
7. Sunlight and Street Art
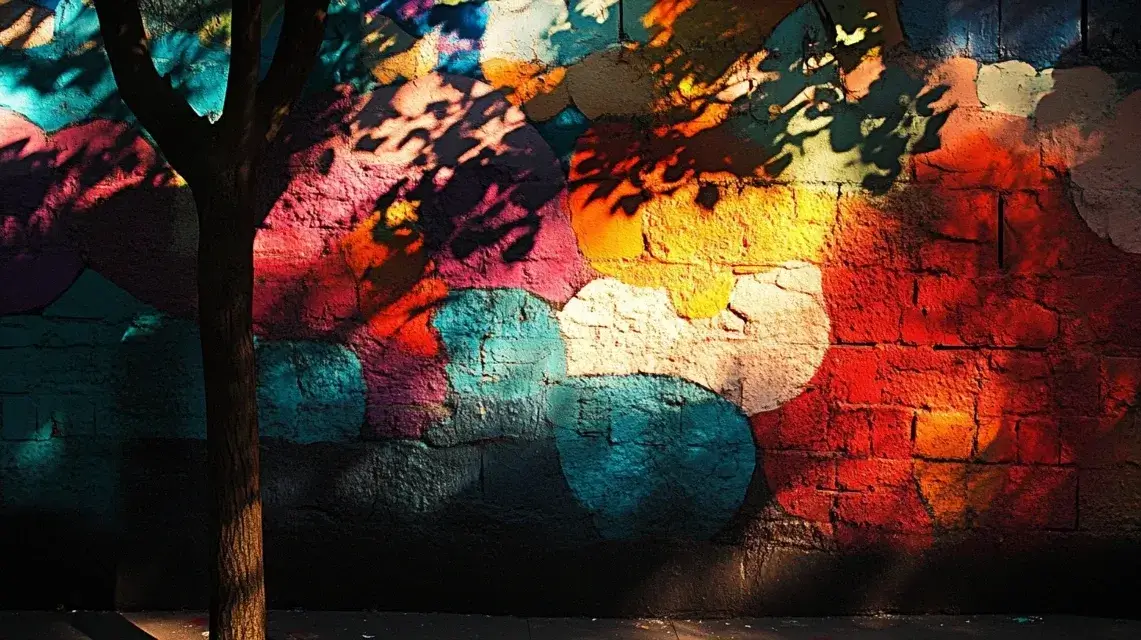
Street art already stands out, but adding shadows makes it more exciting. Look for shadows from trees, poles, or wires falling across a mural or graffiti wall. This adds another shape or pattern to the photo and makes the art look alive or changed.
It tells two stories—one from the art and one from the shadow.
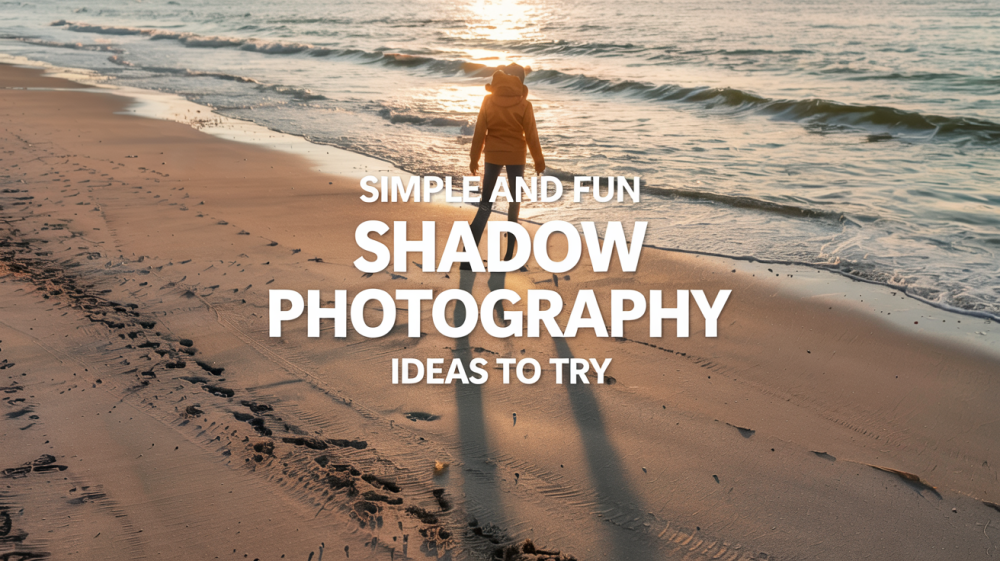
8. Objects in Motion
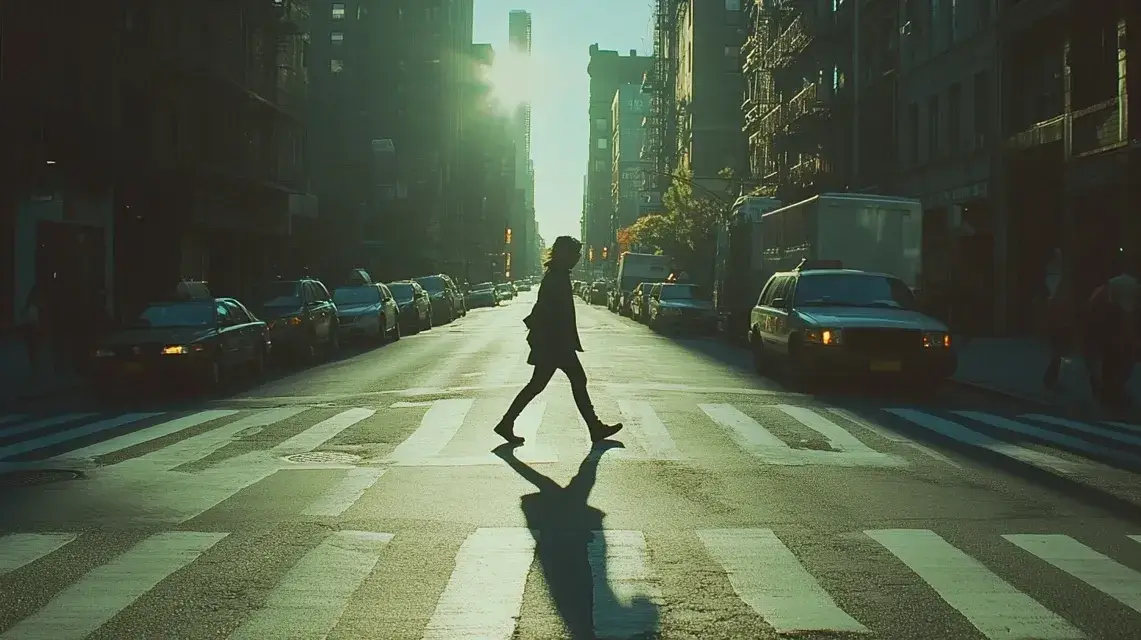
When someone or something moves through bright light, their shadow moves too. If you catch the moment just right, the shadow shows where they’ve been or where they’re going. It’s perfect for showing action or speed.
You can photograph people walking, a dog running, or even bikes riding by. Shadows stretch, bend, or lean depending on where the sun is.
9. Shadows with Reflections in Water
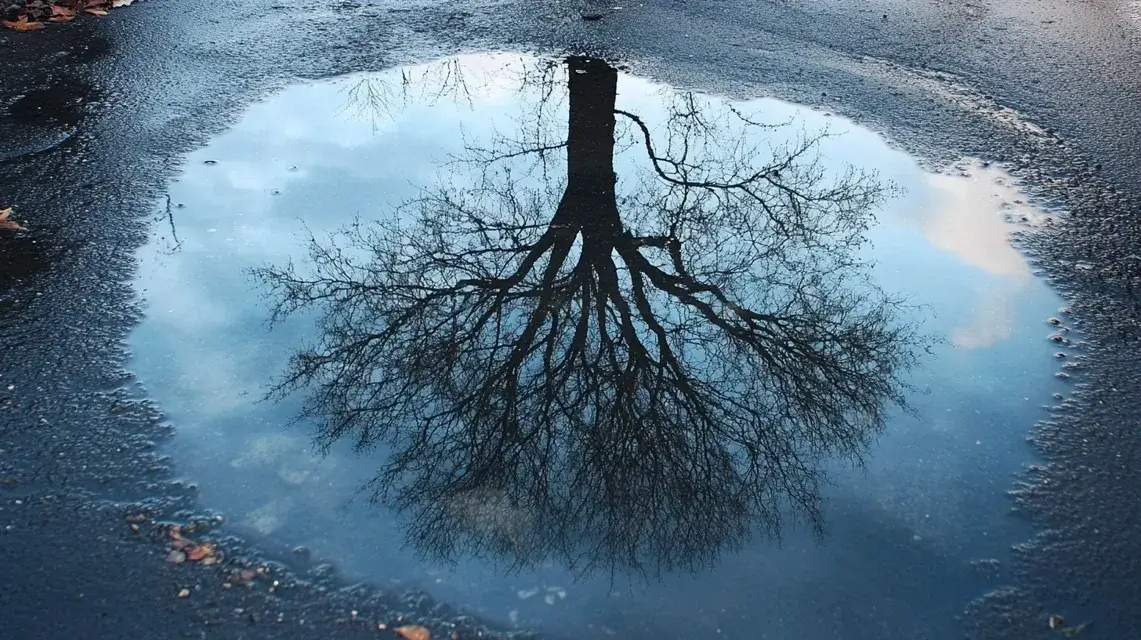
Water reflects both light and shadows, which creates a cool mix of real and mirrored shapes. Find a still puddle or pond, and place a shadow across it.
You’ll see both the object and its shadow reflection. It works best when the water is calm and the light is strong. Early morning or after rain are great times for this.
10. Shadows with Solid Shapes

Simple objects with clear edges—like chairs, glasses, or spoons—cast sharp shadows under bright light. The shadows often copy the object’s shape, but may also add cool extra details depending on how the light hits.
This is a great way to turn regular items into something special. Try placing them on plain backgrounds for cleaner results.
11. Shadow Silhouettes with Fabric
Use a thin sheet or curtain and place a light behind it. Put your subject between the light and the fabric. Their shadow will show through the cloth as a soft shape.
The light should be bright enough to make the shadow clear, but not too close. You can even try using colored fabric for different effects.
12. Shadows of Everyday Items

You don’t need fancy things to take creative shadow photos. Simple items like keys, scissors, or books can cast cool shapes. Place them under direct light, and see how their shadows fall.
The light can stretch or twist the shadow depending on its angle. You might find that something ordinary becomes eye-catching in the right lighting.
13. Shadows with Portraits
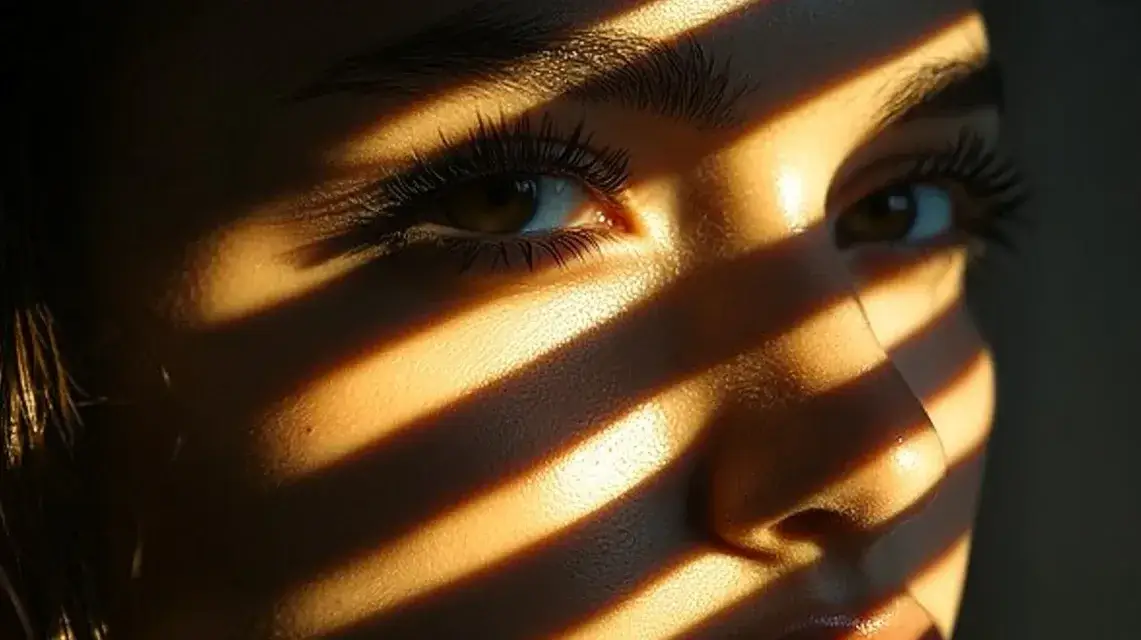
In portraits, shadows can add feeling. Use window blinds, lace, or leaves to break up the light falling on a person’s face or body. This creates patterns that add drama or mystery.
The shadow lines or shapes make the person’s face stand out more, without needing props or filters.
14. Shadows in Nature
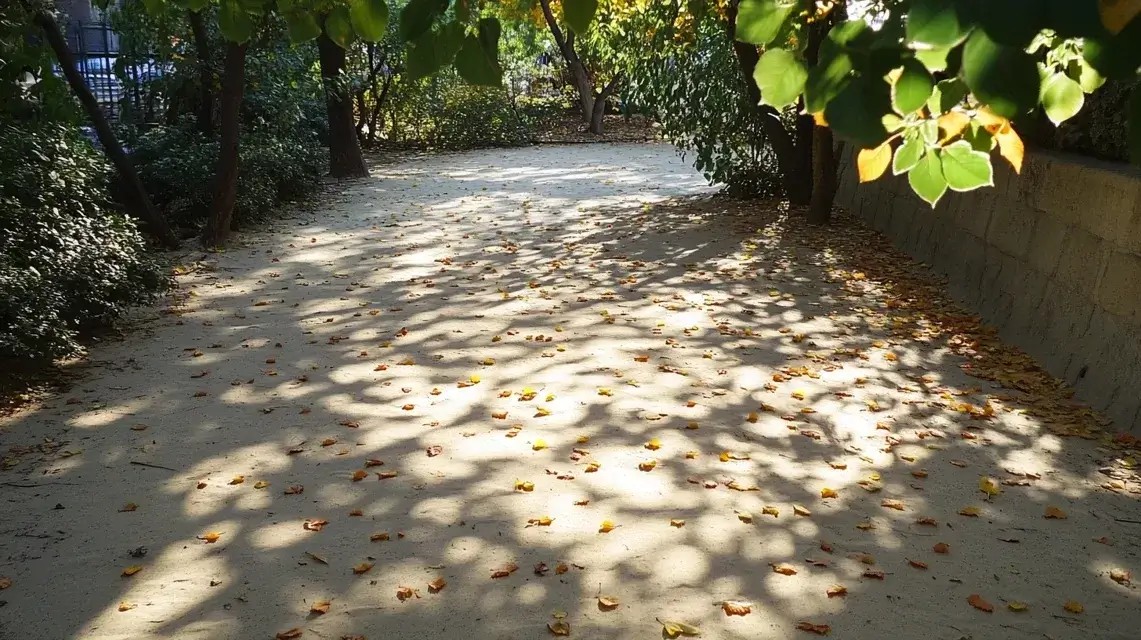
Go outdoors and look at how trees, grass, and flowers cast shadows when the sun is out. Shadows change with the time of day and add mood to outdoor photos.
You’ll see branches stretch, leaves form patterns, or tall grass sway and change shapes. Try shooting on trails, near rocks, or on beaches.
15. Candlelit Shadows
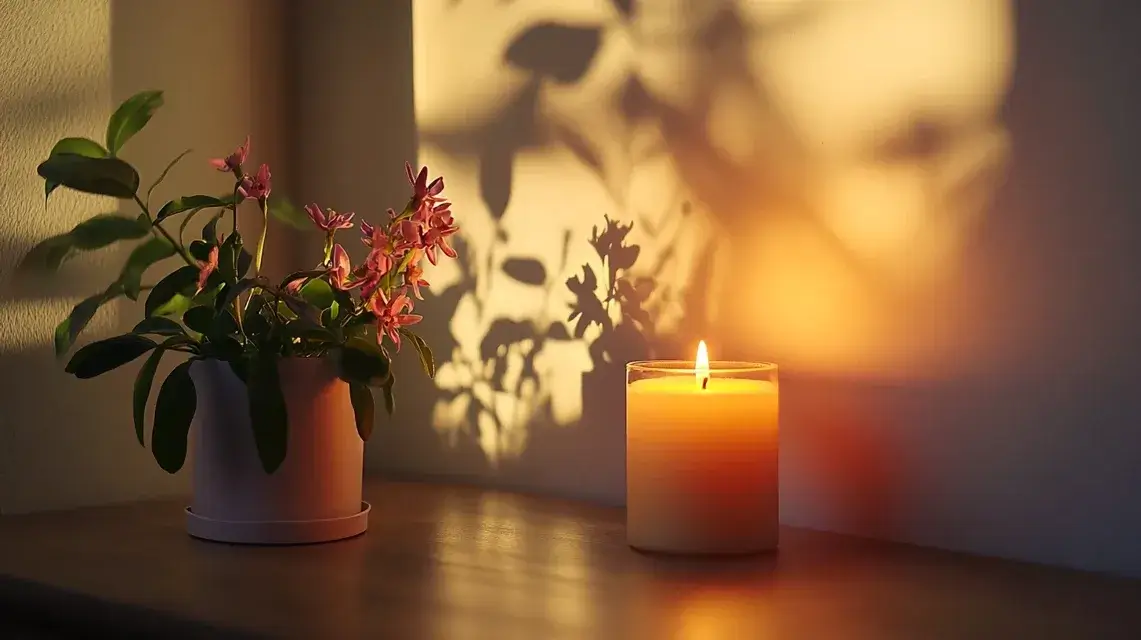
Candles give off soft, moving light that makes cozy, flickering shadows. Put small objects or hands near the flame and watch how their shadows dance on the wall.
It’s a gentle, calm effect that works well for quiet, indoor photos. Keep the room dark for the best result, and avoid placing things too close to the flame.
The Role of Light and Shadows in Photography
In any kind of photography, light is everything. It shapes how we see things in a photo. Shadows are part of that light—they show where the light is missing or blocked. The two always work together.
Light shows details. Shadow hides them. That back-and-forth can create really cool effects.
Here’s how they work together:
- Light shows the shape of something, and the shadow adds depth.
- Shadows can copy the shape of the object, but stretch or shrink it depending on the angle of the light.
- When you place light on one side of something, it makes one side bright and the other side dark. That gives the photo a more dramatic look.
- If the light is behind your object, the shadow can fall toward the camera and become part of the main scene.
Now let’s talk about how to use that in your photos:
- Try moving around your subject. See how the shadows shift as you move.
- Use the time of day. Early morning or late afternoon light makes longer shadows, which look more interesting.
- Place your subject near a wall or flat surface. That way, the shadow will show up more clearly.
- Play with shapes. Hands, windows, plants, or even everyday stuff like chairs can make cool shadows when the light hits them right.
Using light and shadow together makes your photos feel alive. It helps tell a story without saying a word. When you learn to notice how light falls and where shadows appear, you start to see things differently. That’s when your photos get better—and more fun to take.
Post-Processing Tips for Shadow Photography
After taking your shadow photos, a little editing can make them look even better. Use any photo editing app or software—like Snapseed, Lightroom, or even your phone’s built-in tools.
Start by adjusting contrast. This makes the dark parts darker and the light parts brighter, helping the shadows stand out. Then, tweak the sharpness to bring out the edges of the shadows. You can also lower the brightness slightly if the photo feels too light.
Try not to overdo it—small changes often work best. Shadows should look bold, not fake. Zoom in and check details before saving. These small edits help your photo feel more clear, strong, and balanced.
Tips and Common Mistakes for Shadow Photography
Shadow photography can be fun, but it takes a bit of practice to get it right. Here are some helpful tips to try—and a few common mistakes to watch out for—so your photos come out just the way you want.
Tips to Get Better Shots
- Look for strong light – Early morning or late afternoon gives the best shadows.
- Change your angle – Move around to see how the shadow changes.
- Use simple backgrounds – Plain walls or floors help shadows stand out.
- Try black-and-white mode – It can make shadows look sharper and more dramatic.
- Practice with small objects – Start with things like plants, hands, or chairs to learn how light works.
Common Mistakes to Avoid
- Too little light – Weak light makes shadows look soft or messy.
- Busy backgrounds – If the background has too much going on, the shadow gets lost.
- Over-editing – Making shadows too dark or sharp in editing can ruin the photo.
- Wrong focus – If the camera focuses on the background and not the shadow, the image may look blurry.
- Ignoring details – Always check for unwanted things in the frame, like wires or trash, before you snap the photo.
Taking your time and paying attention to light can make a big difference. Keep trying, and your shadow photos will keep getting better!
Conclusion
Shadow photography is all about seeing things differently—using light and dark to tell a story. You’ve now got shadow photography ideas you can try using simple tools and natural light.
Think about how shadows can add feeling, shape, or mood to your pictures. Don’t worry about being perfect—just keep trying and learning from each shot.
One last tip: always look around you. Good shadows can show up anywhere. Want to keep learning? Check out our other blogs for more fun and easy photo tips!


Leave a Reply