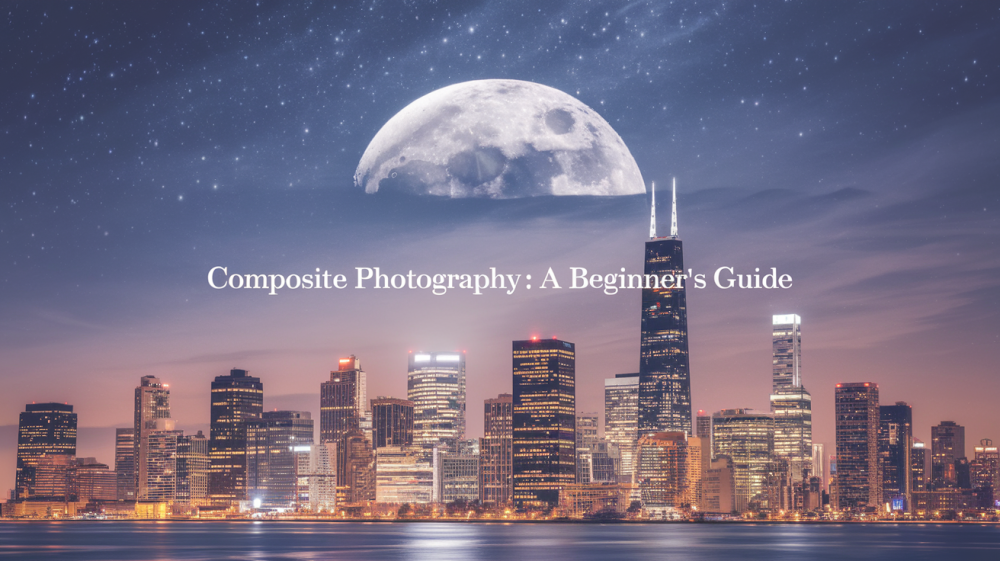
Have you ever taken a photo and thought, “It’s nice, but it’s missing something”? That “something” might be what composite photography can add.
This style lets you mix two or more photos into one, creating scenes that might not exist in real life, but look real enough to make you look twice.
It’s a fun and creative way to bring ideas to life, whether you want to build a fantasy world, tell a deeper story, or make something cool from everyday shots.
In this guide, we’ll show you easy steps, tools, and tips to help you get started—even if you’re a beginner.
What is Composite Photography?
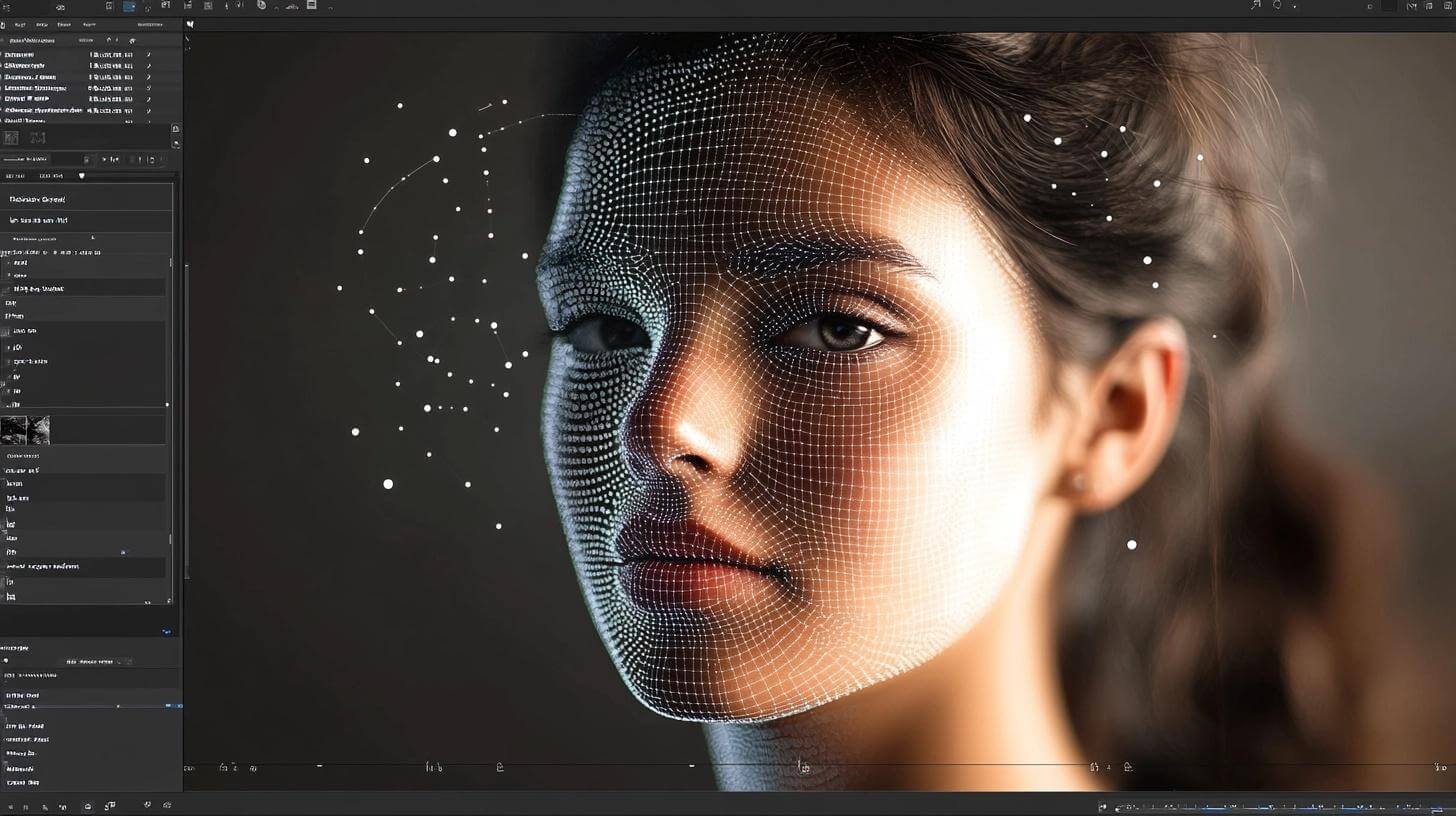
Composite photography is when you take parts of two or more photos and put them together to make one new picture. It’s like cutting and pasting images to create something new. You can change the background, add objects, or even mix people from different photos into one.
This idea has been around for a long time. In the 1800s, people used darkrooms to mix photos using film. It was slow and hard to do. As cameras and editing tools got better, the process became easier. Today, you can do it on a computer or even your phone using editing apps.
Now, many photographers use composite photography to tell stories, make creative art, or fix problems in pictures. It has grown from a hard, slow process into something fun and creative that anyone can try.
How to Create Composite Photos
Creating a composite photo means mixing parts of different photos to make one new image. Don’t worry, it sounds harder than it is. You need some basic tools and a little practice.
Step 1: Understand the Basics
Before you begin, remember these three things:
- The photos you use should look like they belong together.
- Match lighting and shadows. It helps make your final image look real.
- Try to plan your image. Think about what you want the final photo to show.
Step 2: Pick the Right Tools
You need a photo editing program. Here are a few to choose from:
- Adobe Photoshop – The most powerful, used by many pros.
- GIMP – Free and works well for beginners.
- Canva – Easy to use, great for simple edits.
You can start with any of these. Photoshop is best for more control, but GIMP is a great free choice.
Step 3: Choose Your Photos
Pick the photos you want to use. You’ll need:
- A main background photo.
- One or more extra images to add to it (like a person, object, or sky).
Please make sure they’re clear and have similar lighting. It helps them fit together better.
Step 4: Cut Out the Subject
Use a selection tool to remove the part of the image you want to move (like a person or object). This is called “cutting out.”
- In Photoshop, use the Quick Selection Tool or the Remove Background option.
- In GIMP, use the Paths Tool or Fuzzy Select Tool.
Take your time. The better the cut, the more real your final image will look.
Step 5: Paste and Position
Paste the cut-out part onto your background photo. Move it around to find the best spot. Use the Move Tool to adjust the size and angle if needed.
Advanced Techniques for Composite Photography
As you get better at composite photography, you can start trying more advanced tricks to make your images look even more real and creative.
1. Layering
Layers are like clear sheets stacked on top of each other. You can place one image on a layer, another on a different one, and move them around without changing the rest. This makes editing much easier and gives you more control over each part of your photo.
2. Blending
This means making the edges of different images look soft so they don’t stand out too much. You can do this by lowering the opacity, using a soft eraser, or brushing around the edges. Blending helps everything in the photo look like it belongs together instead of looking like a cut-and-paste job.
3. Masking
It lets you hide or show parts of a layer without deleting anything. You use a brush to “paint” black or white on a mask. Black hides parts of the image; white brings them back. This way, you can fix mistakes easily or make soft changes without having to start over.
4. Adjust Color and Light
If your images don’t match in color or brightness, they won’t look real together. Use tools like brightness, contrast, color balance, and hue/saturation to fix this. Try to match the lighting in all parts of the photo so they feel like one complete scene.
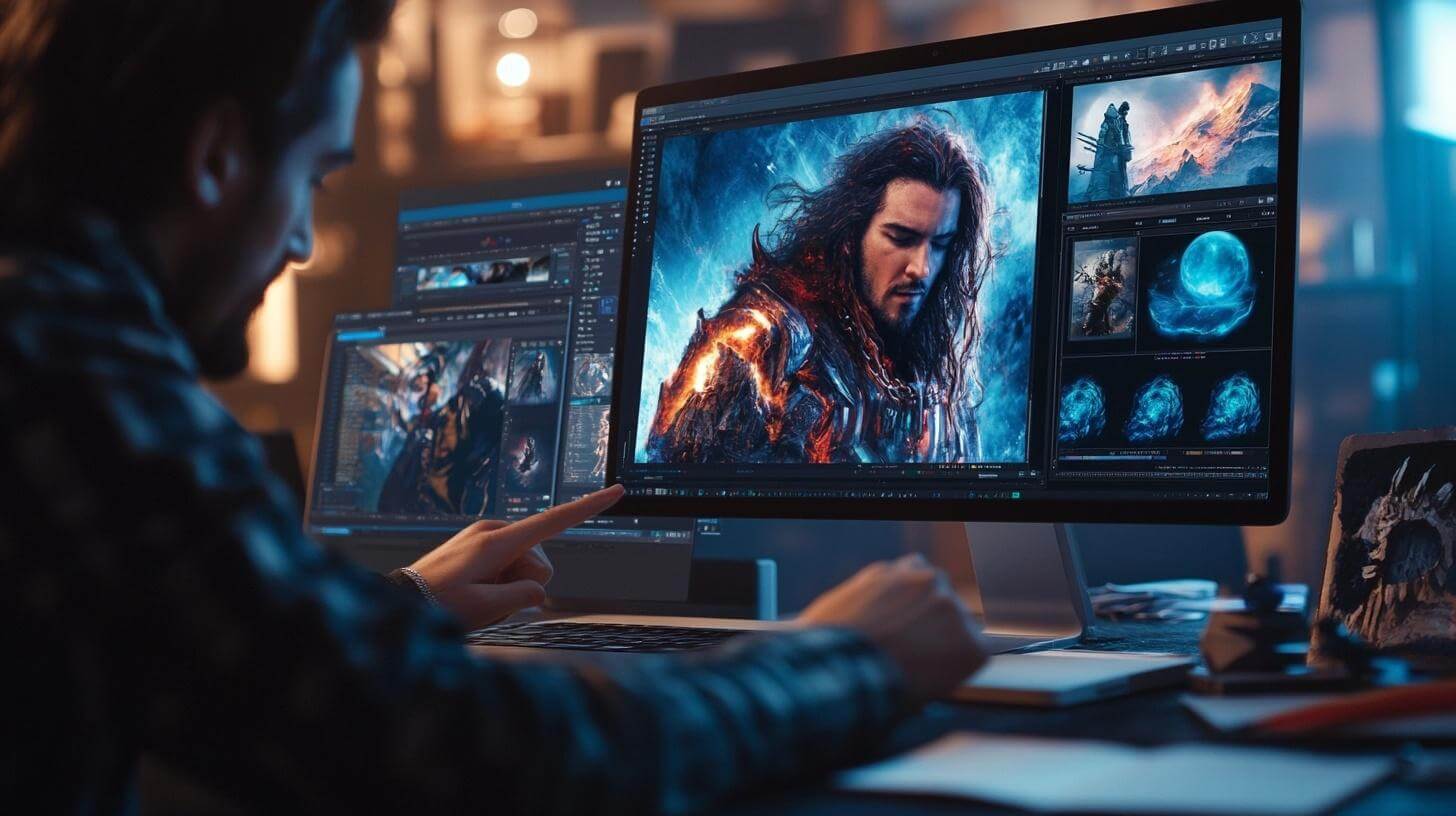
Best Software for Composite Photography
There are many editing tools out there, but not all are good for composite photography. Some are easy and simple, while others offer more control and features.
Below is a quick look at some of the most popular software options, along with what they’re good at—and where they fall short.
| Software | Pros | Cons |
|---|---|---|
| Photoshop | – Most powerful for editing- Tons of tools for layers and masking- Great tutorials online | – Can be hard to learn at first- Monthly cost |
| Lightroom | – Easy to use- Great for color and light editing- Syncs well with Photoshop | – Not made for composites- No advanced layer tools |
| GIMP | – Free to use- Has many tools like Photoshop- Good for learning basics | – Interface feels old- Can be slower and less smooth |
| Canva | – Very beginner-friendly- Drag-and-drop style- Works in browser | – Not built for detailed editing- No masking or layer blending |
| Photopea | – Free and online- Looks like Photoshop- Works on any computer | – Slower performance- Not great for large or complex edits |
| Affinity Photo | – One-time payment- Powerful editing tools- Good for layers and masking | – Smaller community- Fewer tutorials and plugins than Photoshop |
As you can see, each tool has its strengths. Some are better for beginners, while others give you more control once you’re ready to go deeper into editing.
The best one for you depends on how much you want to learn, how often you’ll use it, and how detailed your projects will be.
How to Choose the Right Software
If you’re just starting, go for something simple like Canva or Photopea. These tools are easier to understand and don’t require strong computers. They’re good for trying out basic composites without getting stuck in complicated menus.
If you’re in the middle level, GIMP is a solid pick. It’s free and gives you many tools like Photoshop. You can learn about layers, masks, and cutouts without paying. You’ll get more control than Canva but not the full power of Photoshop.
If you’re more serious and ready to level up, Photoshop or Affinity Photo is the way to go. Photoshop gives you the most power and is used by pros. Affinity is also strong but costs less in the long run since it’s a one-time buy.
If your budget is very limited, GIMP or Photopea are great places to start. If you’re okay spending a bit later on, Photoshop gives you top tools and endless learning options.
Start small, and move up when you’re ready.
Tips for Creating Stunning Composite Images
Creating a composite photo isn’t just about putting pictures together. It’s about making them look like they belong in the same world. If parts don’t match, the final image can feel fake. Below are simple tips to help your composite images look smooth, real, and interesting every time.
1. Composition Tips for Blends
To make a composite photo look natural, start with a good layout. Use the rule of thirds—split your image into 9 parts and place key objects where the lines cross. Keep the background simple and leave space where needed.
Make sure all parts face the right direction and match in size and position.
2. How to Choose Images that Work Well Together
Pick photos with the same lighting, colors, and focus. If one photo is bright and the other is dark, they won’t fit well together. Shadows should fall the same way, and the color tone should be close.
Also, make sure the image quality is similar, so nothing looks out of place or fake.
3. How to Maintain Realism in Surreal Compositions
Even if your image is creative or imaginary, it should still look real. Add shadows that match the background. Use blur tools to match the focus in both photos. Try using color filters over the full image to help everything blend.
Realism comes from small details, like edges, lighting, and making sure nothing stands out too much.
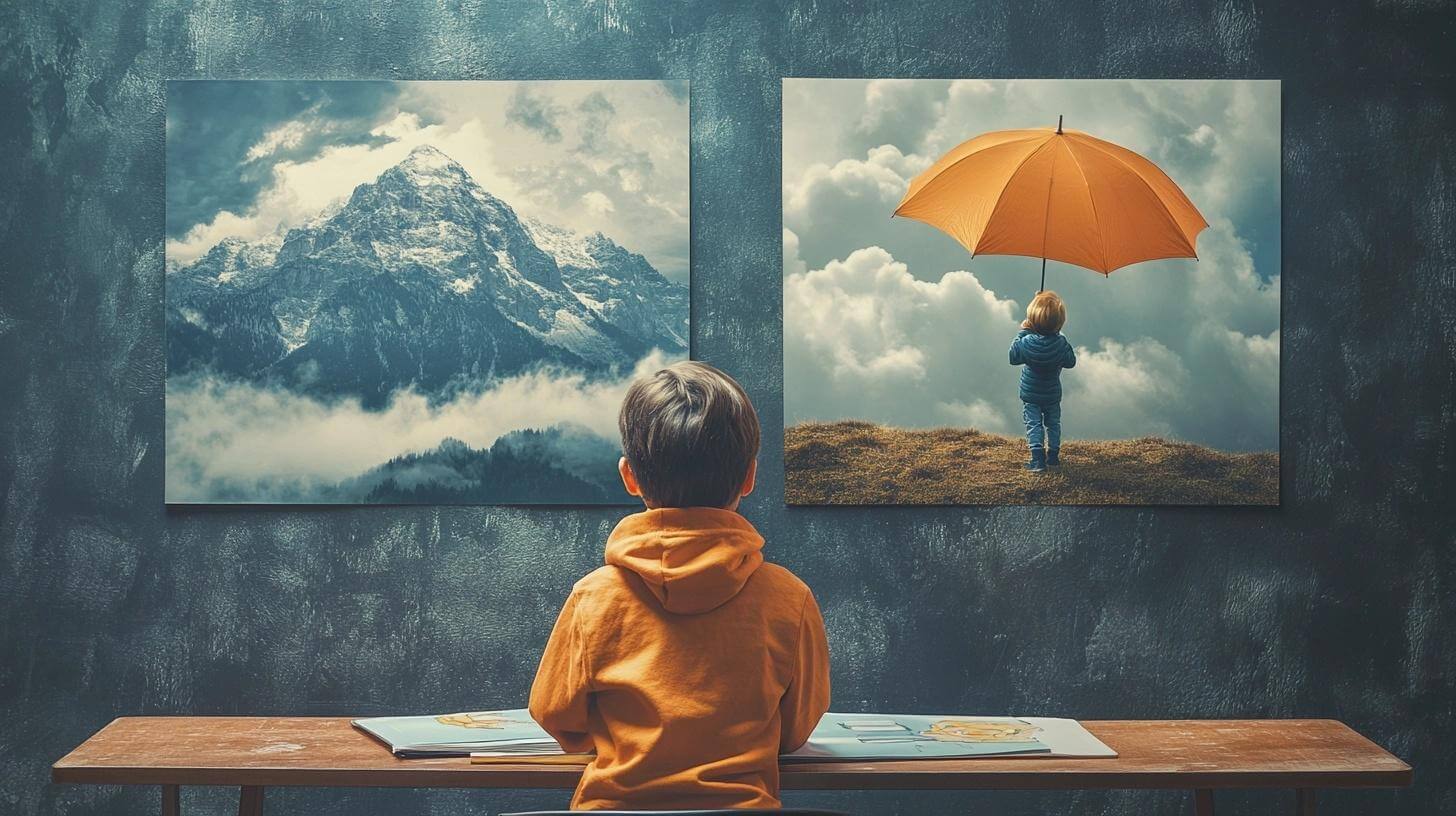
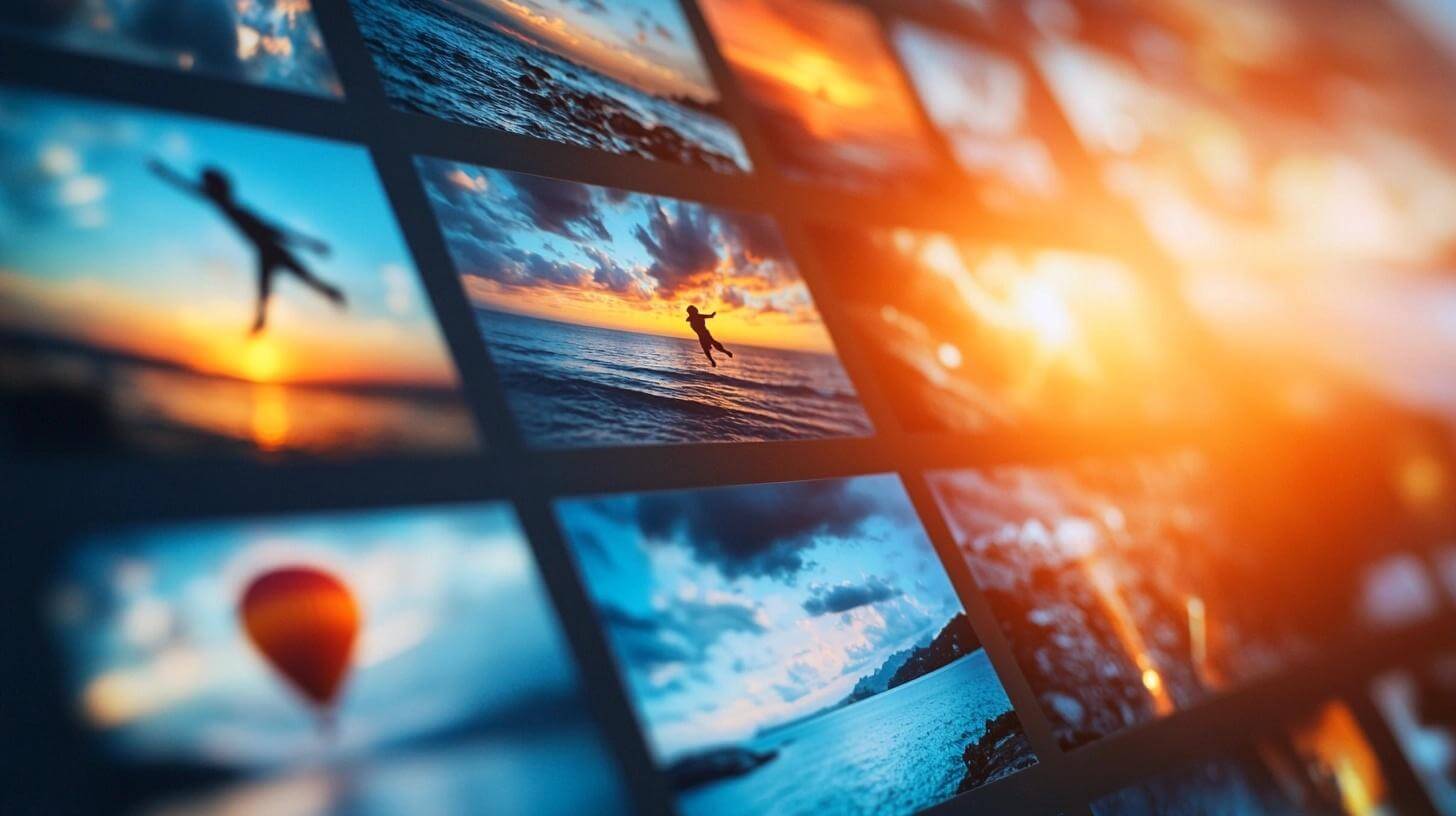
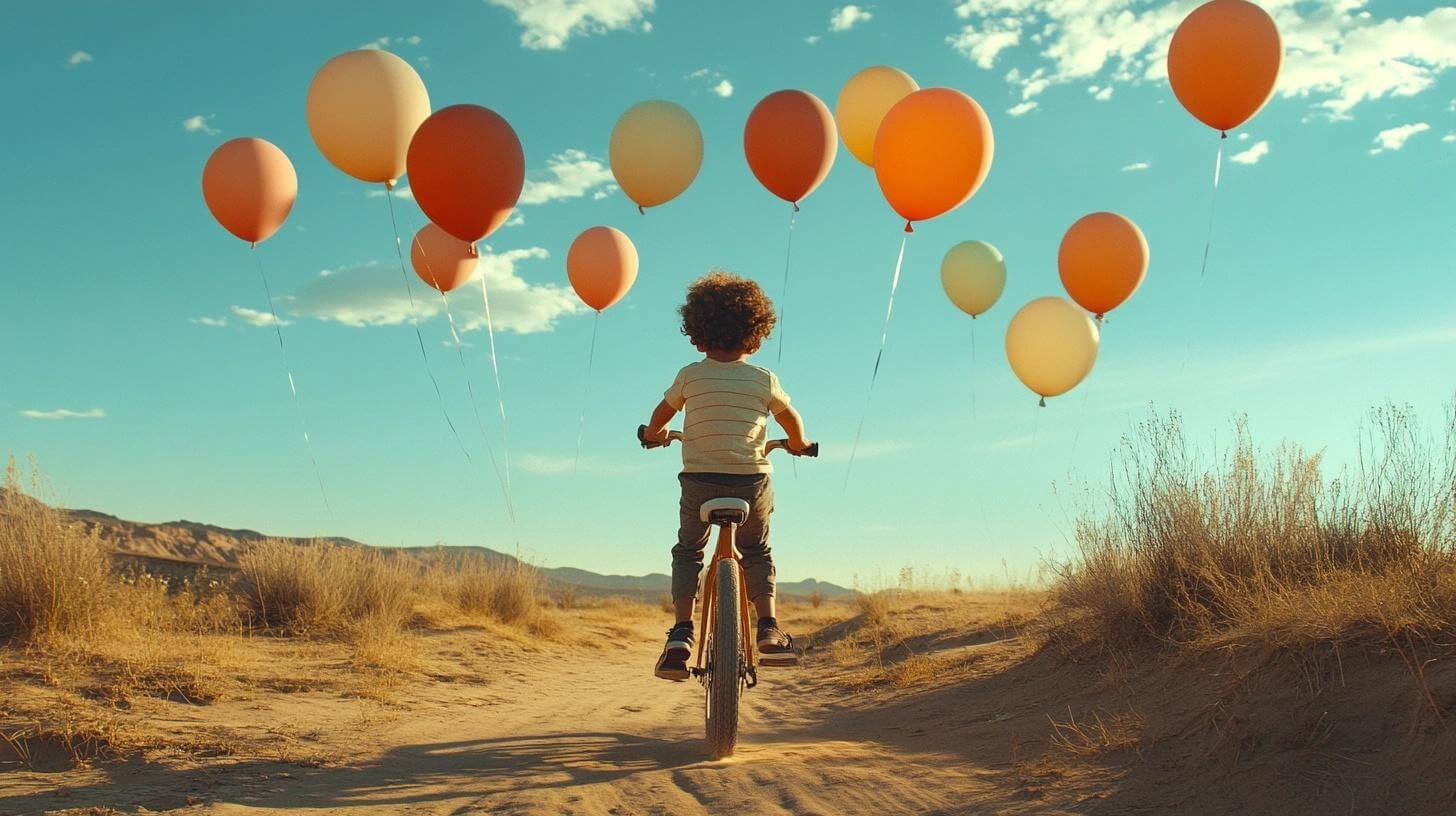
Creative Ideas for Composite Photography
Composite photography gives you the power to build scenes that go beyond real life. You can create dream-like spaces or just have fun mixing things that don’t usually go together. Below are some styles you can try.
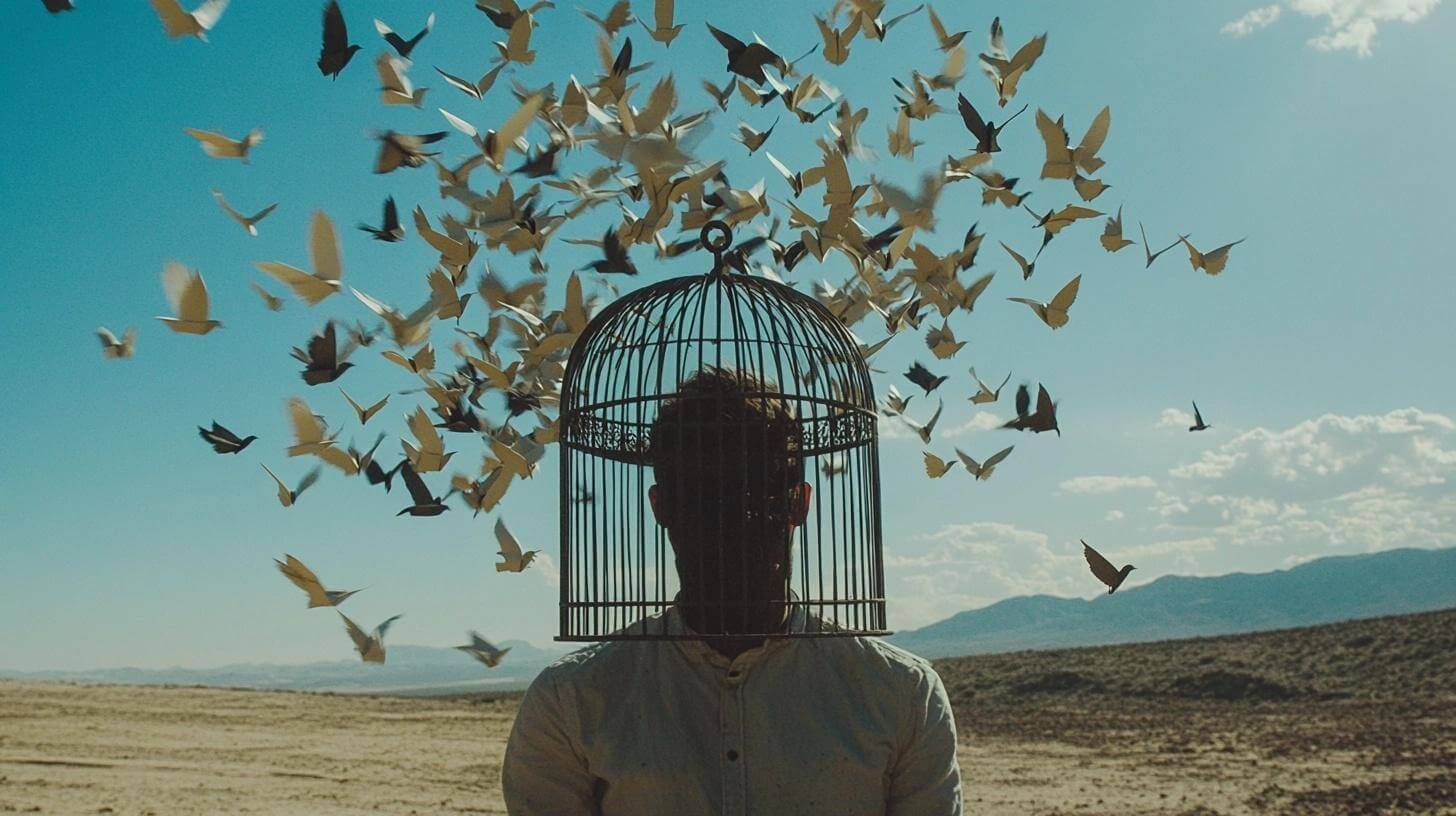
1. Surreal Style
Surreal photography is about bending reality. It lets you mix real things in strange ways to make scenes that feel like dreams—or even nightmares. Nothing has to make sense. You can play with size, gravity, and time.
It’s a great way to surprise people and make them stop and think. Many surreal images feature simple objects in unusual settings or unusual actions in everyday spaces. This style is all about imagination.
2. Fantasy Style
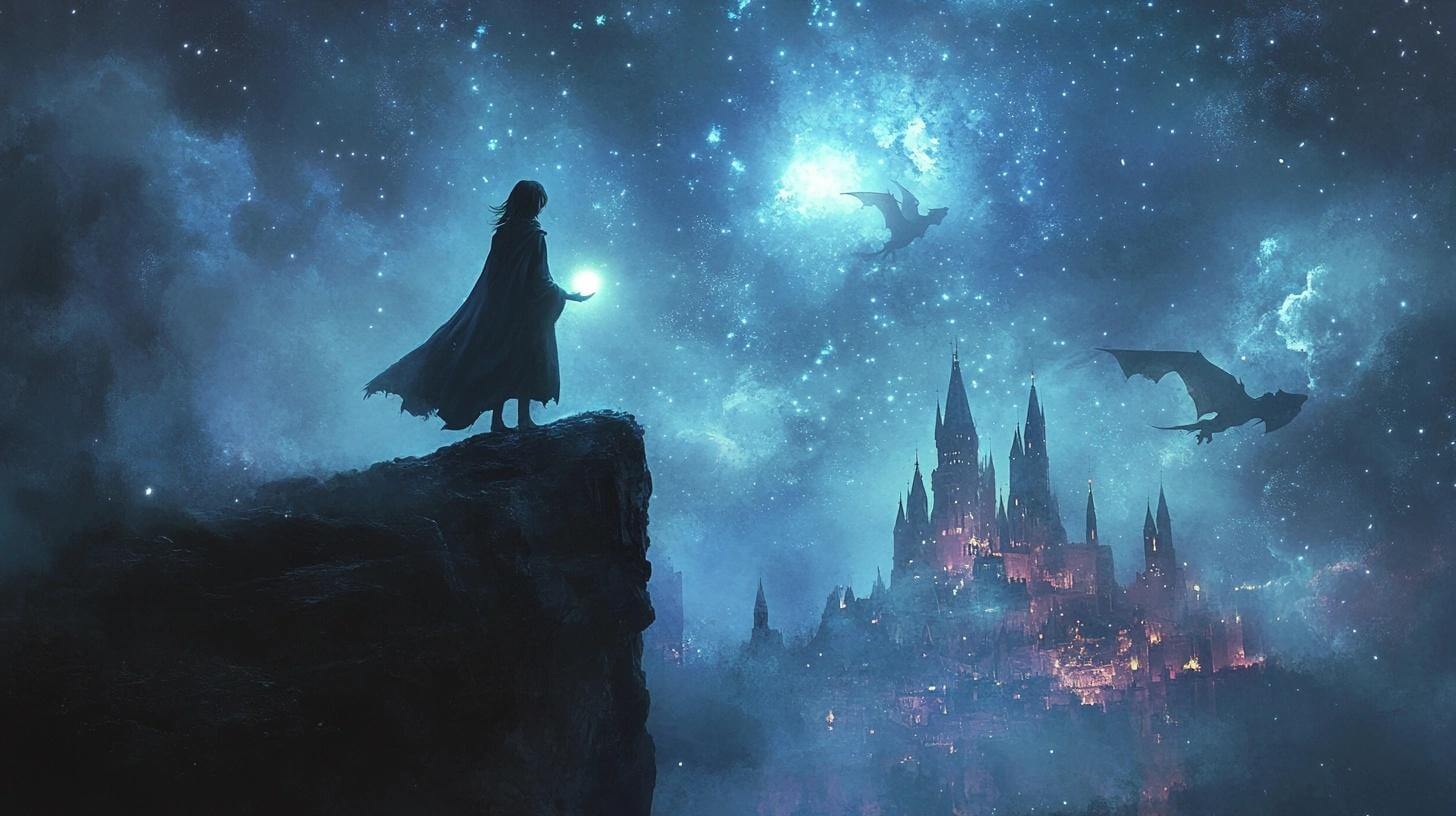
Fantasy composites bring magic to everyday life. This style often includes mythical creatures, glowing lights, magical lands, or epic scenes that feel like they’re from a storybook or movie. You can make someone into a wizard, a fairy, or a dragon rider.
These images are great for creating new worlds or bringing stories to life. Use glowing effects, castles, and nature backgrounds to make the scene more magical. It’s perfect for those who love books, myths, or games.
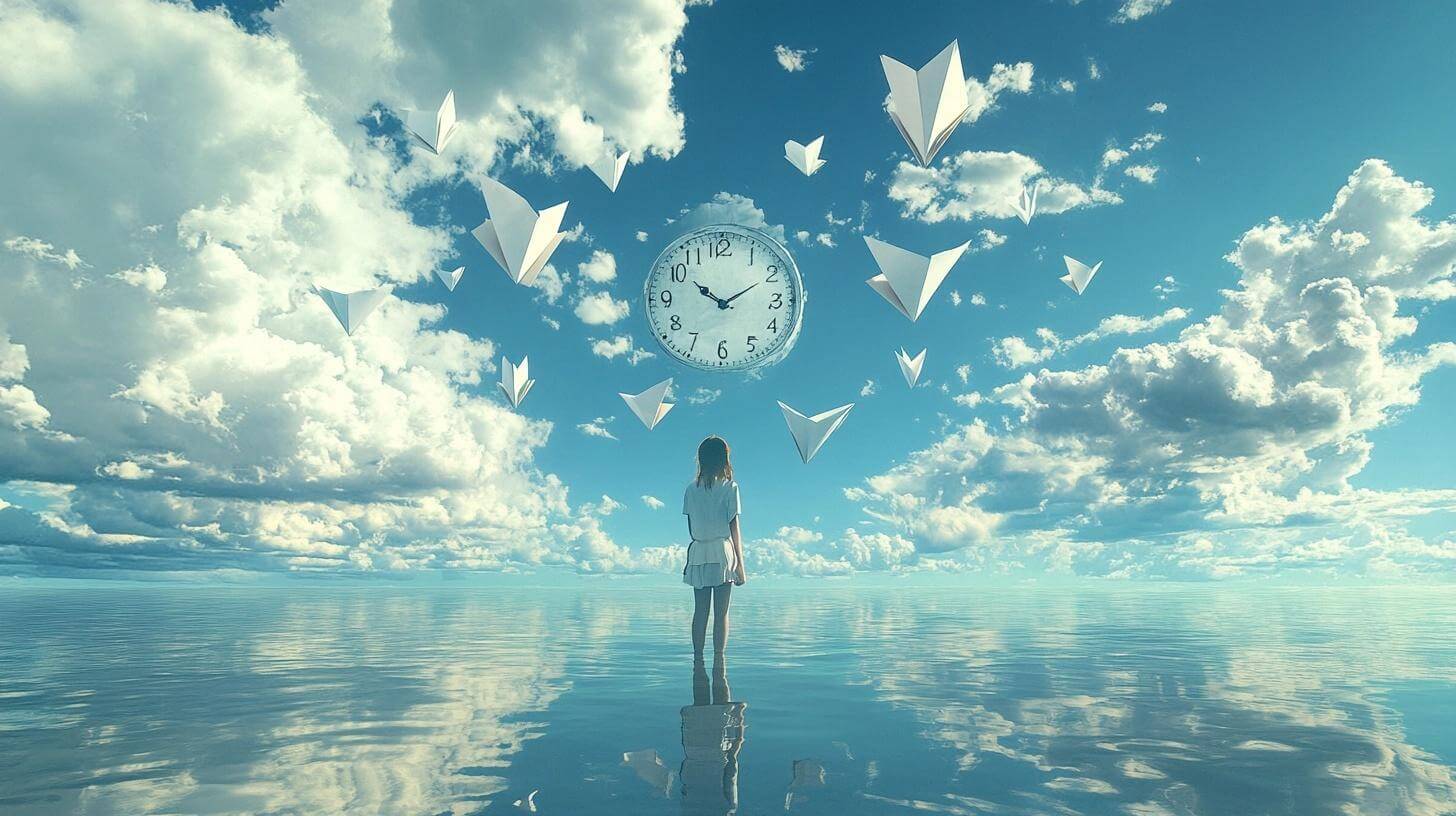
3. Conceptual Style
Conceptual photography is used to show an idea or feeling using symbols. It’s more about what the photo means than what it shows. For example, an image might represent fear, time, freedom, or dreams.
These kinds of photos often use fewer things but place them in meaningful ways. You don’t need special effects—just a strong message. This style makes people stop and ask, “What does this mean?” It’s perfect if you like deep thoughts or emotional photos.
4. Miniature World Style
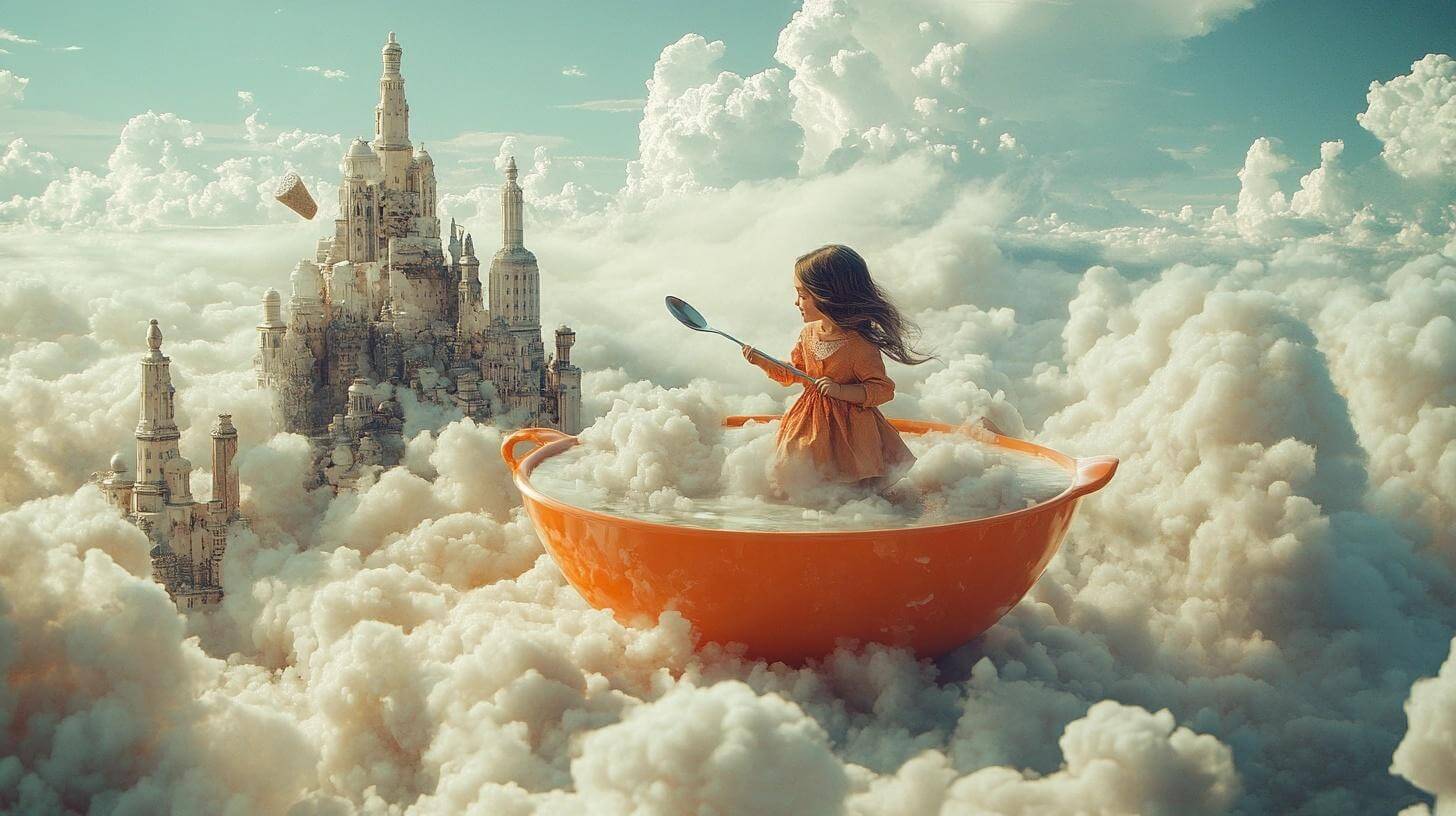
Miniature composites make people or animals look tiny compared to everyday objects. It’s fun, light-hearted, and very creative. You can show a person swimming in a cereal bowl, or a cat the size of a skyscraper.
This style is all about playful imagination and smart editing. It also helps you learn about scale and blending, since the final image has to look real even when the idea is silly. Kids love this style, and it’s great for social media too.
5. Double Exposure Style
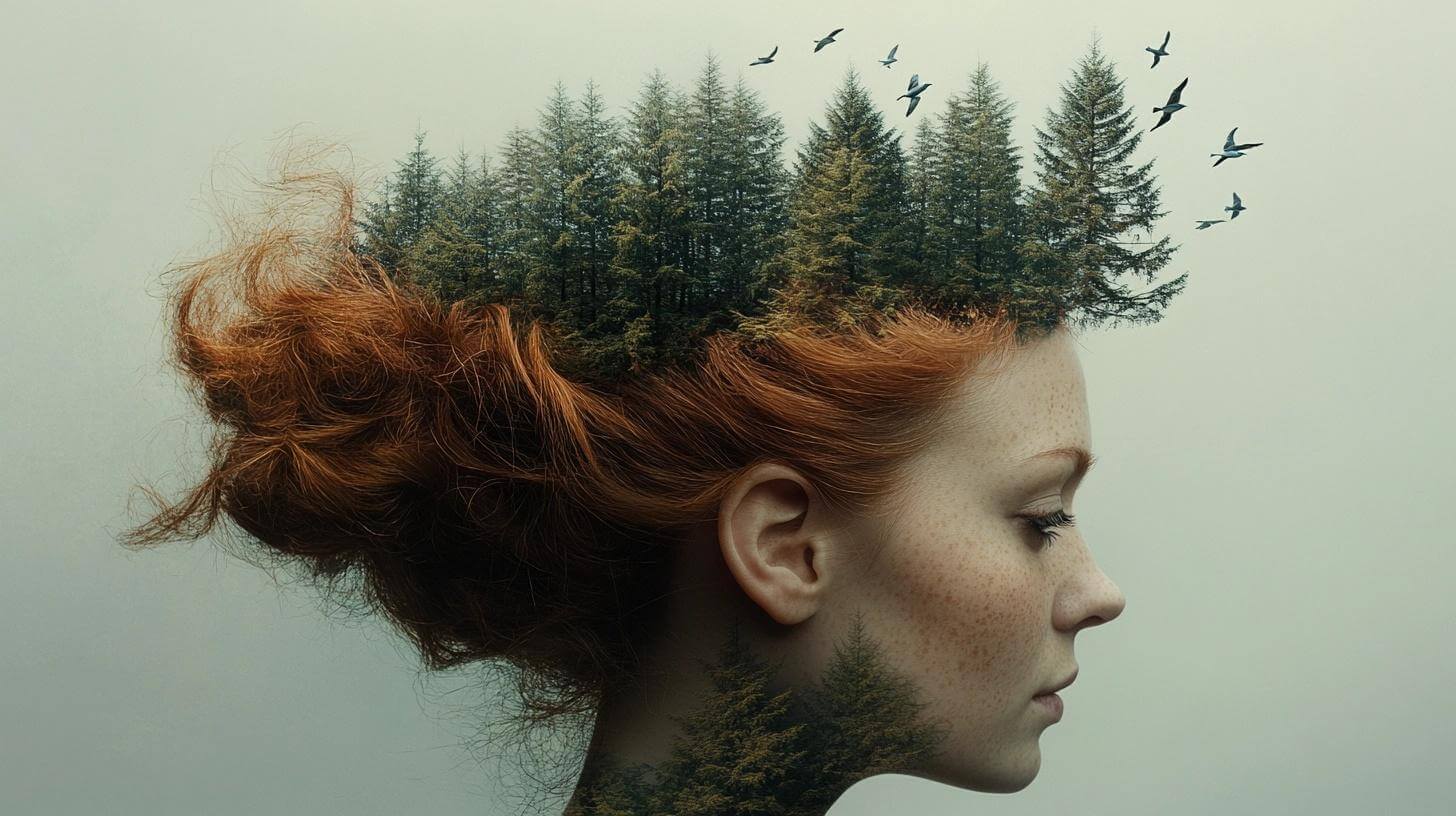
Double exposure is a style in which two images are layered into one, often blending a person’s face or shape with a scene, such as trees, city lights, or clouds. It’s soft, artsy, and full of feeling. This style comes from old film photography, but it’s now done with digital tools.
It works best with side profiles and textures like leaves, stars, or water. It’s a great way to show thoughts, moods, or memories. It’s also simple to learn, but gives deep results.
Common Mistakes and How to Avoid Them
Even small mistakes in composite photography can make the final image look fake or messy. Here are some of the most common problems—and how to fix them.
1. Poor Selection of Subjects: Cutting out a subject with rough or jagged edges can ruin the whole image. Fix: Use zoom to work on edges carefully. Feather the edges slightly to make the cut-out blend better.
2. Lighting Doesn’t Match: When light in each photo comes from different directions, the image looks off. Fix: Choose photos with similar lighting or adjust shadows and highlights to match the main scene.
3. Wrong Scale or Size: A person or object that’s too big or small makes the scene look fake. Fix: Compare the size with other things in the image. Resize the subject to match the background.
4. Hard Edges Around Subjects: Sharp or glowing edges make the added image stand out too much. Fix: Use a soft brush to erase or mask the edges. Try blurring the edge just a bit.
5. Ignoring Shadows: Without shadows, the subject looks like it’s floating. Fix: Add a soft shadow under or behind the object. Match it to the light in the scene.
6. Color Tones Don’t Match: Different color temperatures (warm vs. cool) break the mood of the photo. Fix: Use color balance tools or filters to match the tones across all layers.
7. Over-editing or Too Many Effects: Too many filters or effects can make the image look unnatural or messy. Fix: Keep your edits simple and clear. Less is often more. Always compare with the original.
8. Forgetting Final Touches: Rushing at the end can leave small problems unfixed, like uneven lighting or rough edges. Fix: Zoom in and review each part of your image. Check lighting, edges, and color one last time before saving.
Avoiding these small mistakes can make a huge difference in how real and polished your composite photo looks. Take your time, double-check your edits, and practice often. You’ll get better with each project.
Conclusion
Now you know the basics of composite photography, what it is, how to do it, and how to make it look real. It’s a fun way to mix photos and create something totally new.
Whether you’re fixing a photo or building a wild scene, you have the tools to start. Try the steps, play with styles, and don’t be afraid to mess up—that’s how you learn.
Just remember: match lighting, keep things simple, and always check your edges.
Want to keep learning and growing your editing skills? Check out our other blogs for more tips, tools, and creative ideas to try next.

Leave a Reply