“Wow, that’s a great headshot!” Four words that can boost your career, but only if you’ve got the right lens to make it happen.
Most photographers struggle when choosing between all those numbers and brands. What really matters for great headshots isn’t always what’s most expensive.
The truth? A good headshot lens needs to flatter faces, blur backgrounds nicely, and be sharp where it counts. Get these three things right, and you’re already ahead of many beginners.
This guide walks through exactly what makes a lens perfect for headshots. It does not use fancy terms or complicated explanations, just straightforward advice to help you make a smart choice that fits your needs and budget.
What Makes a Lens Good for Headshots?
A good headshot lens needs three key things. First, the right focal length to flatter faces. Second, a wide aperture to blur backgrounds. Third, sharp image quality where it counts.
Compression helps make faces look their best. Longer lenses flatten features well, which is why 85mm and longer lenses are so popular. The blur behind your subject makes them stand out more.
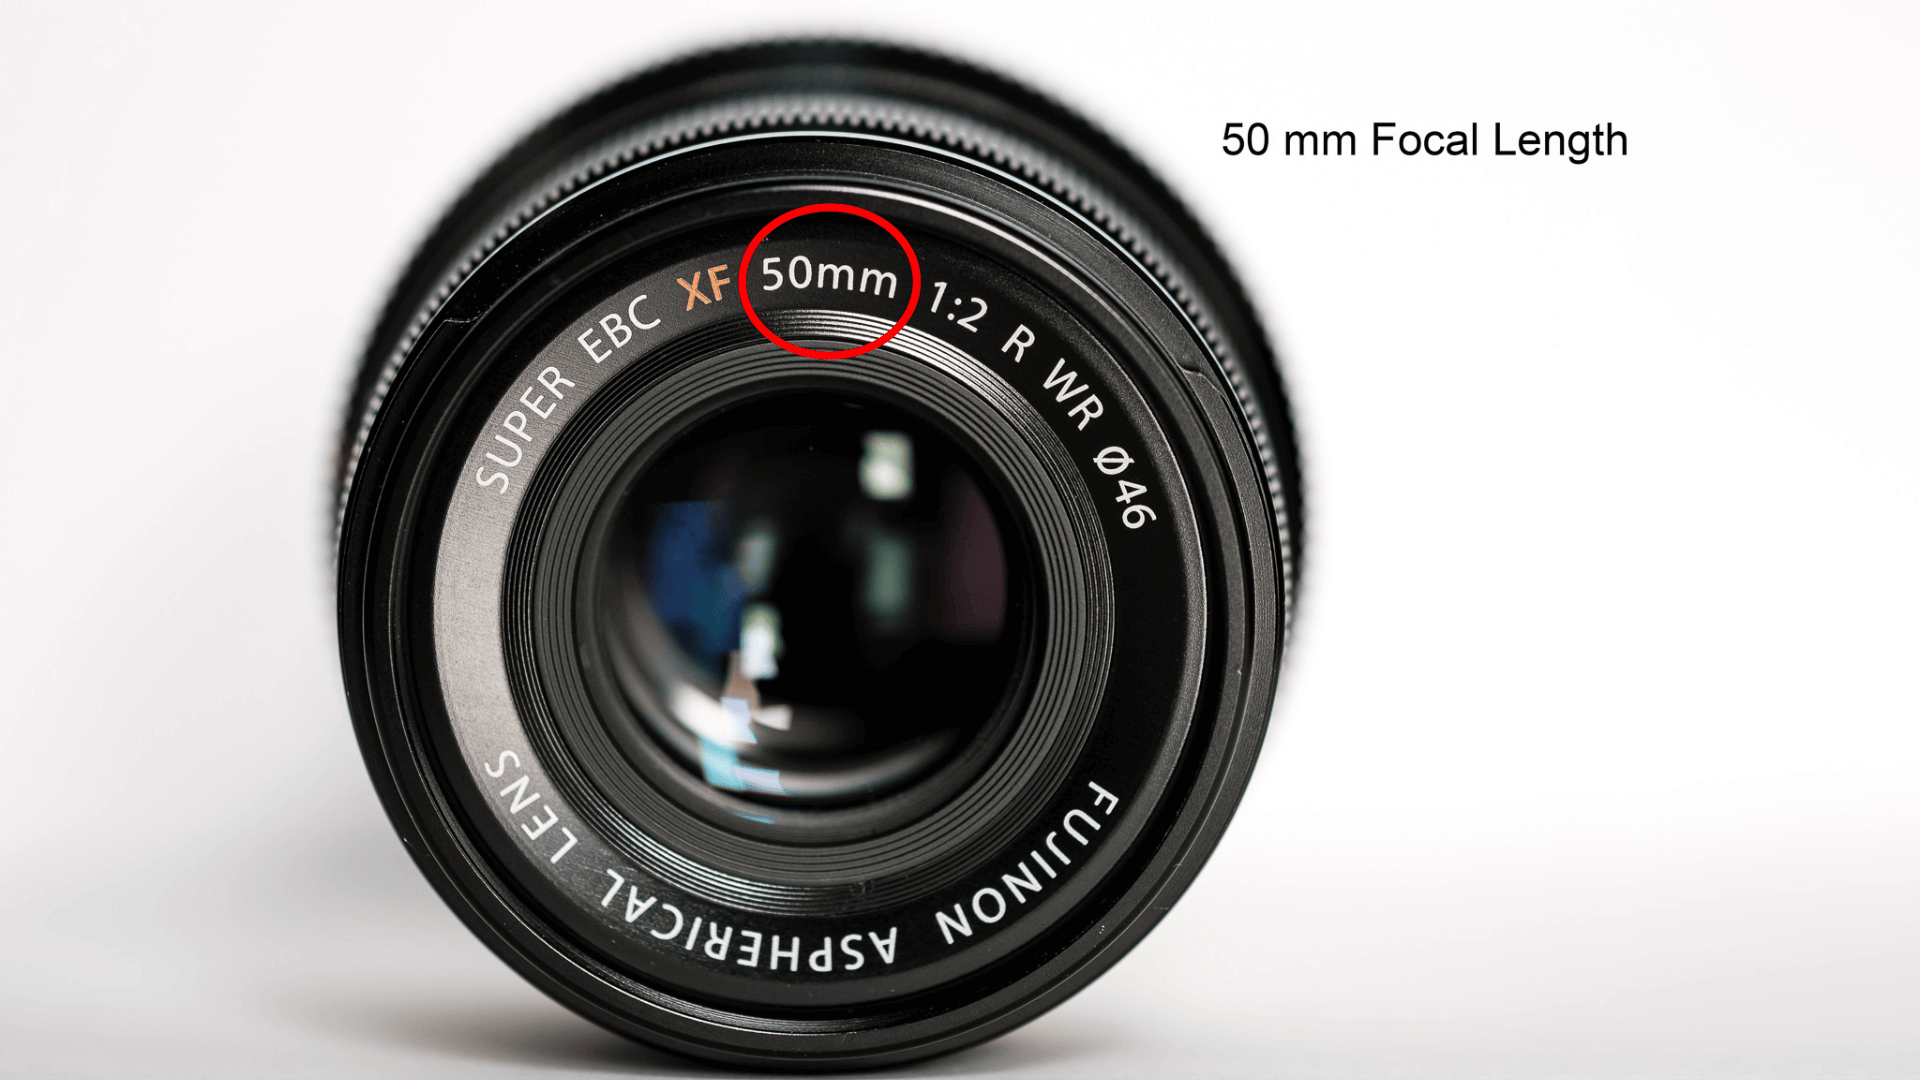
Your camera’s sensor size affects your lens choice. Full-frame cameras work well with 85mm lenses. Crop sensors make lenses act longer than they really are. A 50mm lens might be perfect for headshots on a crop sensor camera.
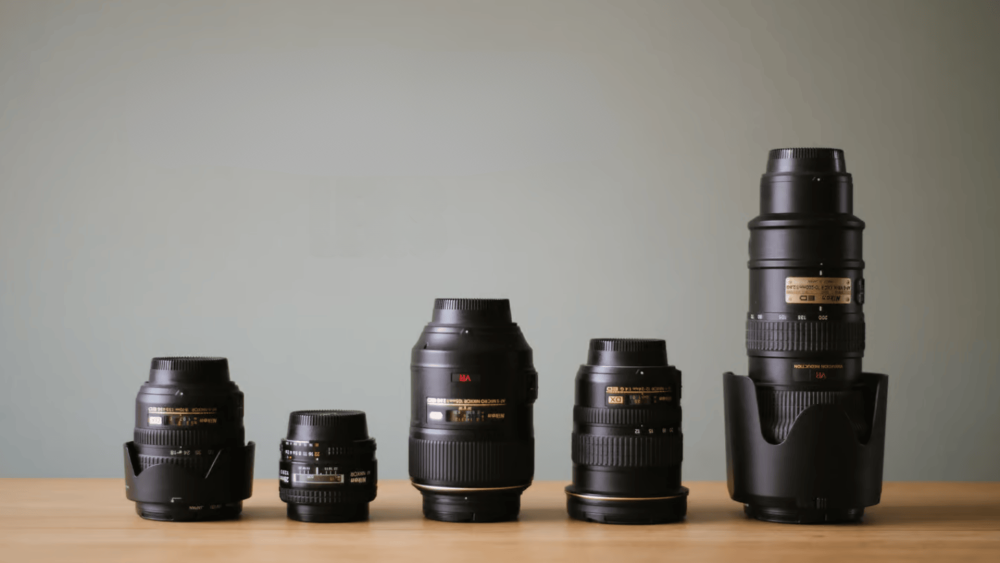
Understanding Focal Lengths for Headshots
The 85mm lens is a favorite for headshots. It makes faces look natural. You stand far enough away to avoid distortion. Backgrounds blur nicely. Your subject stays sharp. Most pros reach for this lens first.
- The 50mm lens puts you closer to your subject.
- The 85mm gives better face proportions.
- The 135mm blurs backgrounds even more. It also slims faces slightly.
Your camera sensor size matters. A 50mm on a crop sensor acts like a 75mm. This changes how your photos look. Smaller sensors can make shorter lenses work well for portraits. Always check your camera’s crop factor when choosing lenses.
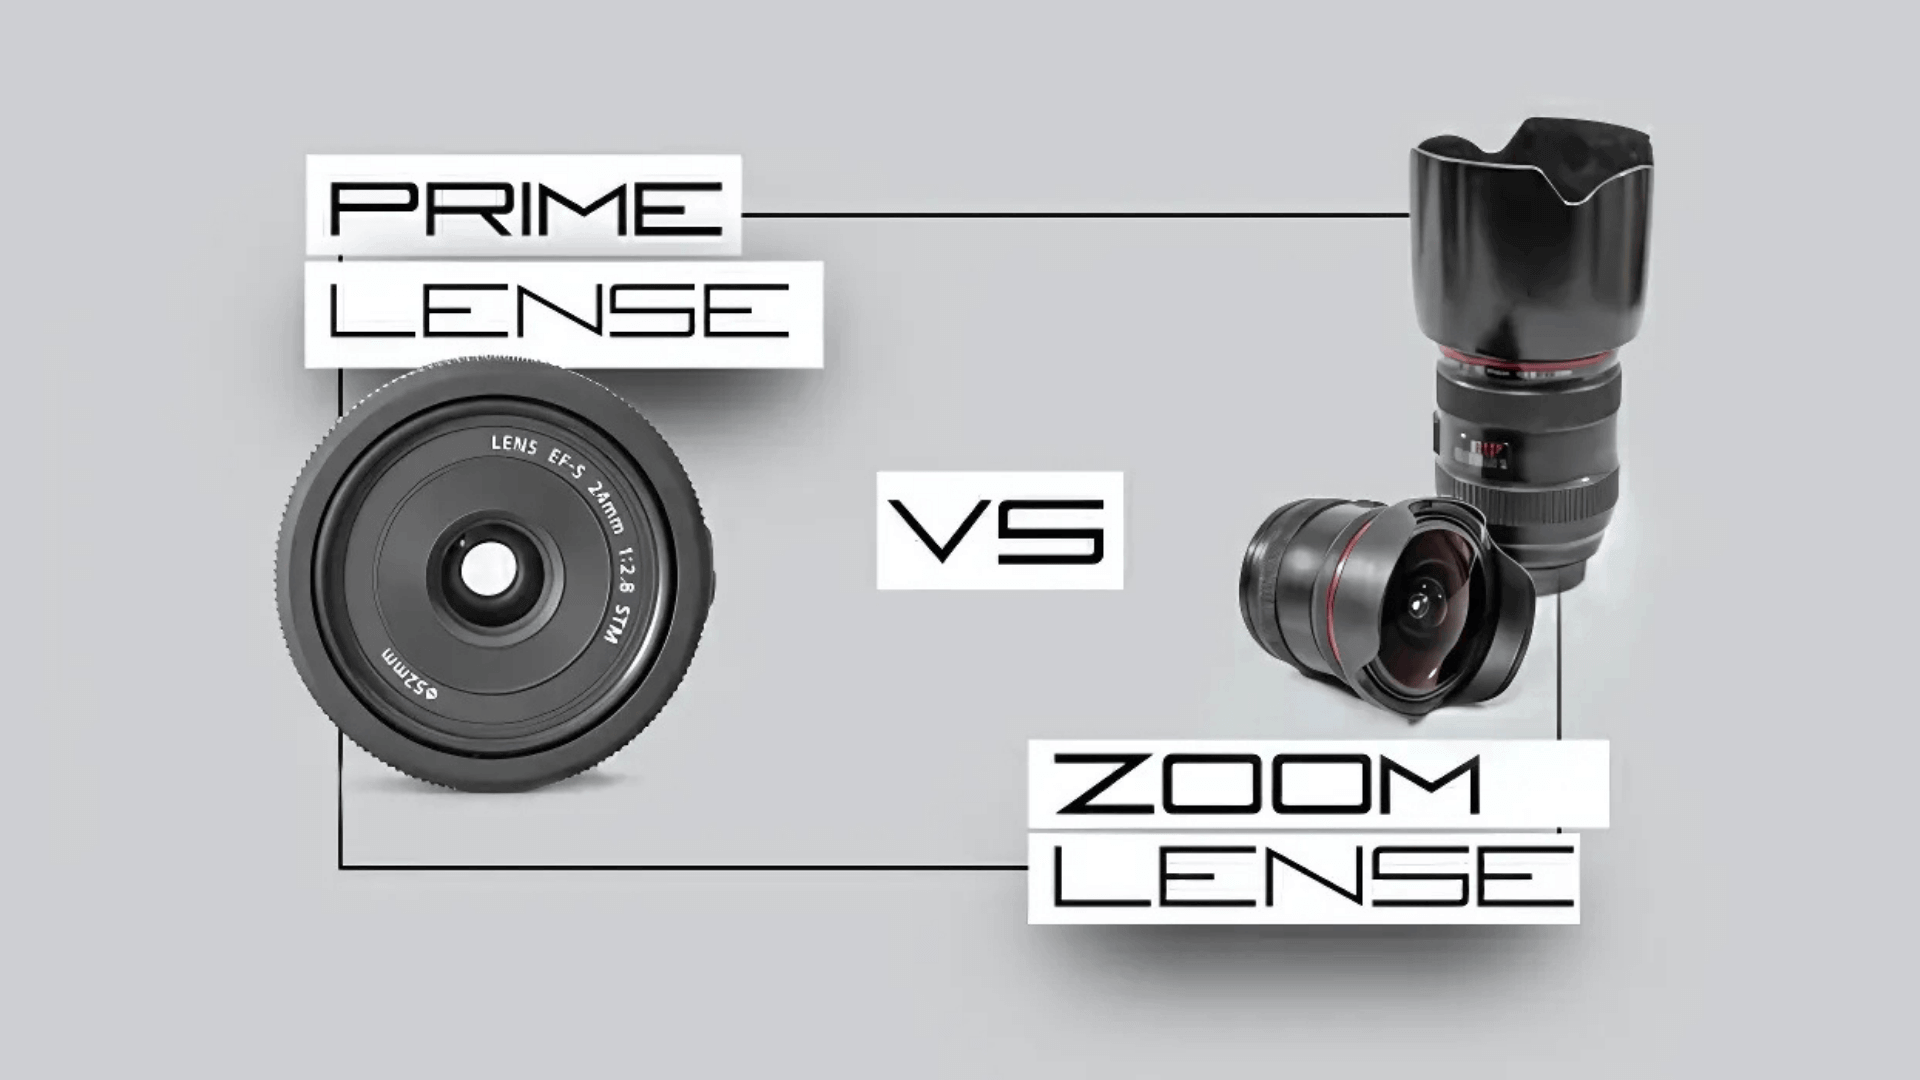
Prime vs. Zoom Lenses for Headshots
| Feature | Prime Lenses | Zoom Lenses |
|---|---|---|
| Sharpness | Usually sharper | Good but often less sharp |
| Aperture | Wider (f/1.2-f/1.8) | Narrower (f/2.8-f/4) |
| Price | Less expensive for quality | More expensive for same quality |
| Weight | Lighter | Heavier |
| Flexibility | Fixed focal length | Multiple focal lengths |
| Best for | Studio work, controlled settings | On-location, varied shots |
| Popular models | 50mm, 85mm, 135mm | 24-70mm, 70-200mm |
| Learning curve | Forces you to move more | Tempts you to zoom instead of move |
Prime lenses often deliver sharper images at lower prices. The 85mm and 50mm primes are go-to choices for many pros.
They have wider apertures for better background blur. They make you move around more, which can improve your shots.
Zoom lenses give you more flexibility. A 24-70mm lets you change framing without moving. This helps when working in tight spaces.
It’s also great for different types of shots in one session. Many pro portrait photographers keep a 70-200mm zoom in their bag.
Best Lens Recommendations for Headshots
Finding the perfect lens for capturing professional headshots can make all the difference in your photography.
Canon RF 85mm f/1.2L
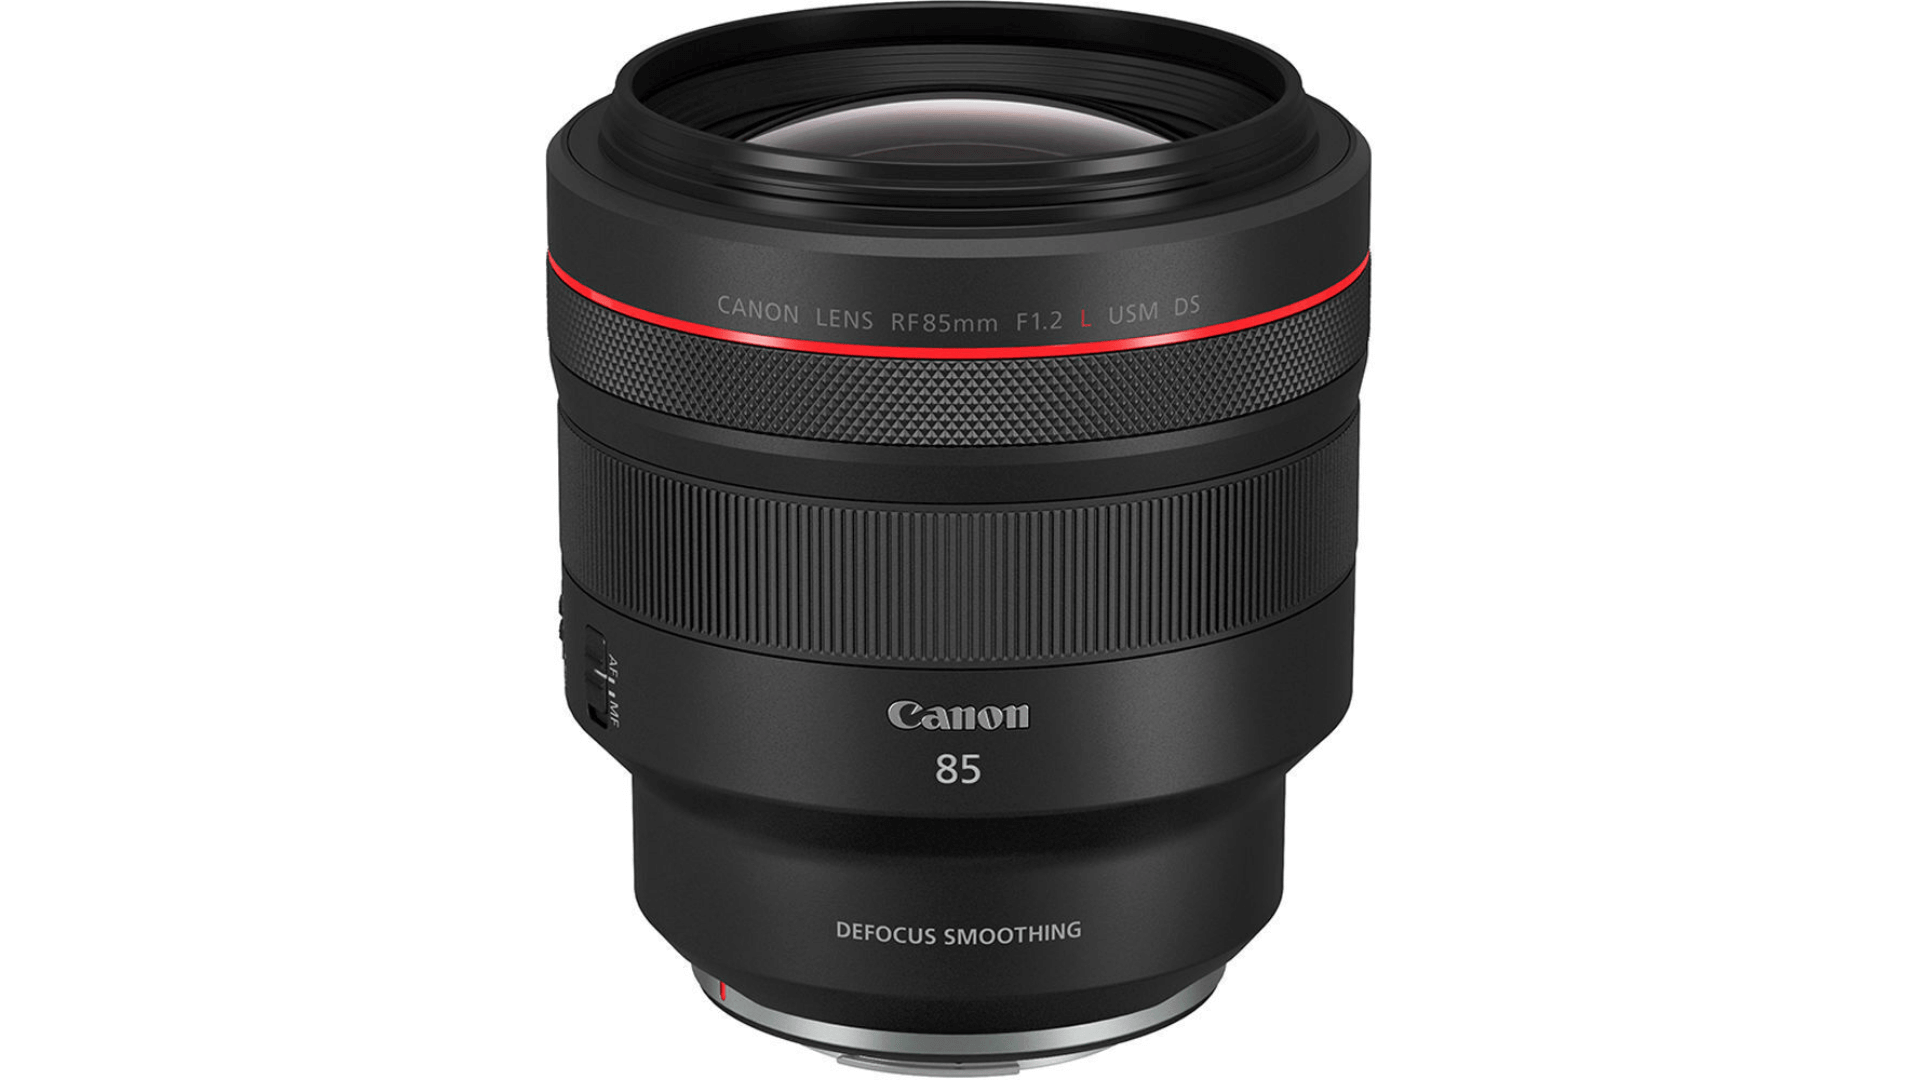
This lens produces portraits with incredible detail and dreamy background blur. The f/1.2 aperture lets in tons of light for shooting in dim conditions.
Pros:
- Exceptional sharpness even at f/1.2
- Beautiful, creamy bokeh
Cons:
- Very heavy (nearly 3 pounds)
- Expensive
Best for: Professional studio photographers who prioritize image quality over weight and price.
Sony FE 85mm f/1.4 GM
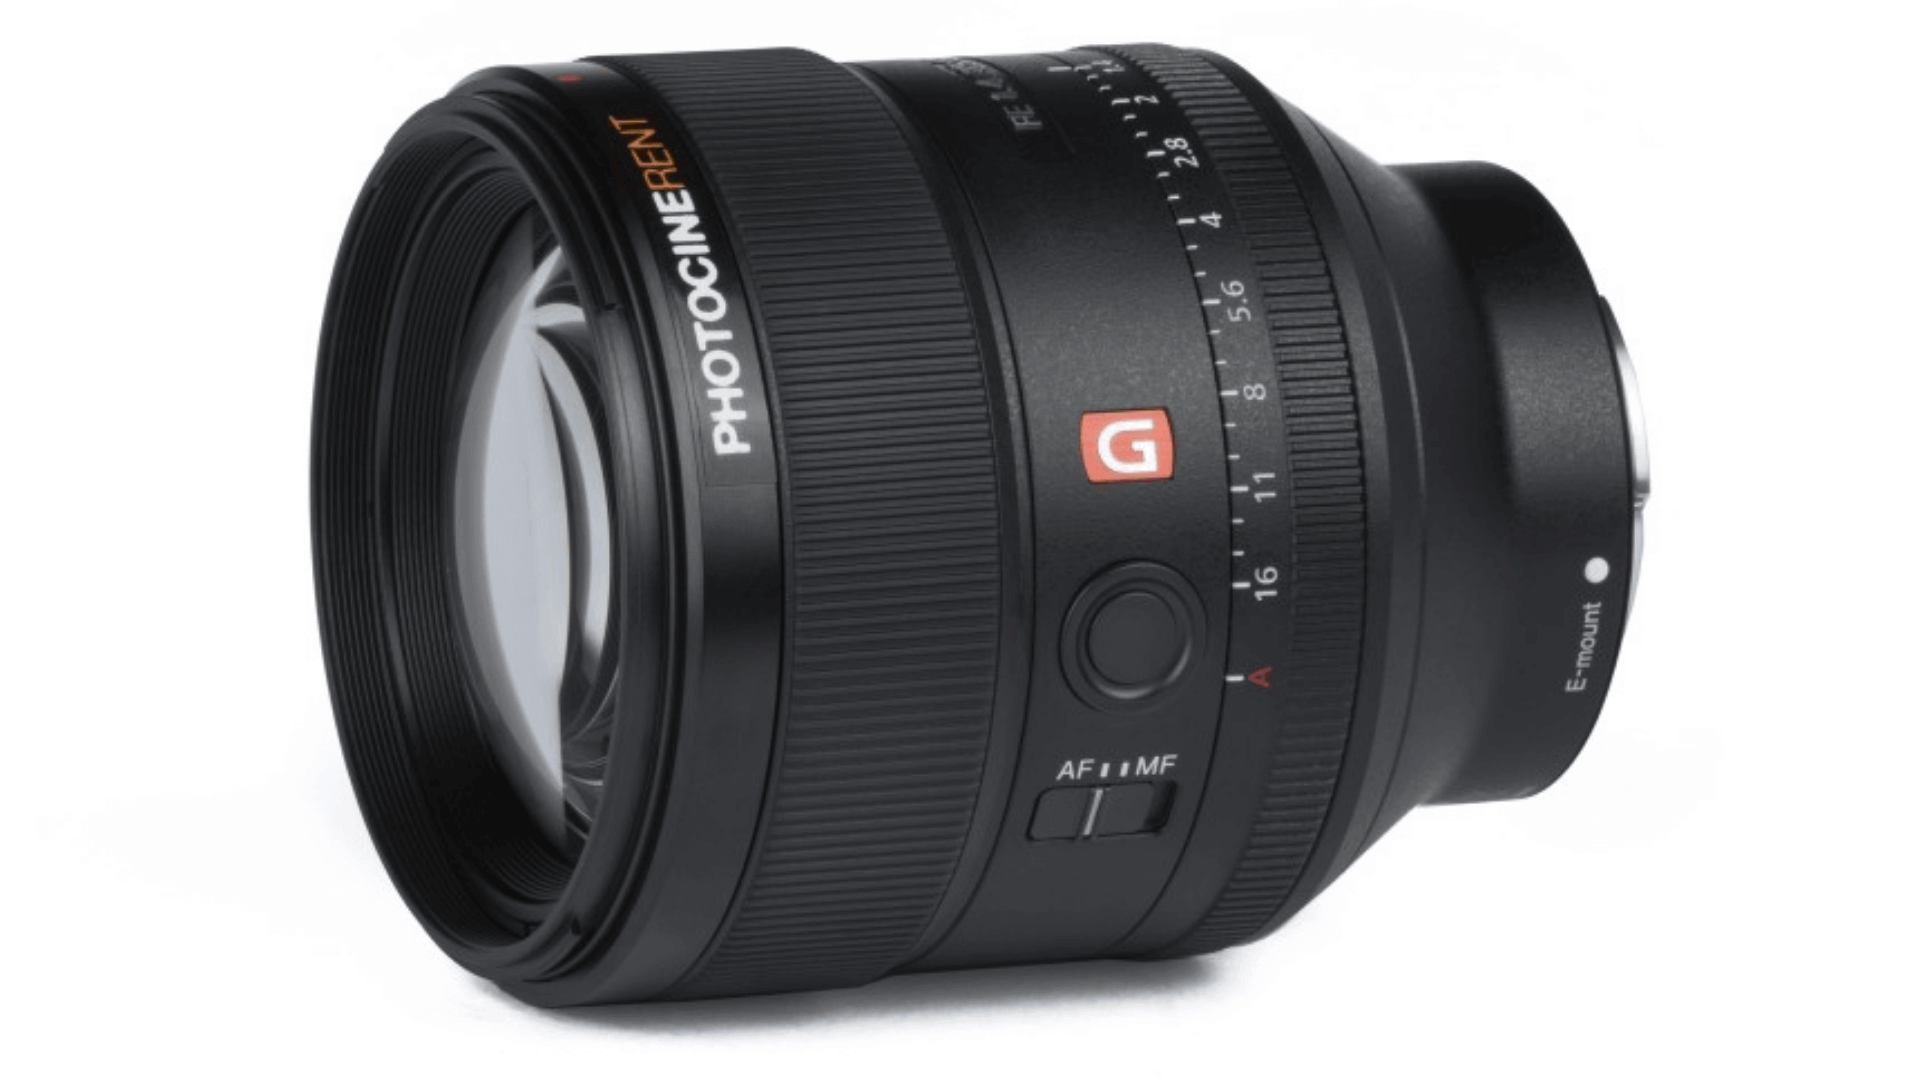
Sony’s G Master lens delivers outstanding sharpness even wide open. The autofocus is quick and silent, perfect for capturing natural expressions.
Pros:
- Fast, quiet autofocus
- Weather sealing
Cons:
- Somewhat heavy
- Premium price
Best for: Professional Sony shooters who need reliable performance for both studio and on-location portrait work.
Nikon Z 85mm f/1.8 S

This lens punches above its price class. The f/1.8 aperture still creates lovely background separation. Images look sharp from corner to corner.
Pros:
- Exceptional value
- Lighter weight
Cons:
- Not as much background blur as f/1.4 lenses
- Z-mount only (newer system)
Best for: Nikon Z-system photographers looking for excellent quality without breaking the bank or their backs.
Sigma 105mm f/1.4 DG HSM Art
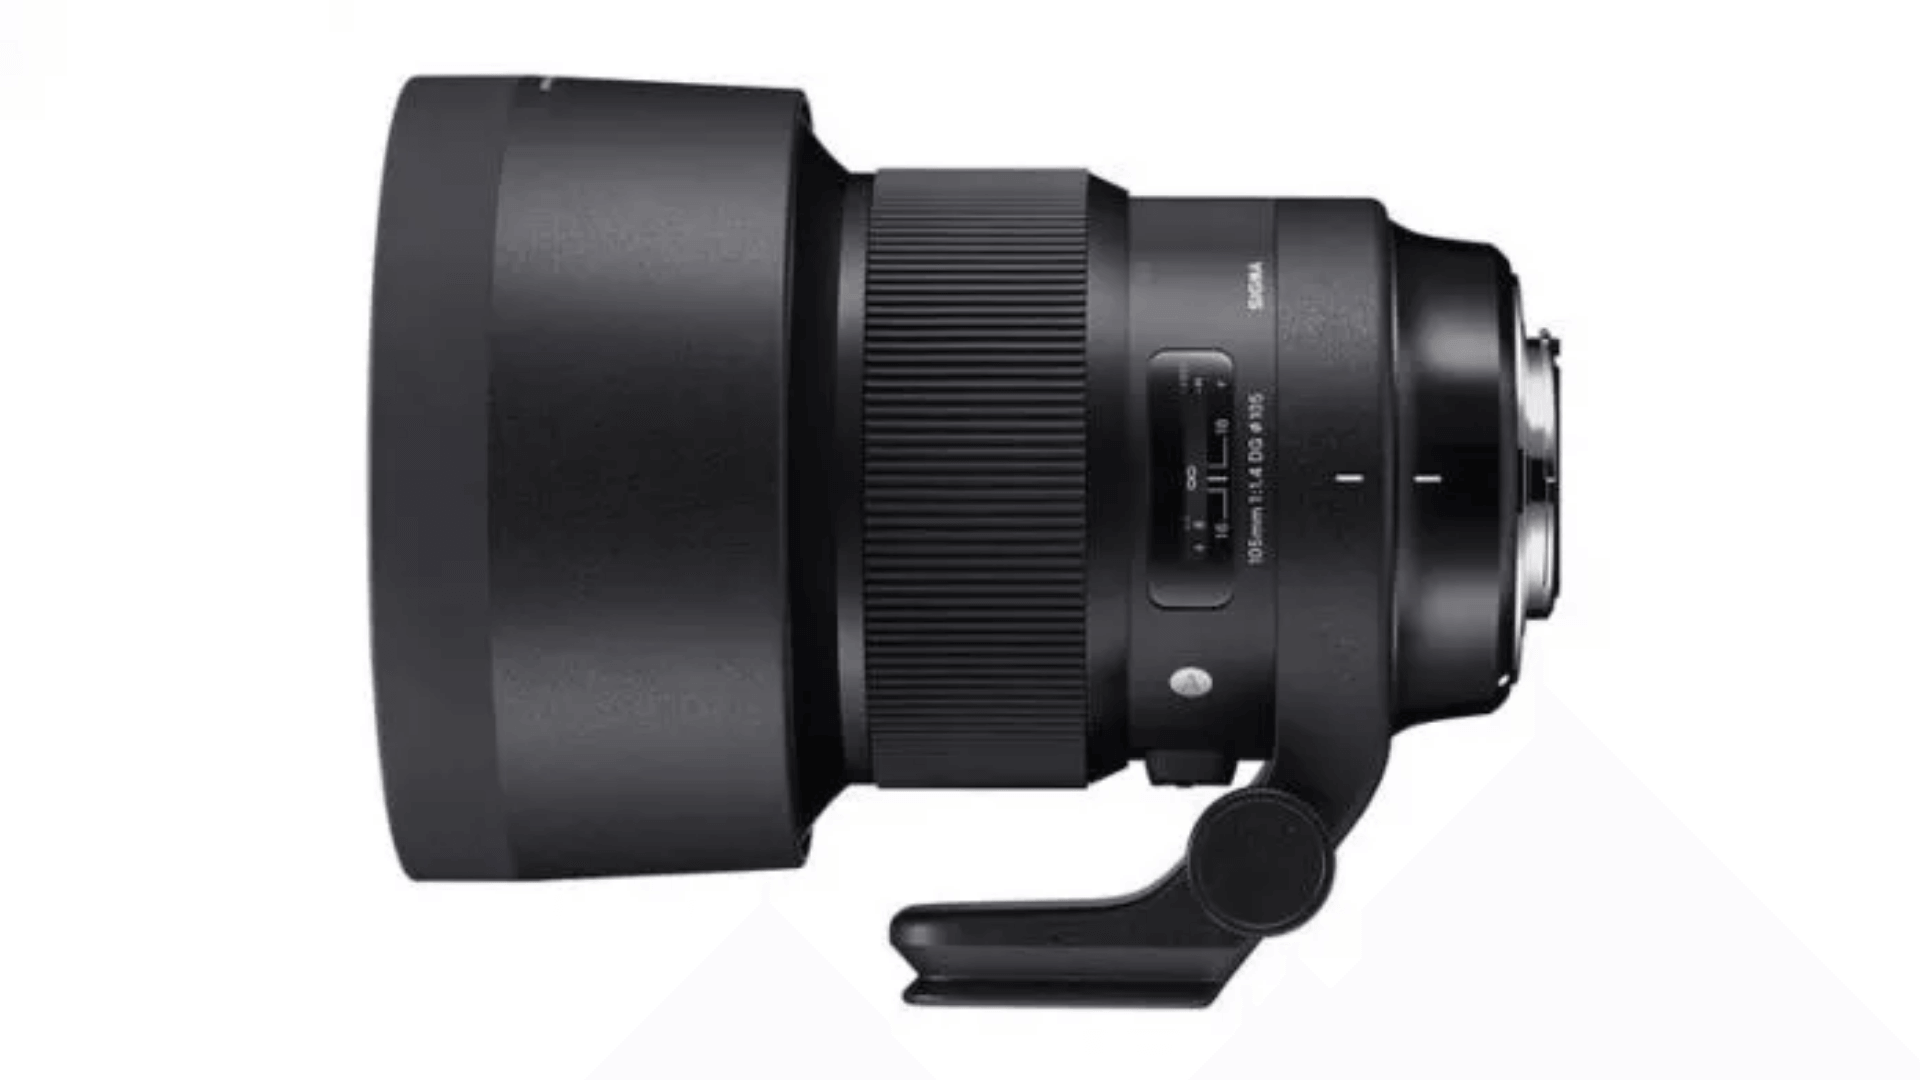
Often called the “bokeh master,” this lens creates stunning subject isolation. The slightly longer focal length adds flattering compression to facial features.
Pros:
- Incredible subject separation
- Outstanding sharpness
Cons:
- Extremely heavy (nearly 4 pounds)
- Bulky size
Best for: Portrait specialists who demand the ultimate in background blur and are willing to deal with the size and weight.
Tamron 70-180mm f/2.8 Di III VXD
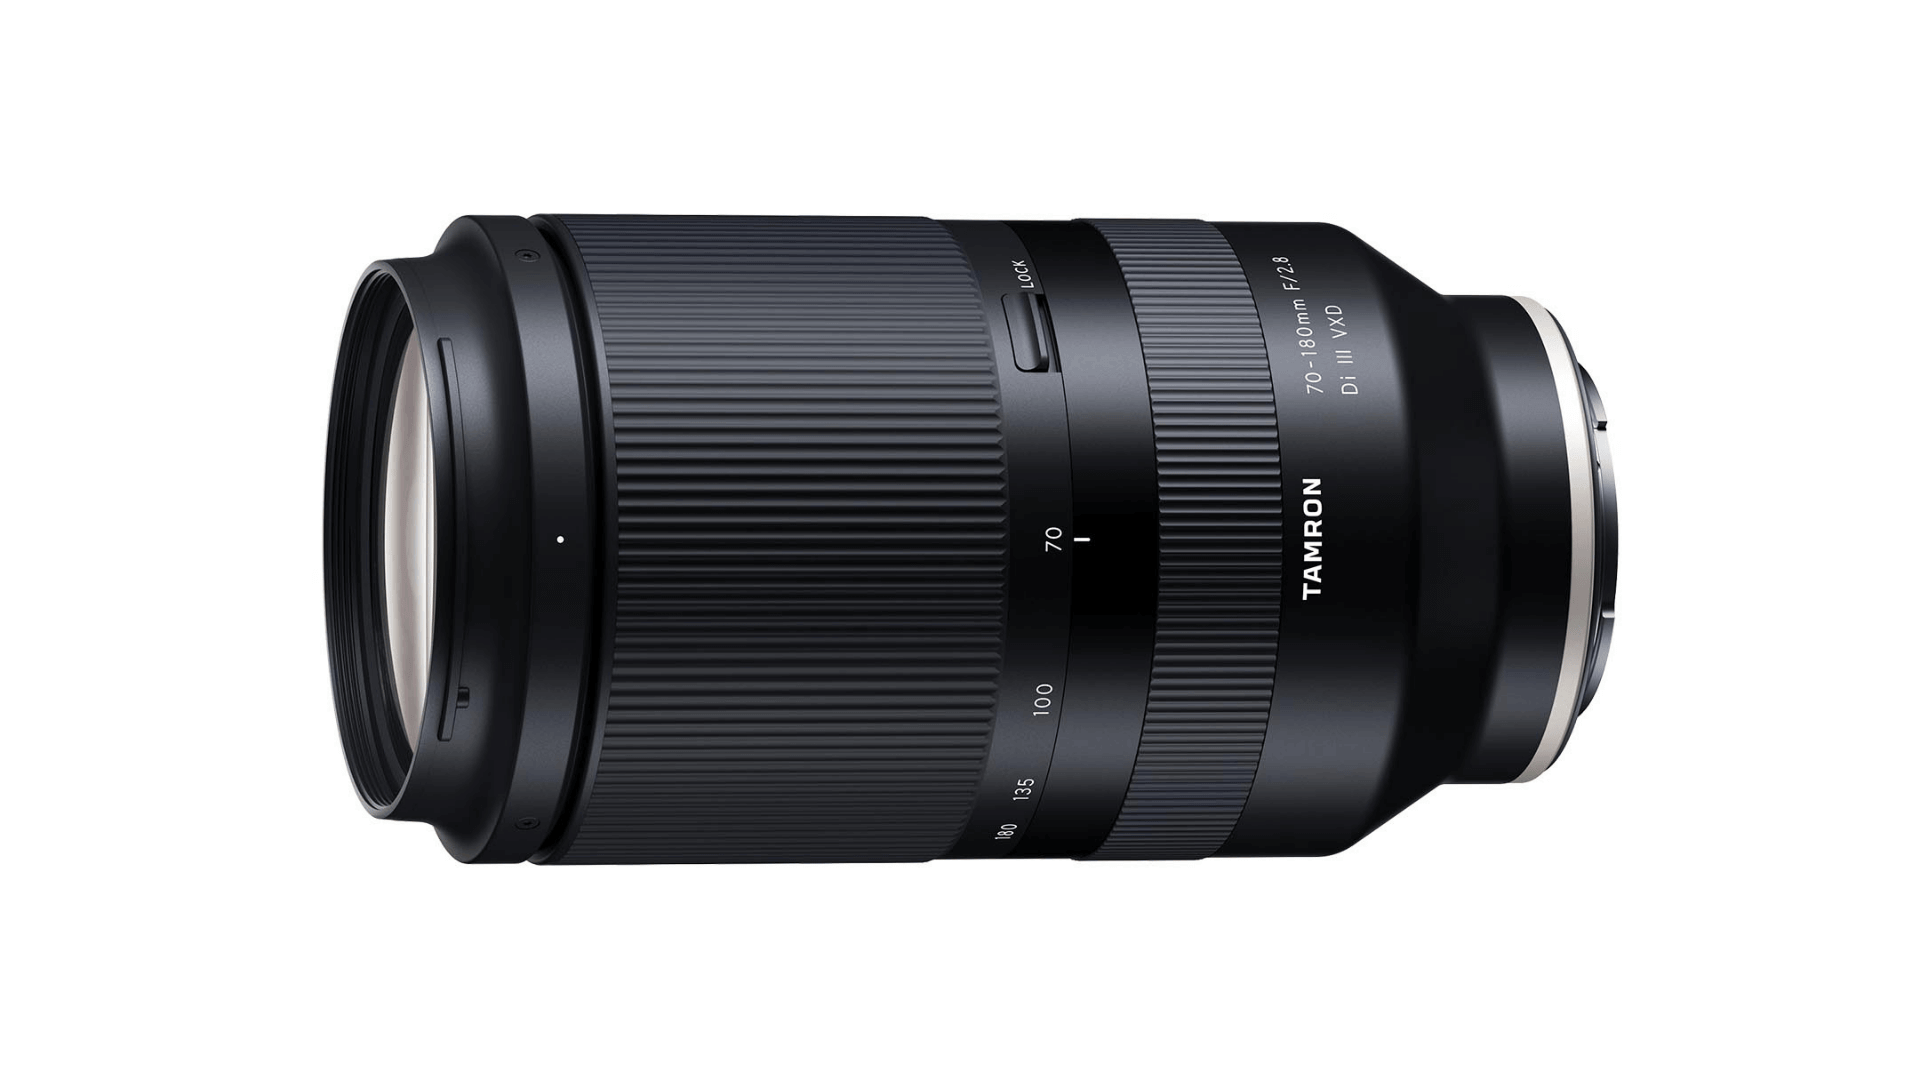
This zoom offers flexibility without sacrificing much quality. At 70mm, it’s wide enough for environmental portraits. At 180mm, it creates beautiful compression for tighter headshots.
Pros:
- Versatile focal range
- Lighter than most f/2.8 zooms
Cons:
- Not as sharp as prime lenses
- Less background blur than faster primes
Best for: Photographers who need flexibility for different portrait styles or who work in tight spaces where changing position isn’t always possible.
Best Budget Lenses for Portrait Beginners
Finding quality portrait lenses doesn’t have to break the bank. These affordable options deliver excellent results while helping you develop your portrait photography skills.
| Brand | Lens | Mount | Price | Key Feature |
|---|---|---|---|---|
| Canon | 50mm f/1.8 STM | EF/RF | $125 | Light, sharp |
| Nikon | 50mm f/1.8G | F | $130 | Solid build |
| Sony | 50mm f/1.8 | E | $250 | Compact |
| Viltrox | 85mm f/1.8 | Various | $399 | Multi-mount |
| Sigma | 56mm f/1.4 | E/L | $429 | Premium feel |
| Tamron | 28-75mm f/2.8 | Sony E | $799 | Versatile zoom |
| Used | Various 85mm | Various | $200-400 | Best savings |
Many professional portrait photographers started with lenses on this list. The 50mm f/1.8 options (often called “nifty fifties”) offer exceptional value and teach you the fundamentals of portrait composition.
If your budget allows, the 85mm options provide more flattering perspective for dedicated headshot work.
Remember, great portraits come from the photographer, not just expensive gear.
Factors to Consider When Choosing a Headshot Lens
Beyond just focal length and aperture, these key features can make or break your headshot photography experience.
Autofocus Performance
Fast, accurate autofocus helps capture those perfect expressions that might only last a split second. Eyes need to be tack-sharp in headshots.
- Quick focus acquisition means fewer missed moments
- Eye-detection AF is extremely valuable for portraits
- Some lenses focus more quietly than others (important for nervous subjects)
- Third-party lenses sometimes have slower AF than native options
Image Stabilization
This feature helps reduce camera shake, especially when shooting in lower light or at slower shutter speeds.
- Gives you 3-5 stops of shake reduction
- Lets you shoot at slower shutter speeds without a tripod
- Particularly useful in dimmer natural light settings
- Some cameras have in-body stabilization that works with any lens
Build Quality and Weather Sealing
The durability of your lens matters, especially if you shoot outdoors or travel frequently with your gear.
- Weather sealing protects against light rain and dust
- Metal construction lasts longer than plastic
- Quality focus rings provide better manual control
- Professional lenses typically have more robust construction
Tips for Capturing Stunning Headshots
Good headshots rely on more than just your lens choice. These simple techniques can dramatically improve your portrait results regardless of the gear you use.
- Lighting Techniques: Place subjects facing large windows for soft light. Use reflectors to fill shadows. Cloudy days create even lighting outdoors. Avoid direct overhead sun, which creates unflattering shadows.
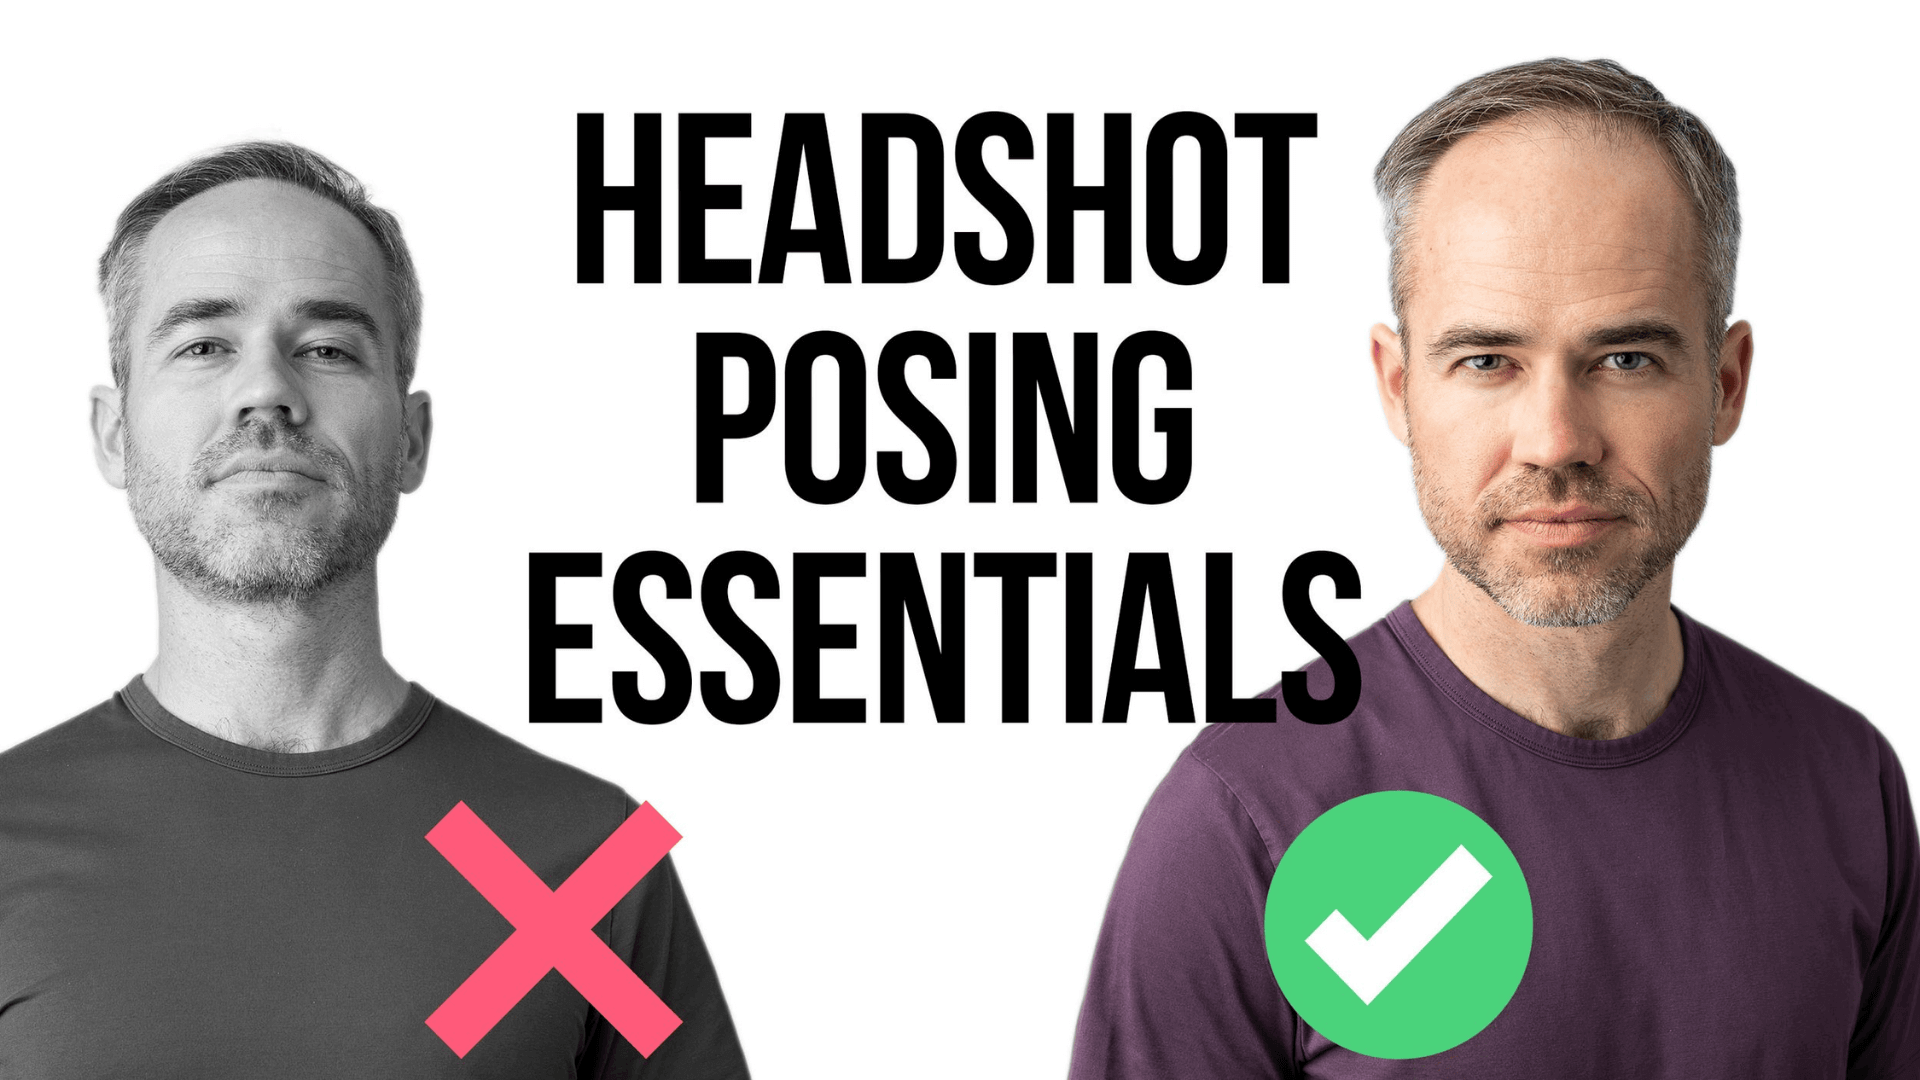
- Posing and Composition: Guide subjects to position chin slightly down and forward. Shoot from slightly above eye level. Have them turn their shoulders while keeping their face toward the camera. Create a slight space between arms and body for a slimming effect.
- Post-Processing Essentials: Enhance, don’t change appearances. Start with basic exposure adjustments before detailed work. Keep skin retouching natural by preserving texture. Make your eyes slightly brighter to draw attention.
- Focus on the Eyes: Using single-point autofocus, ensure the eyes are tack-sharp. Set an appropriate depth of field to keep both eyes in focus. Catchlights in the eyes add life to portraits.
- Control Your Backgrounds: Use simple, uncluttered backgrounds. Position subjects away from walls to avoid shadows. Blur backgrounds with wide apertures to minimize distractions.
- Shoot in Bursts: Capture subtle expression variations by shooting short bursts. This increases the chances of getting the perfect moment between posed smiles.
Your Next Shot Awaits: Final Thoughts
Choosing the right lens for headshots doesn’t have to be overwhelming. Remember that great portraits come from understanding how lenses affect facial features, not just buying the most expensive glass.
Ready to upgrade your portrait game? Take action today!
Start practicing with whatever lens you currently own, paying attention to how distance and focal length upgrades your subject’s face. Then invest in a lens that complements your unique style.
The perfect headshot is waiting for you to capture it. Grab your camera, apply these tips, and start creating portraits that truly stand out. Your best work is just a click away!

Leave a Reply