Making your camera truly yours by adjusting its settings doesn’t have to be tough. We’re here to guide you through it in simple steps.
The Olympus OMD EM5 camera is fantastic for taking awesome photos.
To get the best out of it, follow the manual’s advice on adjusting its settings. It might seem not easy, but we’ll make it easy for you.
When you personalize settings, you’re making the camera work just how you like for the photos you want.
So, make your choice accordingly after going through the details of the Olympus OMD EM5 manual.
Let’s start; you’re about to find all the amazing things your camera can do and improve your photography skills along the way!
Initial Set-Up of Your Olympus OMD EM5 as per the Manual
When setting up your Olympus OMD EM5, the first step is unboxing your camera and ensuring all the components are present.
Next, put the charged battery and memory card into their proper places.
You’ll find the battery at the bottom and the memory card slot usually on the side.
Turn on the camera, and you’ll see some setup questions, like picking the language, date, and time.
These settings matter because they help your camera record the right time and use your preferred language while you take pictures.
User Interface
The Olympus OMD EM5 camera offers a user-friendly interface that lets you take control of your photography experience. To get started, follow these steps.
Enabling the Super Control Panel
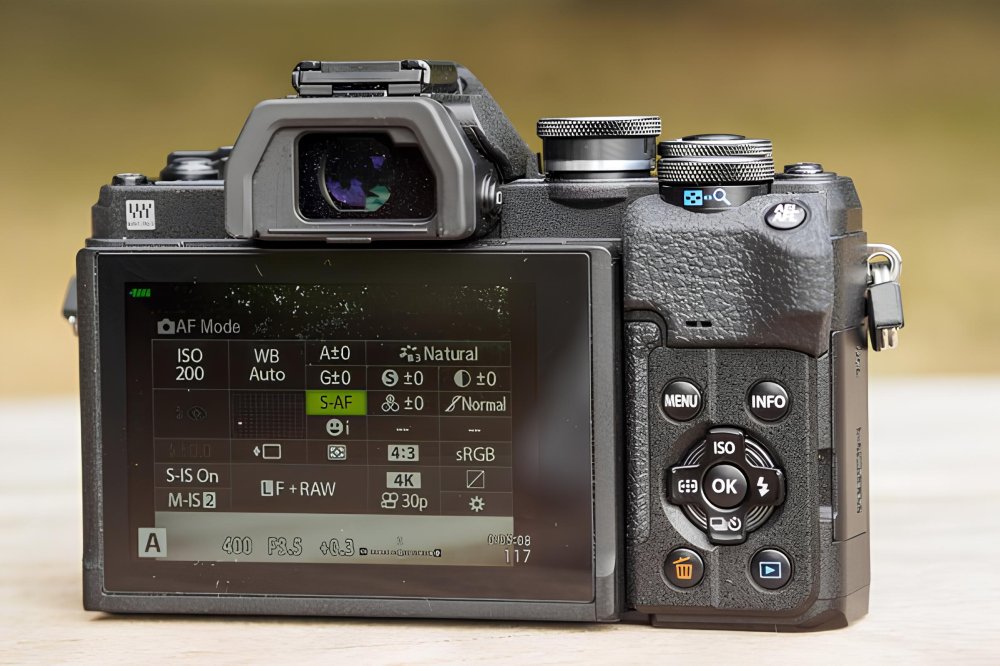
The Super Control Panel is a useful feature that provides quick access to various settings without delving deep into menus.
To enable it, press the OK button while in shooting mode.
This brings up the Super Control Panel, where you can adjust settings like ISO, aperture, shutter speed, and more. Navigate using the arrow keys and select the customization setting.
Choosing Live View Displays and Adding Highlights & Shadows
The Live View Display options allow you to preview how your image will appear based on exposure settings.
To customize this, press the INFO button during shooting. Cycle through the different display styles until you find one that suits your preference.
Additionally, adjusting Highlights and shadows can add deepness to your images.
Access this feature in the Super Control Panel and use the arrow keys to increase or decrease these elements, creating a balanced look.
Buttons and Dials
The EM5 camera has buttons and dials in smart spots to reach them easily.
The Mode Dial on the top helps you pick the way you want to take pictures, such as Manual or Aperture Priority.
The Front and Rear dials let you make small changes like how much light comes in and how fast the picture is taken.
Some buttons, like Fn1 and Fn2, do specific things; you can choose what they do.
Camera Customization
Your trusty Olympus OMD EM5 is more than just a camera, it’s a tool that adapts to your photography style.
1. Quick Control of EVF Eye Sensor
Switching between the electronic viewfinder (EVF) and the LCD screen is now easier with the EM5 camera.
You can quickly turn off or turn on the EVF eye sensor as needed.
This is useful when you want to use the LCD screen to set up your shot and you don’t like the camera to switch to the EVF automatically when you bring the camera close to your eye.
2. Steady Shots with Viewfinder Image Stabilization
The EM5 boasts a clever feature like image stabilization within the viewfinder.
So, when you’re looking through the EVF to take a picture, the camera helps if your hands are shaky.
This makes the preview look clearer, as if someone’s balance guides what you see.
3. Speedy Live View
No more slow live-view screens. The EM5 camera quickly shows how your changes make the picture look.
This helps a lot when testing different settings or taking pictures of things that move fast.
Perfecting Your JPEG Output
1. Setting Noise Reduction and Sharpening
Every photographer wants to make sharp and clear pictures. You can do this with your Olympus OMD EM5 camera by changing noise reduction and sharpening.
Noise reduction gets rid of the grainy look in low-light photos. When you find the right amount, you keep the picture details but reduce noise.
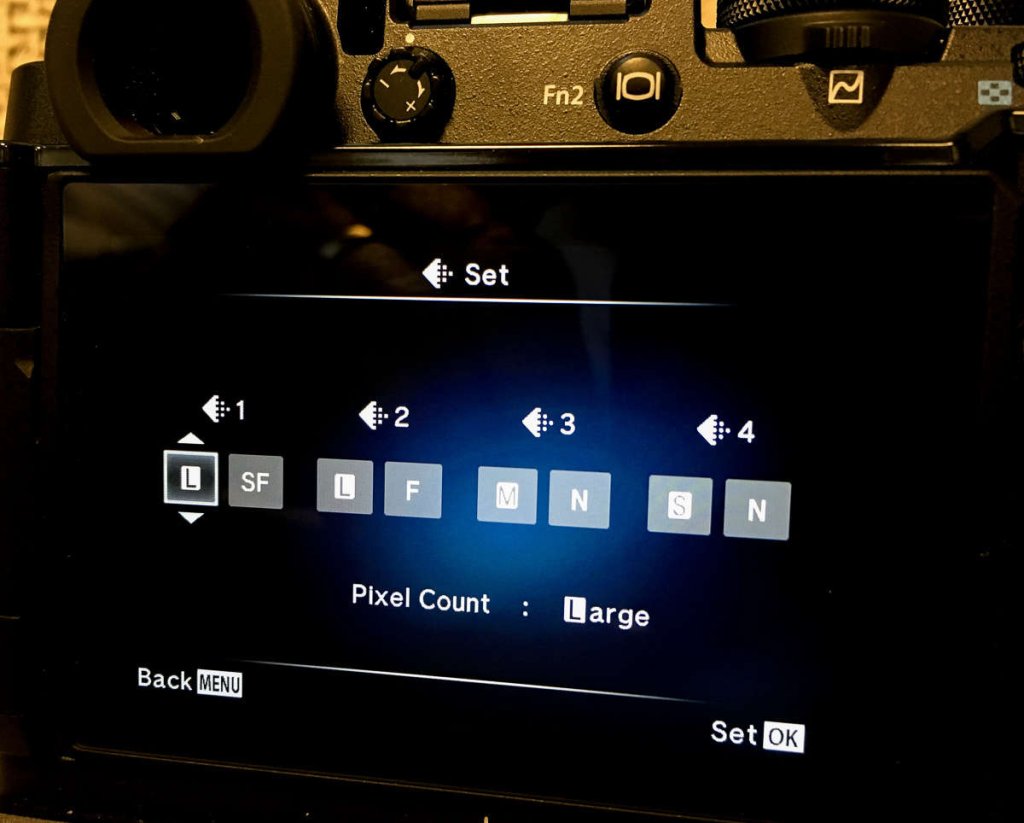
2. Capturing Stunning Super Fine JPEGs
The Olympus OMD EM5 provides various JPEG quality settings, and go for Super Fine, which ensures your photos keep the highest level of detail and clarity.
This setting preserves colors and sharpness, resulting in images ready to be shared or printed without losing quality.
Remember that Super Fine JPEGs occupy more space on your memory card.
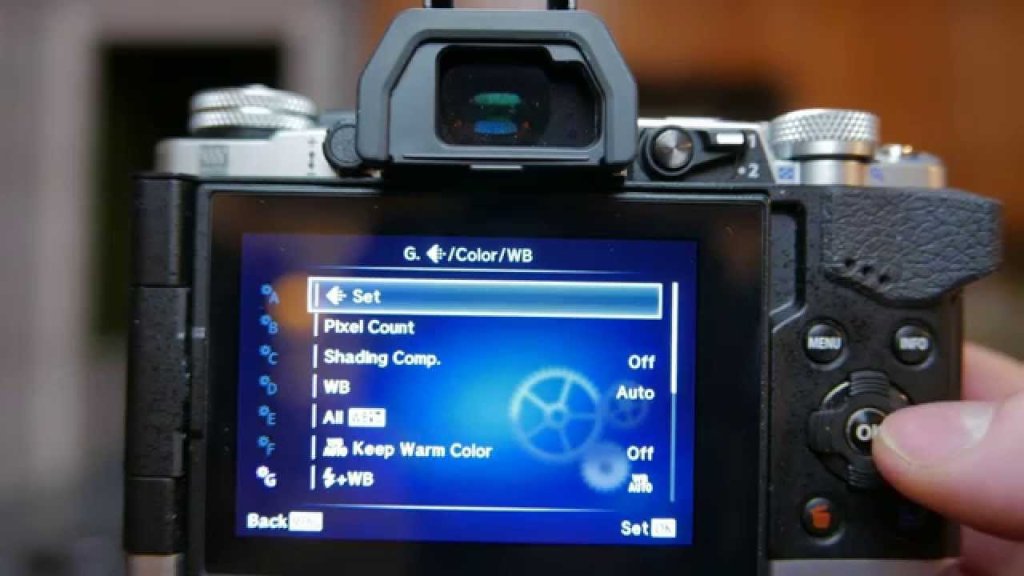
3. Achieving the Perfect White Balance
Auto White Balance (AWB) is a useful tool in your camera that changes colors to match the light around you.
But sometimes, AWB might make your pictures look too warm or cool, not showing the real scene.
To fix this, you can try to make your AWB less warm. Go to the camera settings and try different options for white balance.
You can also make a special white balance to ensure your photos show the right colors.
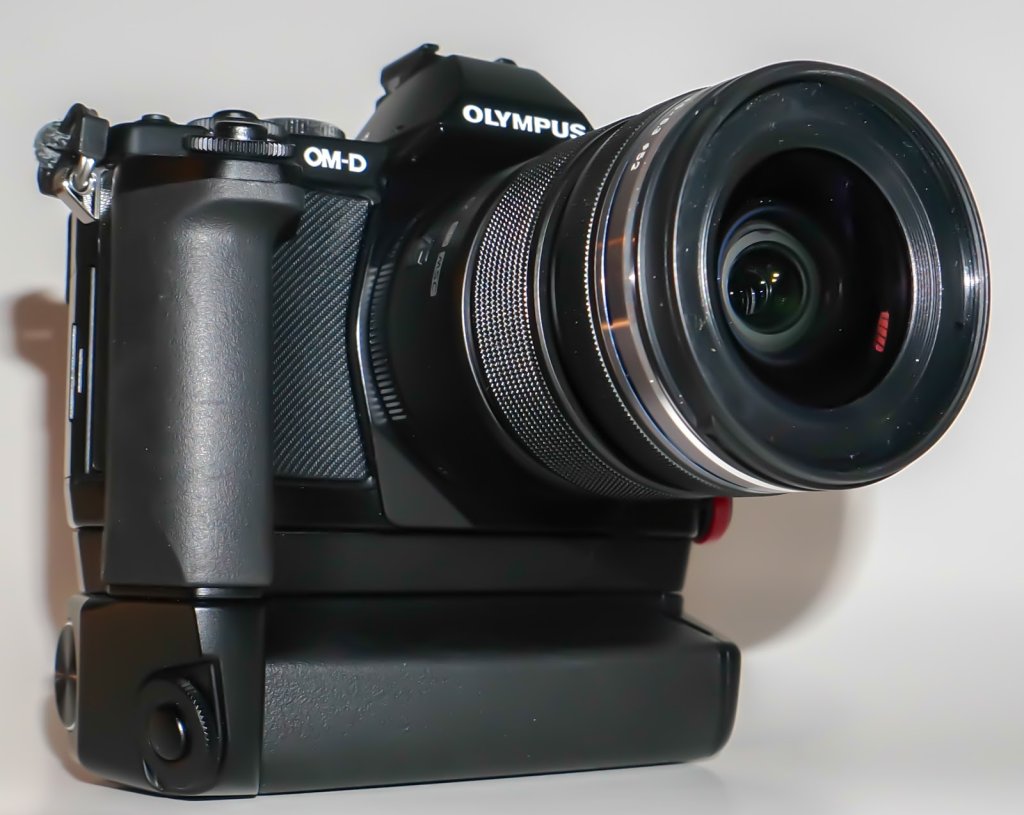
Which Lenses Can Be Attached to the E-M5?
The Olympus OMD EM5 works with different lenses that help you be more creative.
You can use Micro Four Thirds lenses. They’re small but take great pictures.
You can pick wide or close-up lenses, which are good for all pictures.
Conclusion
Customizing your Olympus OMD EM5 settings is a breeze with the help of the manual.
Think of it as your camera’s helpful companion, teaching you what to do.
The buttons and dials on your camera are like shortcuts that let you make changes quickly.
Thanks to the manual’s guidance, you can even choose what these buttons do.
Remember, don’t rush. Start by getting to know the manual step by step.
Try changing things one by one to see what you like. This is how you can make your camera truly yours.
So, making your Olympus OMD EM5 camera unique to you is all about trying new things, learning, and adjusting it to be just the way you want. Happy shooting!




Leave a Reply